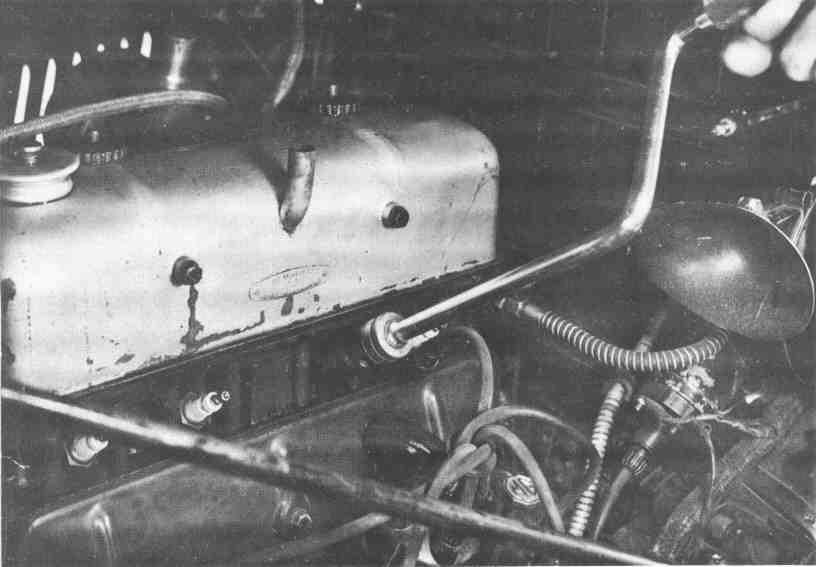
MGTD Index Page History and production information Details, finishes, and restoration tips Myths, Missconceptions, Mysteries and FAQs Literature, Book Reviews, and Brochures Fun MGTD Games and Challenges A Photo Tour of Things MGTD Web Links Related to the MGTD Site Map

{short description of image}

Period Reports

Tuning Your MG

©July 1952 issue of Auto Speed and Sport


Tuning your MG


Tuning your MG
Remove the spark plugs and clean them with a wire brush. Check them carefully for cracked porcelain and badly pitted electrodes. Replacement of the plugs cannot be determined
by the mileage of the car alone and the old standard of
10,000 miles is no longer valid. Plugs should he checked frequently and replaced whenever they show signs of wear. Set the plug gap by bending the side electrode, never the
center. The correct gap is between .020 and .022 inches

PHOTOS BY JACK CAMPBELL
THE TUNING of a sports car is an essential element of owning a sports car. Unless the engine is maintained in top condition, many of the driving pleasures common to this type of car are lost to the motorist. The small displacement engine of the MG, famous for its reliability, can be as disappointing when out of tune as it can be satisfying when running properly. On these pages you will find a few simple procedures designed
to aid the MG owner in tuning his car. These are the methods used by one of Southern California's best MG mechanics, Harvey Mayer, who recently opened his new shop in Costa Mesa. You may or may not agree with his basic suggestions, but we feel certain that these are easy-to-follow tuning tips for the man or woman who tunes his or her own MG and wants to experience the pleasure of driving a perfectly adjusted car at all times.


Tuning your MG
A handy gimmick for the home mechanic is the hood stick made from an old broom handle. Notched at one end to fit the bracket on the center hood binge and wedge-shaped at the other to fit the bracket on the front hood latch, the stick is short enough to be carried around in the tool compartment and will prevent you from banging your head on the hood side when bent over an engine

A FEW BASIC HINTS THAT MAY HELP YOUR MG RUN BETTER

Tuning your MG
Tuning your MG
Remove the distributor by cutting the lockwire and unscrewing the
large bolt at the base of the distributor and the wire from the coil


Tuning your MG
Points that are only slightly worn may be resurfaced, but do not use a file as it will leave a rough surface susceptible to pitting and burning. A fine sharpening stone should he placed in a vise and the points resurfaced in the manner illustrated. Be careful to hold the points perfectly flat during this operation


Remove the points by releasing the two screws and the one attaching nut. Inspect the points for excessive burning and/or deep pits. If the points are badly burned, no attempt should he made to resurface them, but new points should he installed

Tuning your MG After the points are re assembled, they must be checked to make sure they meet perfectly flat and even when closed. A certain amount of adjustment may be obtained by bending the stationary point, but use caution and do not mar the point surface. Points are adjusted when fully open and the correct setting is .010 to 012 inches. When this is completed, scrape (with a knife blade) the burnt deposits from the contact points inside the distributor cap and on the rotor contact. With a light machine oil, lubricate the advance mechanism in the base of the distributor and add a few drops in the hole at the top of the distributor cam
When the distributor is replaced, it must be, re-timed. To do this, turn the engine over slowly until the, No. 1 piston is on the compression stroke. This will be indicated by the alignment of the marker on the front timing chain case with the small notch on the crankshaft pulley. At the same time; remove the valve cover and make certain that the valves of No. 1 cylinder are completely closed. This will determine the compression stroke. Next, install the distributor so that the rotor is pointing to the No. 1 spark plug wire on the distributor cap. Loosen the clamp bolt on the side of the distributor and revolve the entire unit until the points are just starting to open. Start the engine and set the throttle at 1200 rpm. Revolve the distributor slowly in a clockwise direction until the engine starts to buck. Turn it back slightly until the engine smooths out and tighten the clamp bolt
Tuning your MG
Tuning your MG While the engine is still warm adjust the valve tappet setting to .019 inches. Care must be taken during this process to see that the valve is completely closed and the camshaft in the proper position. Here is an easy way to determine this. Start with No. 8 valve and slowly turn the engine over until you are sure that No. 8 valve is fully open. By using a little mental arithmetic, subtract the number of the open valve from the figure nine. This is the number to adjust. Keep repeating this process, always subtracting the number of the open valve from the figure nine and adjusting the resulting number

Tuning your MG
Remove the air cleaner and
manifold plus the two screws
which hold the carburetor
damper assembly. Remove the
piston and cylinder very carefully
as shown in the photo to avoid
bending the needle
 
Tuning your MG
Wash the piston and cylinder
thoroughly. A good lacquer thinner
is excellent for this job
as it will dissolve all the gum
deposits on the piston. It will
also clean the red gas stains from
carburetor bowls and throttle body
 
Tuning your MG
To fit properly in the jet, the
piston needle must be absolutely
straight. This may be checked
by clamping the piston rod in a drill
press while a straight edge is
held next to the needle.
Revolve drill press slowly by hand


Tuning your MG


Reassemble the float and bowl cover and damper assembly.
A few drops of a very light machine oil should be put in the
hollow piston shaft and the cap replaced. Use the oil sparingly
as too muck oil is just as bad as not enough. Lift the
piston with a finger and make sure it drops freely to the bottom
of its travel. If it sticks, loosen the large nut directly
below and revolve the brass jet assembly slowly until
the piston drops freely. Tighten the nut and check the drop again.
Further adjustment of the carburetors is far too critical
a procedure to be discussed in this article, and it
is suggested that the manual be consulted for this operation


Remove the top of the float chamber bowl and
slide the brass float up the shaft to clean out
the bottom of the bowl. Check the float
level setting by placing a 3/8-inch test bar
under the forked lever. To be properly
adjusted for normal driving, the prongs of the
lever should just rest on the bar.
The shank of a 3/8 drill may be used for a bar


Tuning your MG
 

Home | History | Details | Myths and FAQs | Literature | Entertainment | Gallery | Links | Map

© 1999 - 2024 by Christopher C. Couper Page last updated on March 2, 2019