This page describes the carpets for the MGTD/TF which includes detailed
installation instructions and snap placement. Some of the materials for
this page have been supplied by
Moss Motors and I have created the
instructions below using their carpet set based on originality. Much of
the information provided here is for left hand drive cars. For right hand
drive cars there are some minor changes with regard to the accelerator
placement.
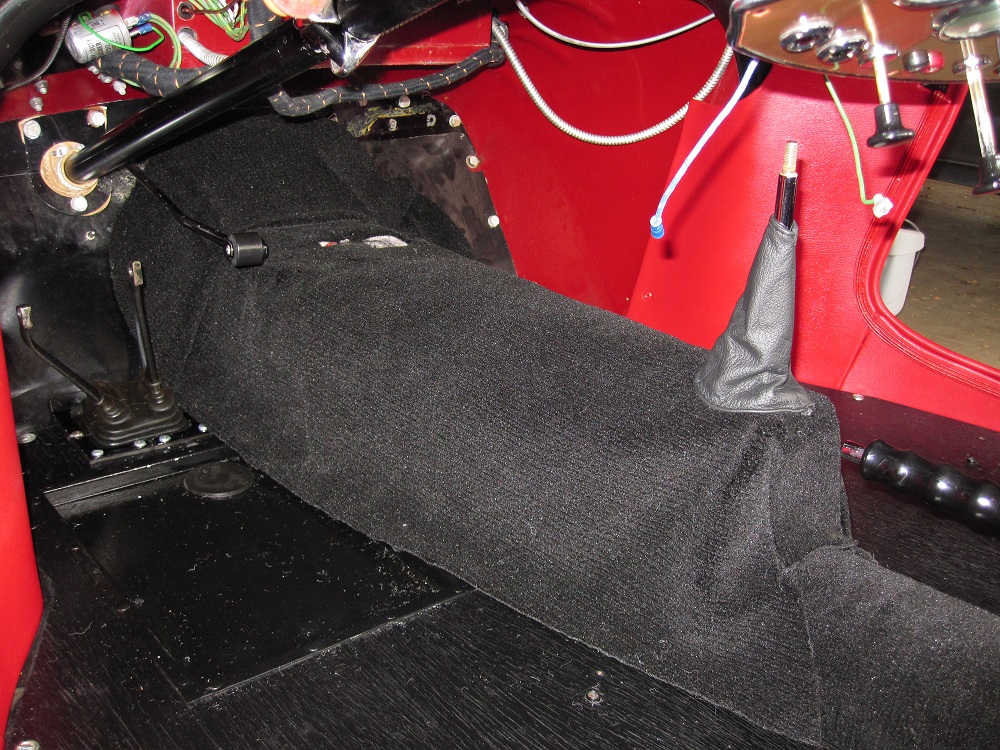
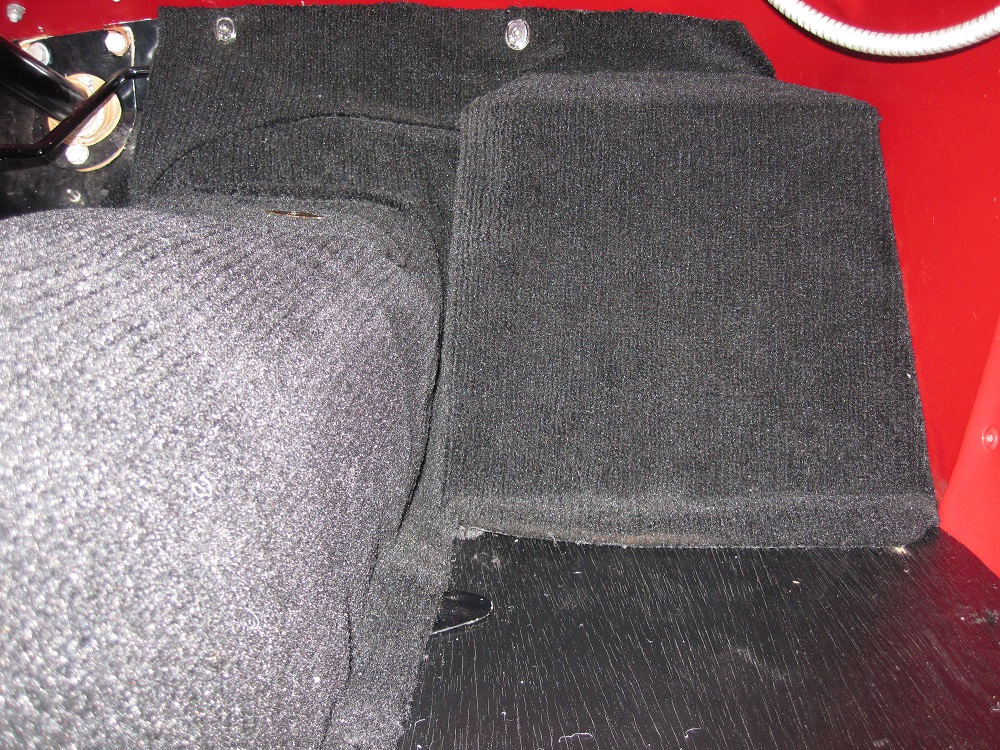
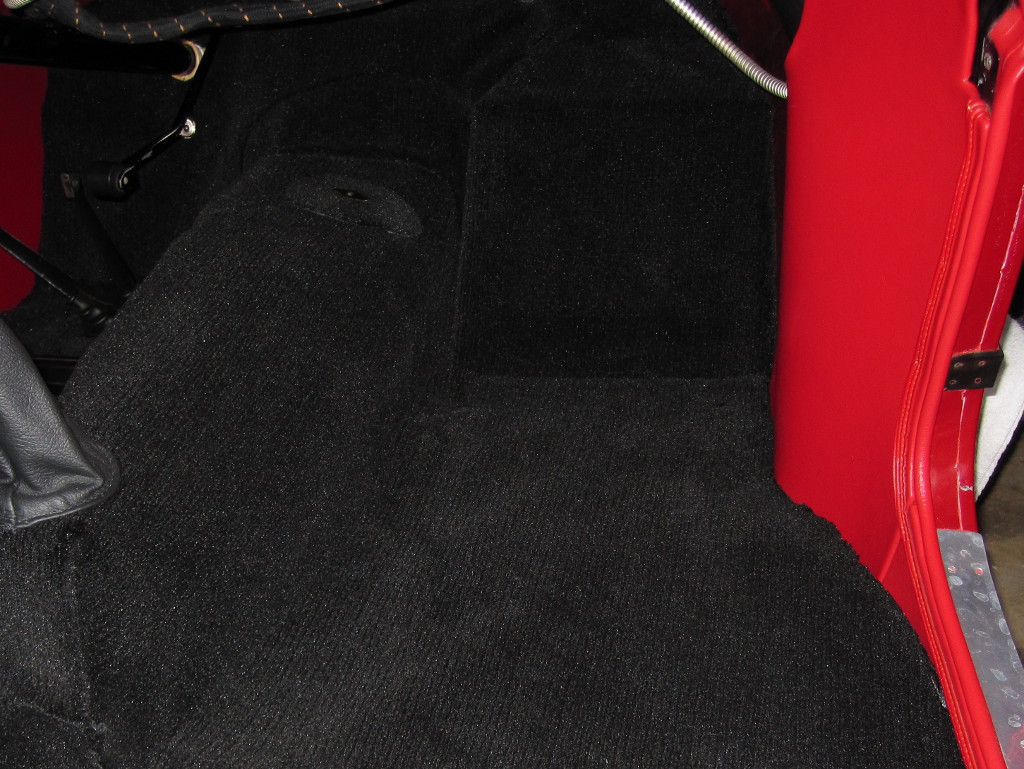
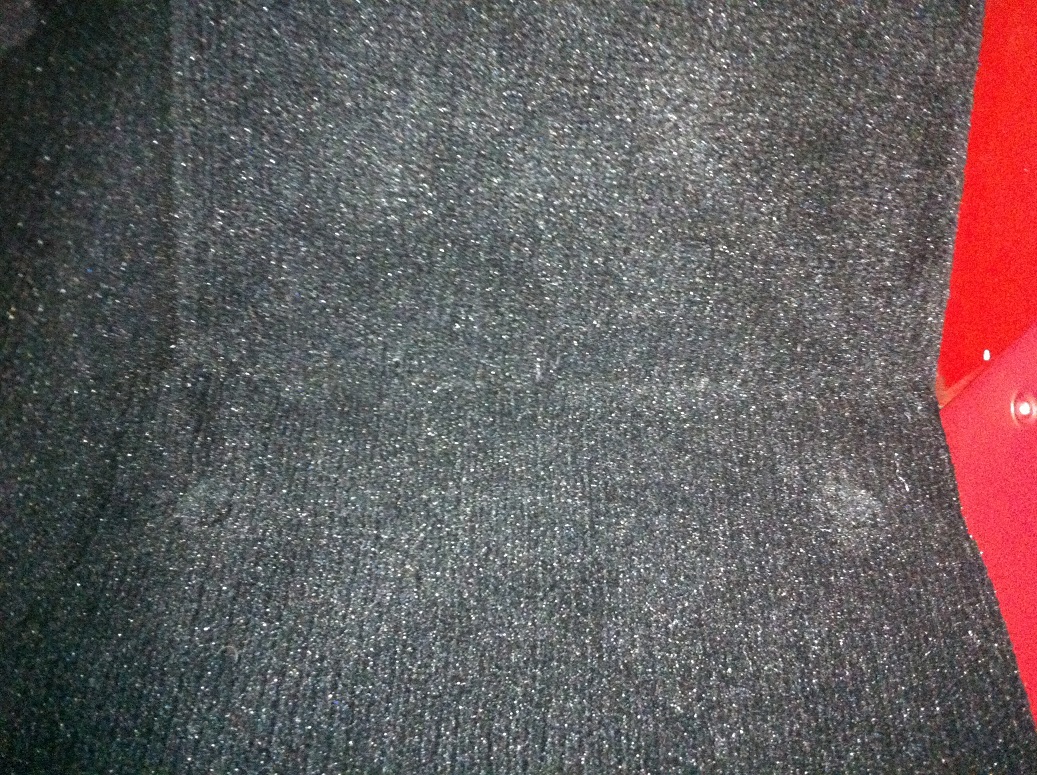
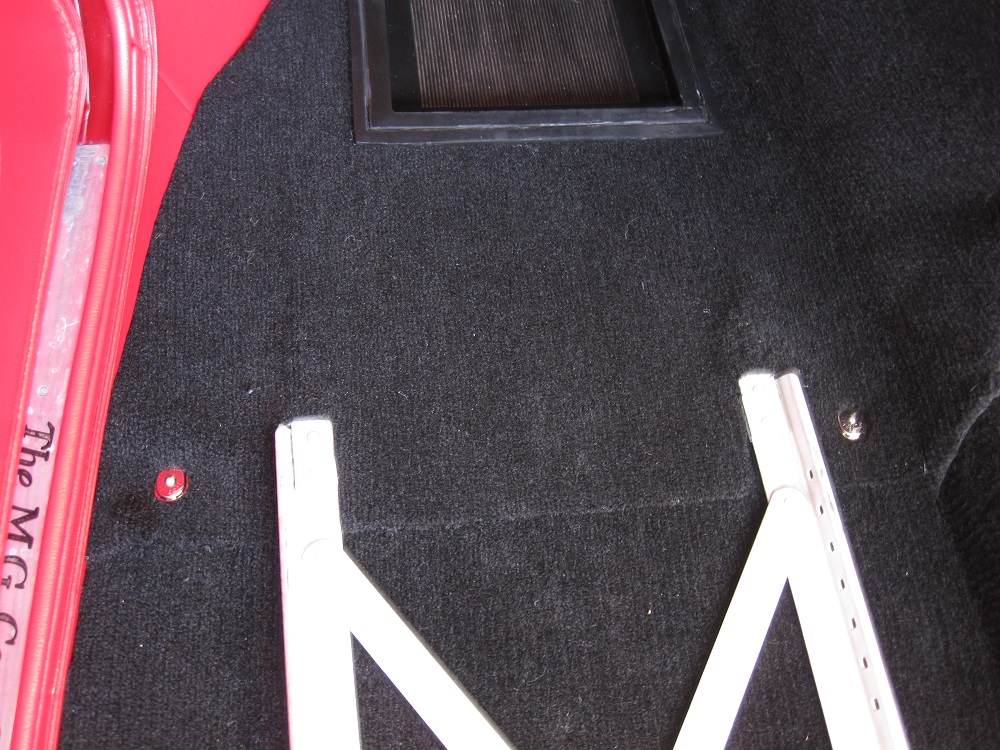
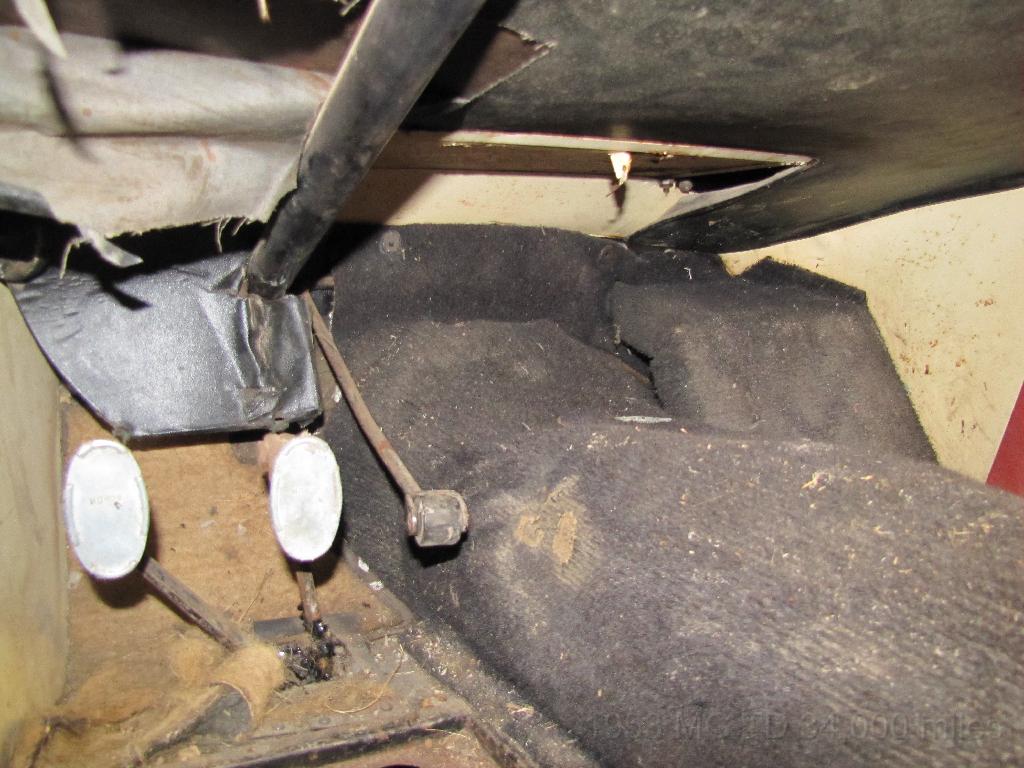
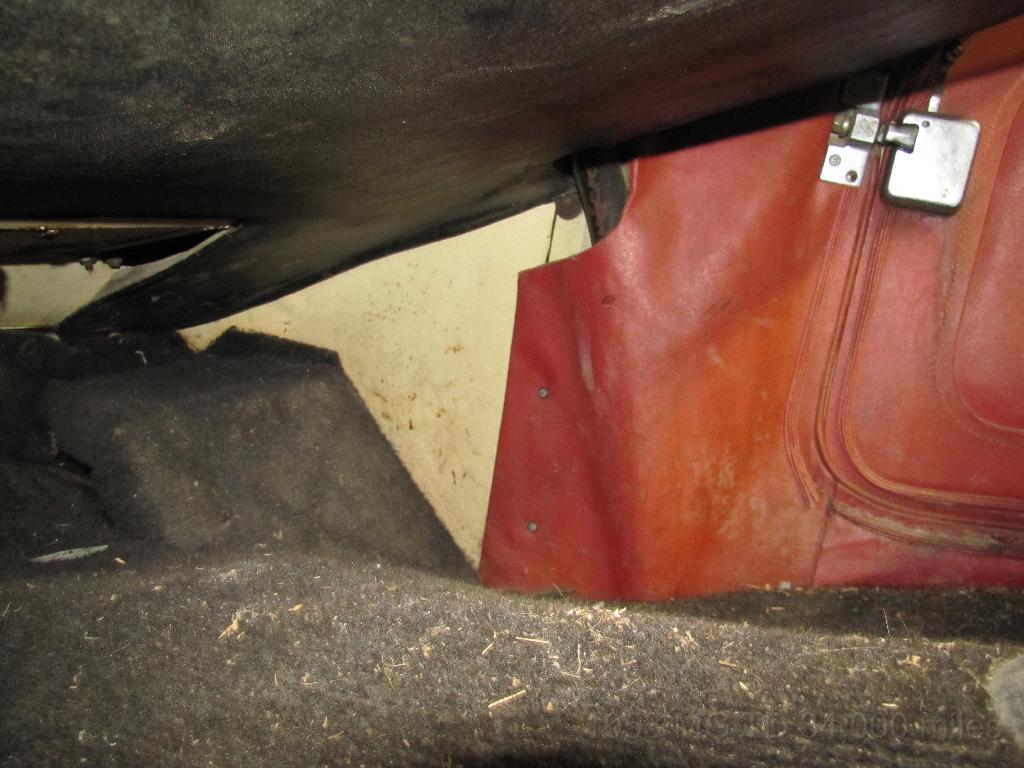
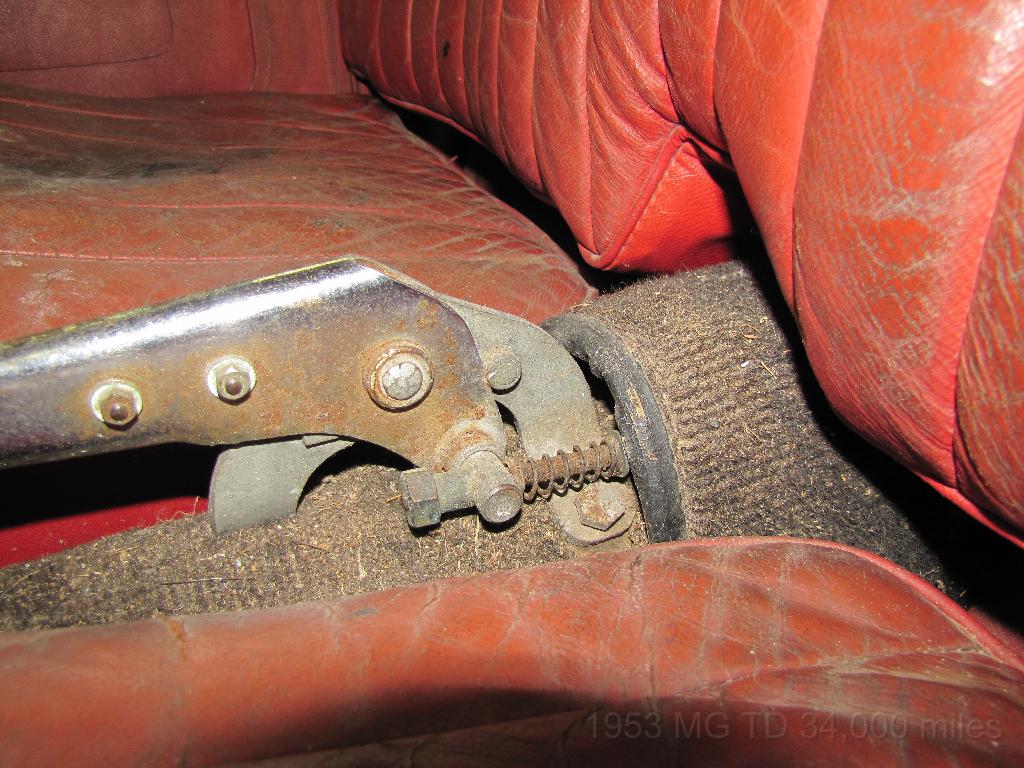
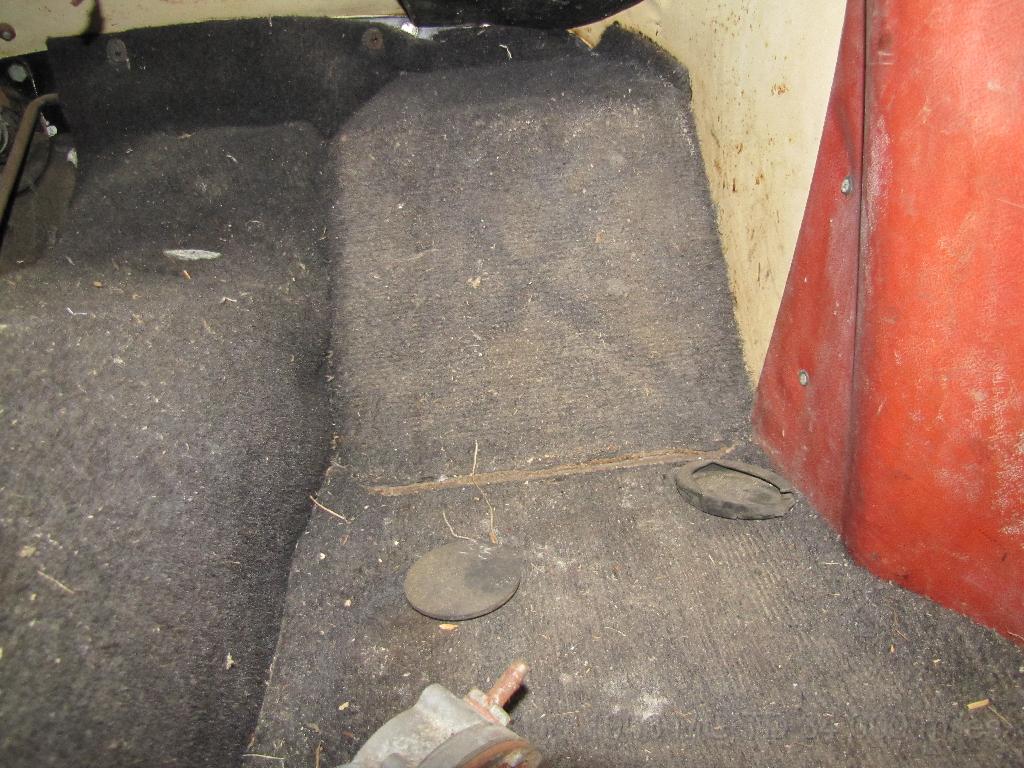
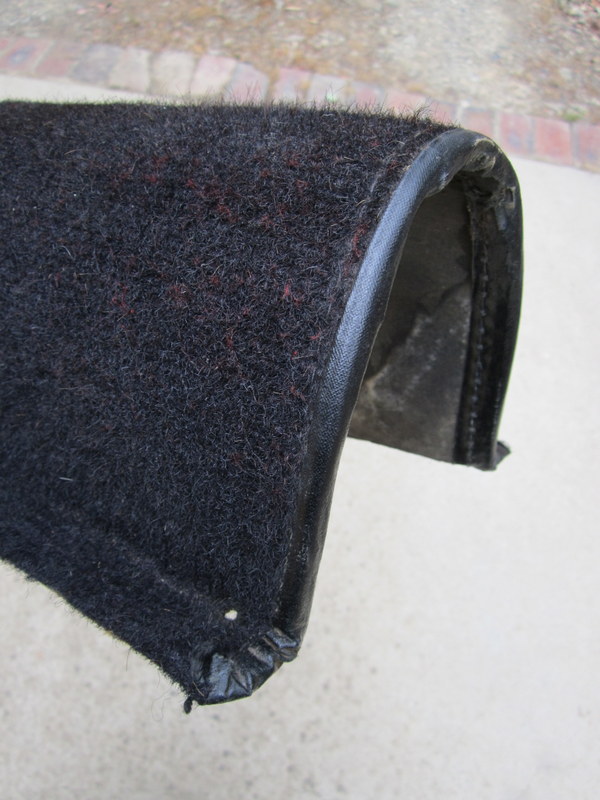
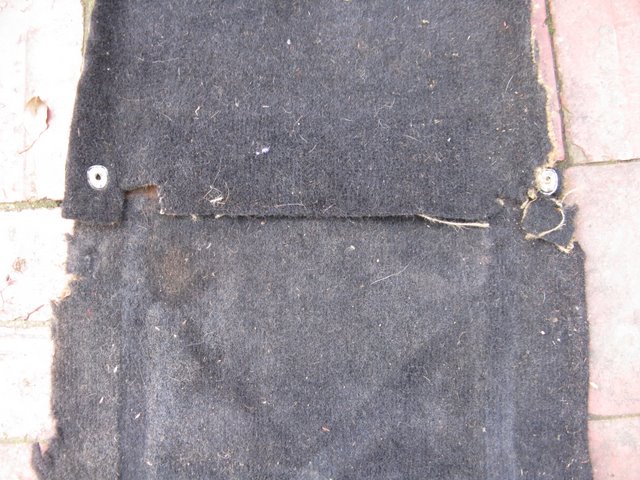
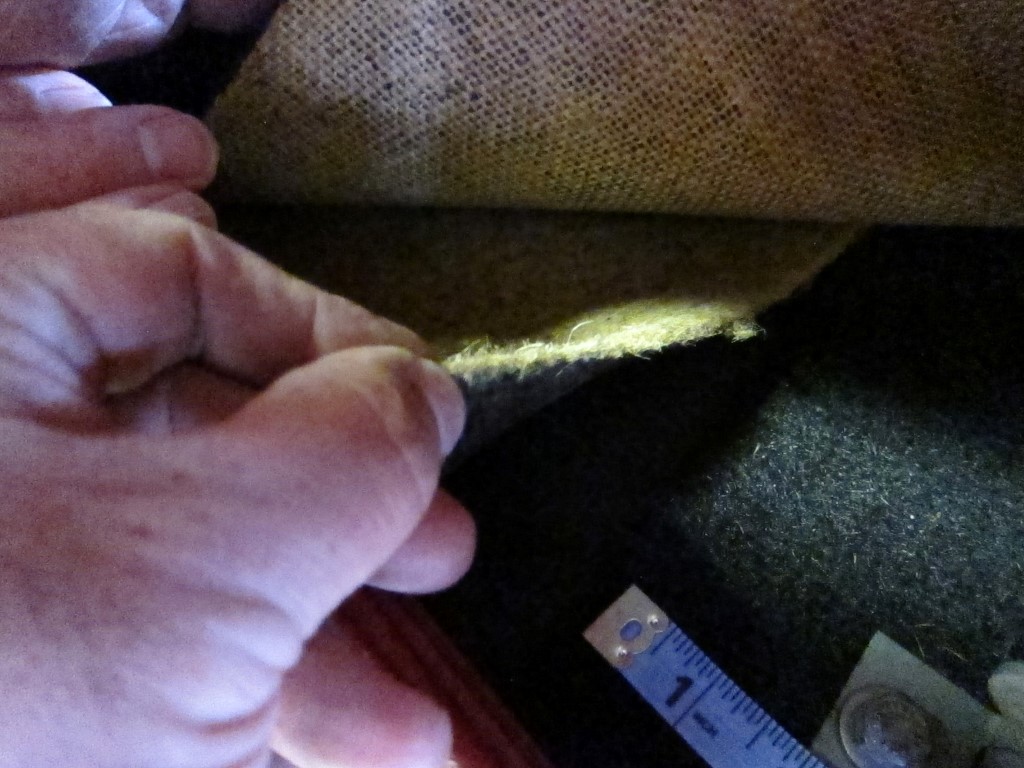
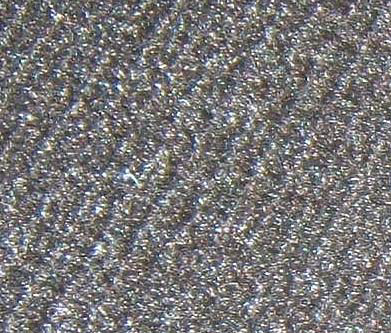
The original carpet used in the T-Series was black Karvel, which is
characterized by the distinctive grain which is a feature of the
material. It has been described as being ribbed, or as having corn rows.
This is especially apparent when you fold a piece of carpet in half. The
carpet was almost entirely unbound, which made it less expensive to
produce. Originally the exposed front edge of the carpet on the cover of
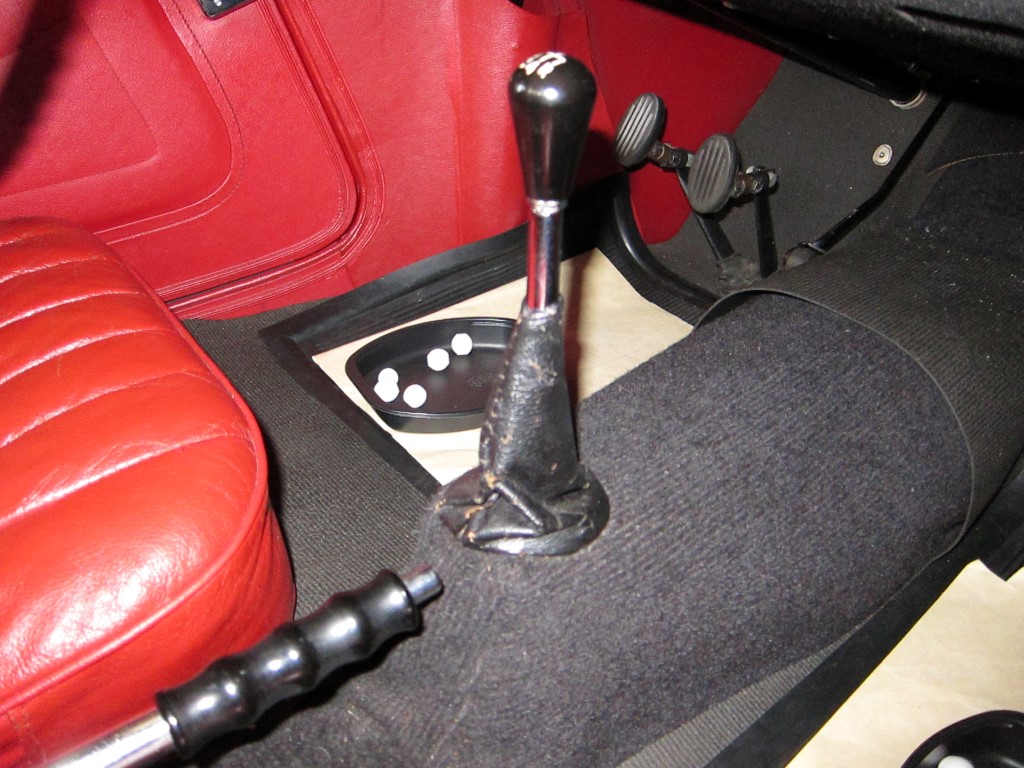
the handbrake cables was trimmed. The gearshift had a leather boot sewn
into the tunnel carpet. Underfelt was used only on the floors and
transmission tunnel, and not on the toe board or the footrest on the
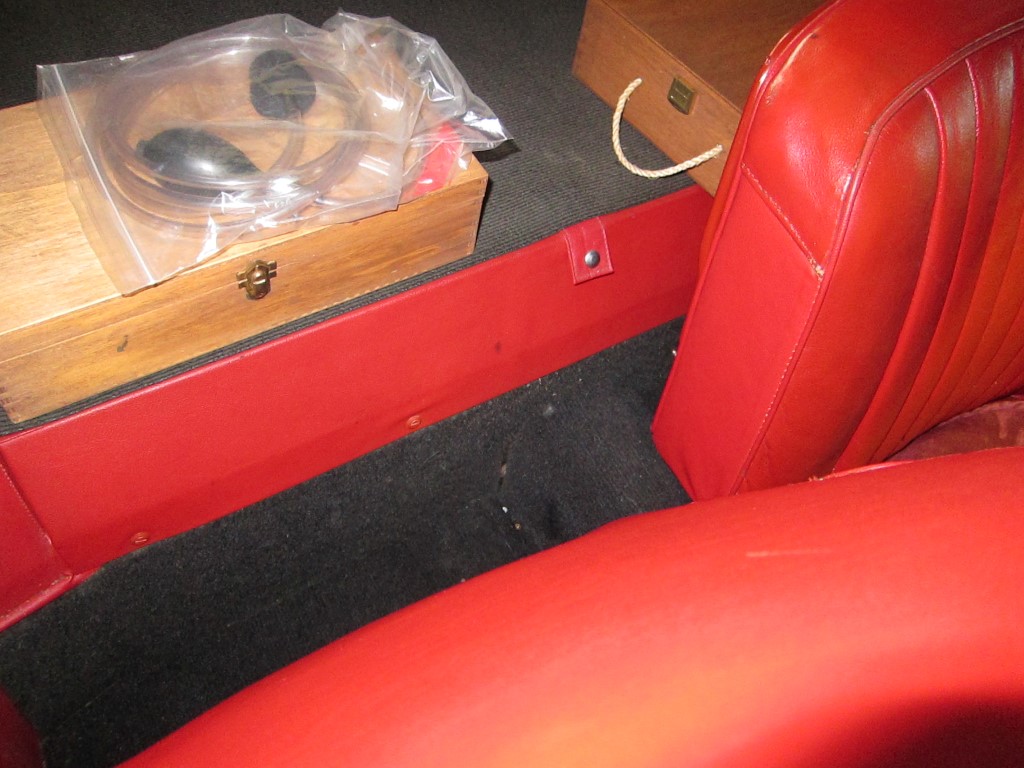
passenger's side. Originally the TD's did not have carpeting behind the
seats. You may want to consider a loose piece of carpet on the rear deck
of TD's to protect the wood that can easily be pulled out for car shows
and exhibitions.
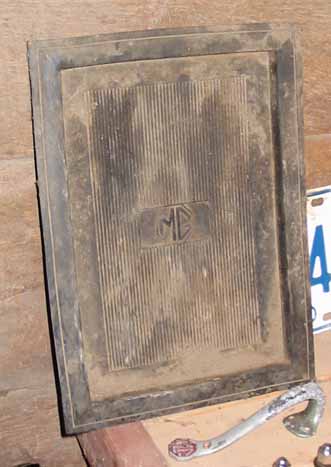
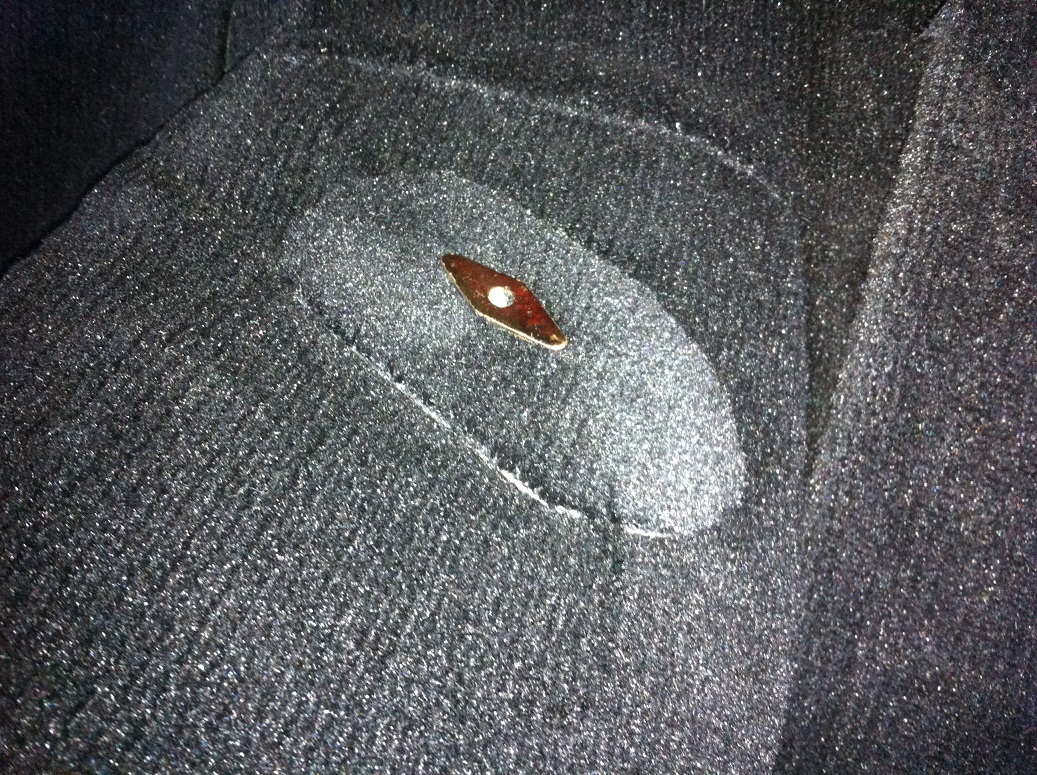
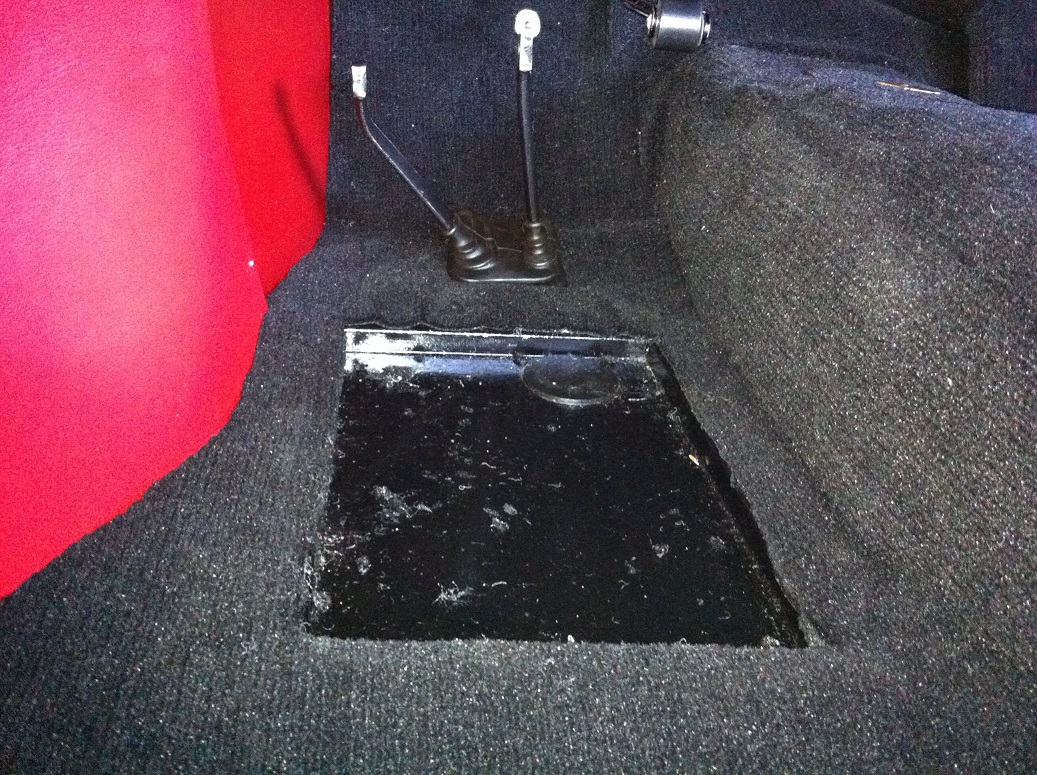
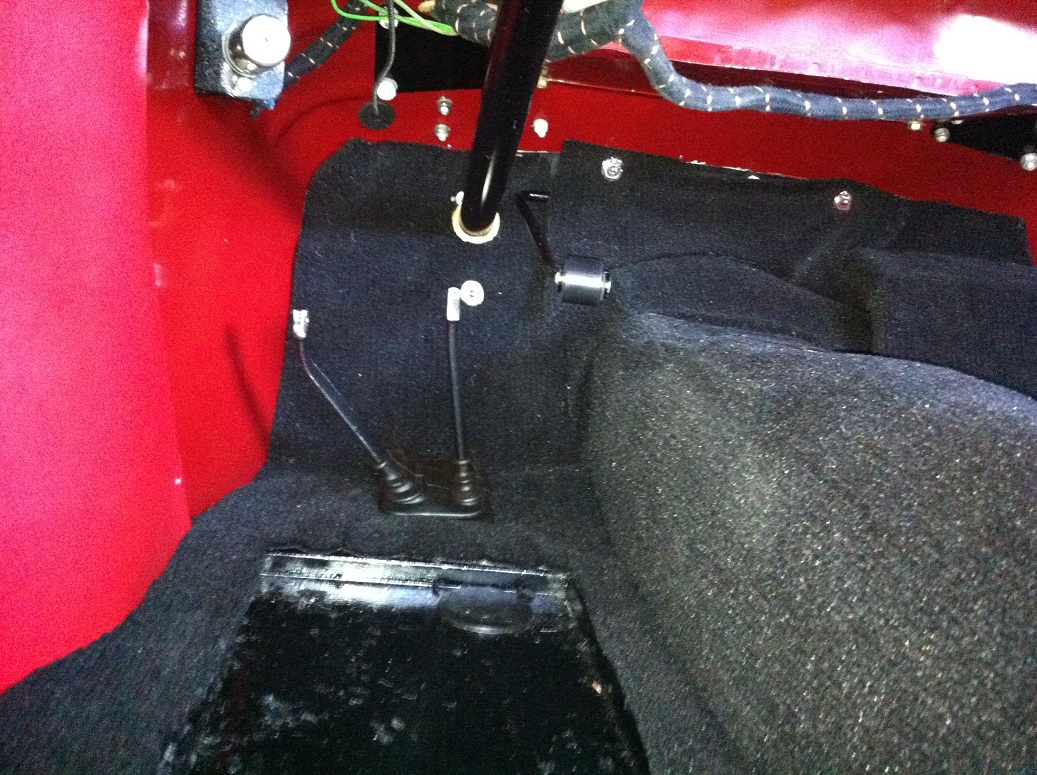
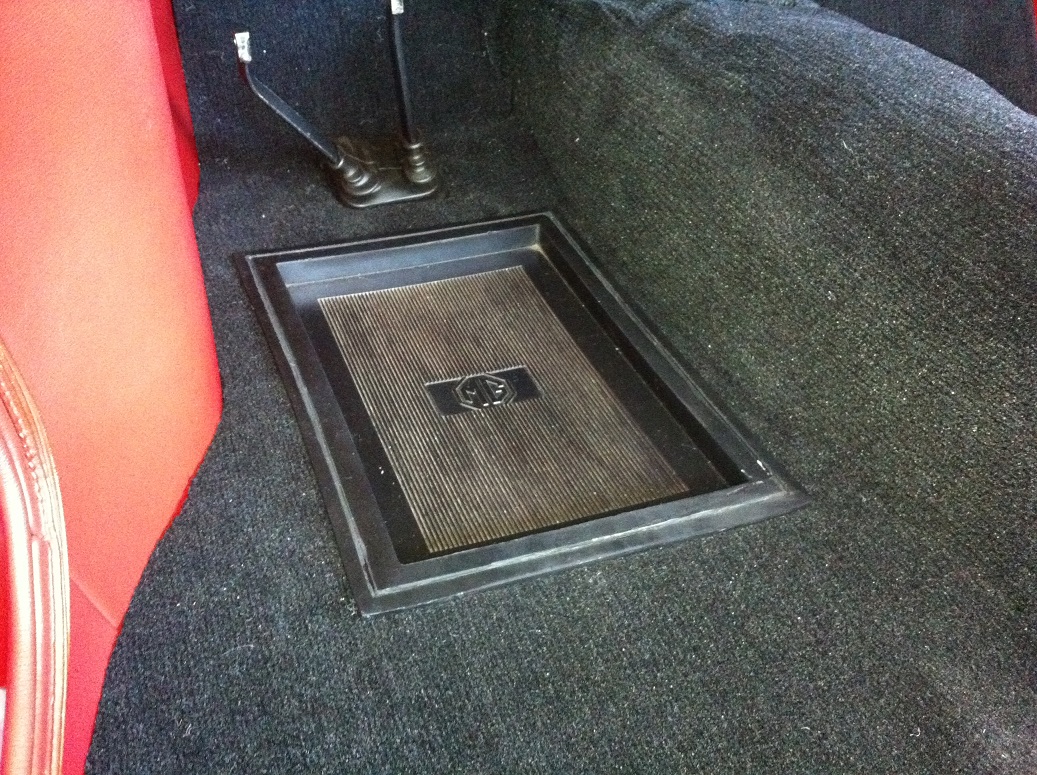
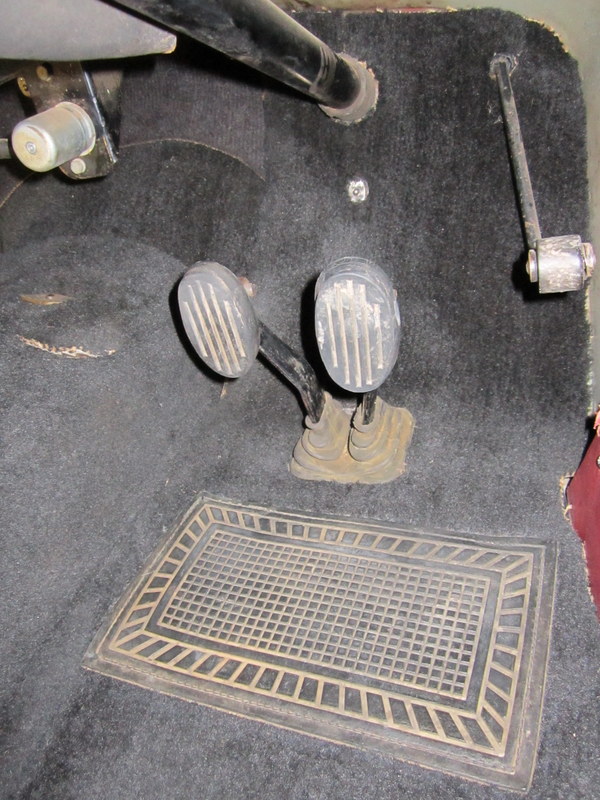
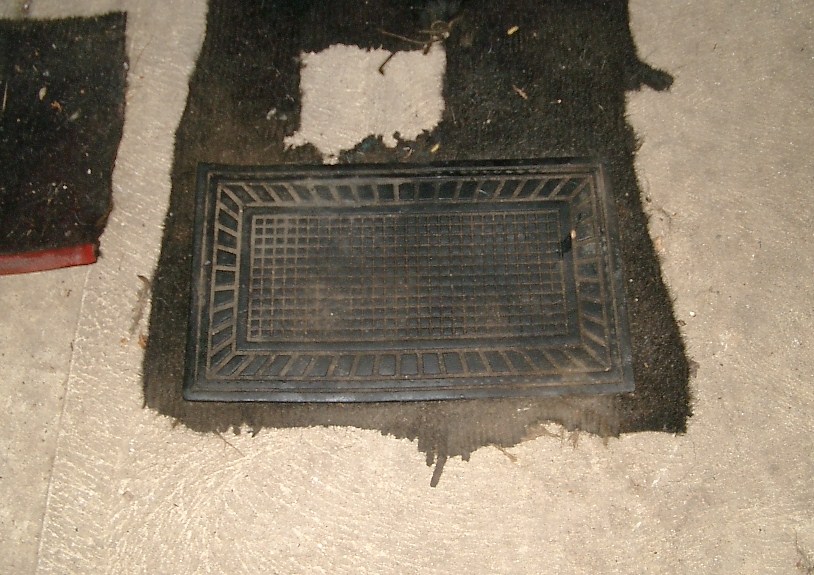
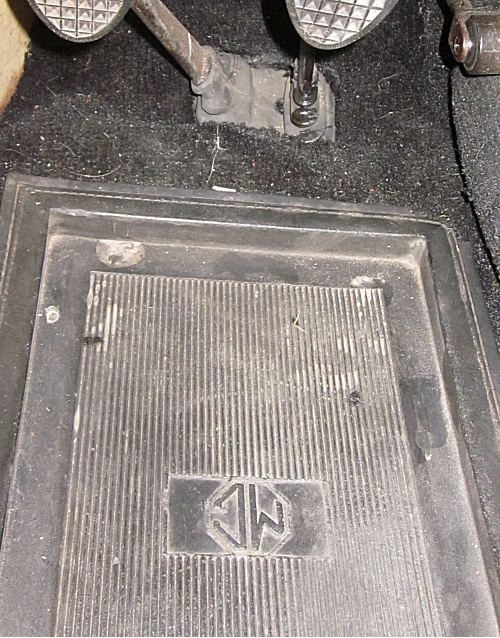
Right hand drive cars and early MGTDs had a rubber pad sewn into the
carpet under the drivers feet. Later LHD cars had a sunken footwell
made of rubber. These were also sewn into the carpet through a
1/16" wide channel that was a third of the way into the footwell
along the outer edge (see picture to the right). Todays reproduction
rubber footwells do not have this groove and most restorers just lay
the footwell into a cutout of the carpet, allowing the footwell to
overlap the opening hiding the rough carpet edge.
Carpet Pieces
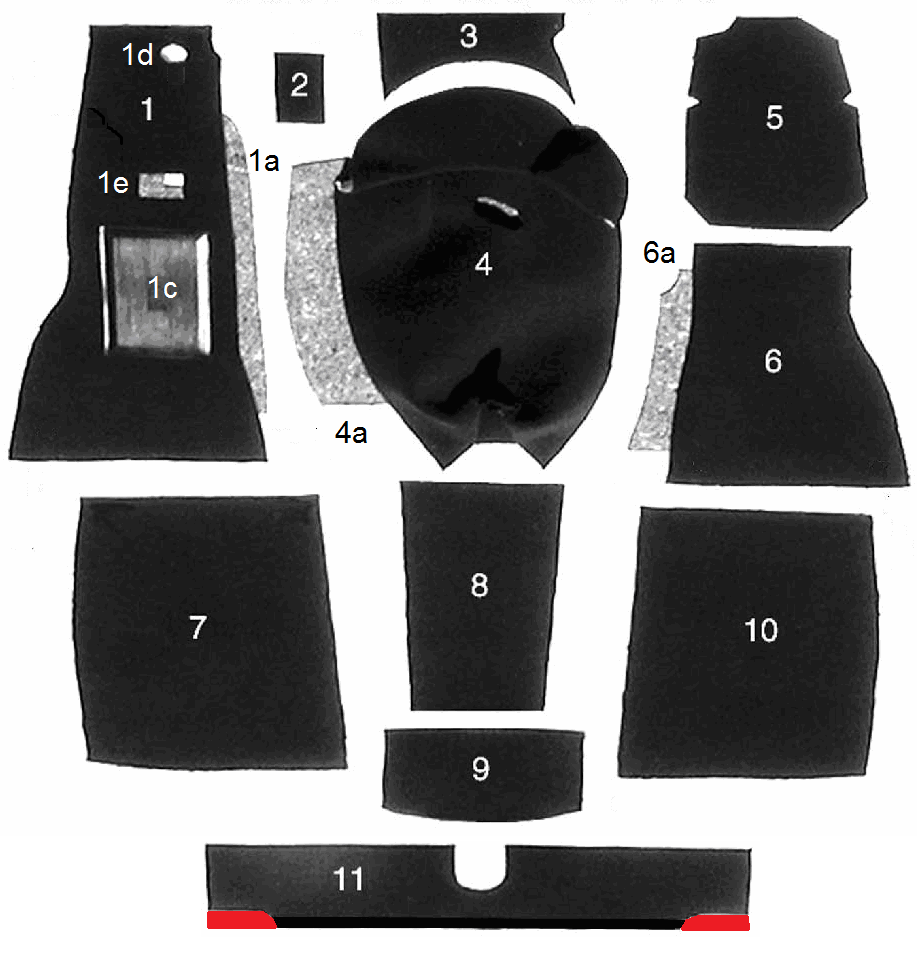
The numerals to the left of the descriptions match the carpet items in the
picture below and are used in the installation instructions that follow.
The orientation describes the grain, or corn row, of the carpet. Linear
orientation follows the length of the car while cross orientation is side
to side, across the car.
#
Description
Orientation
1
Floor carpet, LH
Linear
1a
Padding, LH floor
N/A
1b
Heel mat, plain. Plain heel mat is sewn to carpet for “flat
floor” or early TDs
N/A
1c
Heel mat for footwell, w/MG Octagon. Carpets for the later LHD cars
with the footwell have a mat that drops into the metal pan that fits
in the hole in the floorboards. These were sewn into carpet originally
through a recess in the edge.
N/A
1d
Hole for steering column
N/A
1e
Hole for pedals
N/A
2
Dipstick access cover
Any
3
Front bulkhead cover
Linear
4
Transmission tunnel cover
Linear
4a
Padding, transmission tunnel
N/A
5
Passenger's side foot ramp carpet.
Cross
6
Floor carpet, RH
Linear
6a
Padding, RH floor
N/A
7
Under seat carpet, LH
Linear
8
Propeller shaft cover carpet. Propeller shaft cover carpet was
originally installed before the floorboards. Most people install it
after the floorboards.
Cross
9
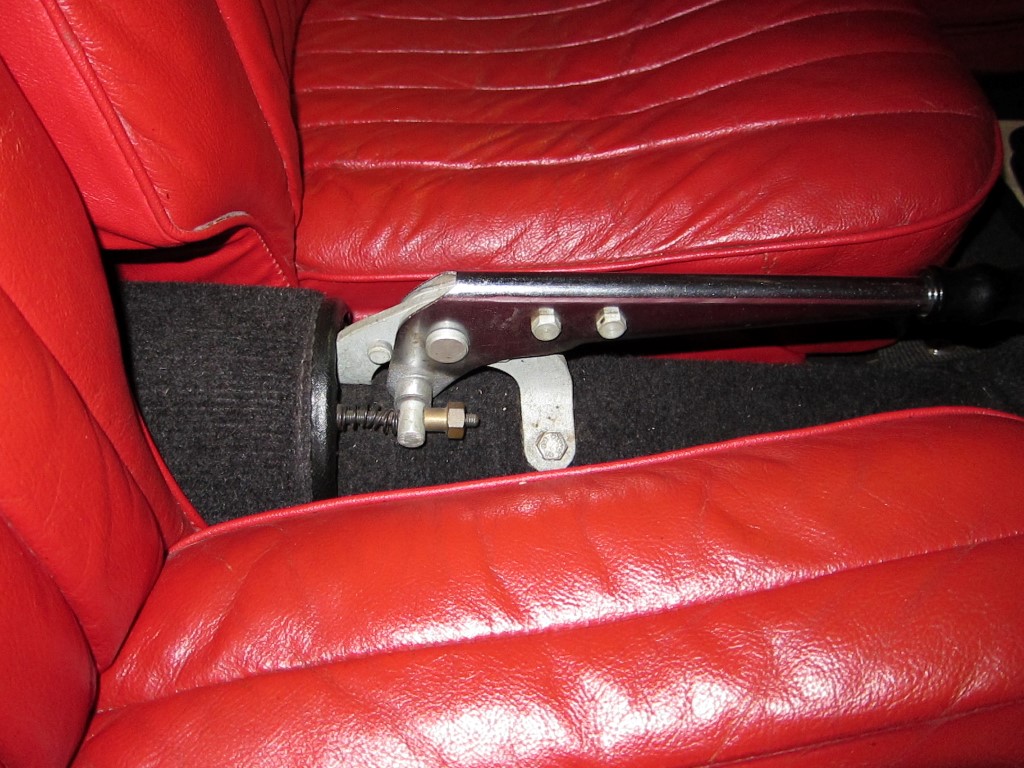
Handbrake cable cover. This is backed with cardboard. The leading edge
is bound - it is the only carpet edge bound originally.
Linear
10
Under seat carpet, RH
Linear
11
Rear bulkhead (heelboard) carpet. Originally used on TF models only,
this can also be fitted to TDs. Note: For TF's you will need to
provide your own interior colored vinyl for the wheelwell trim
portions (shown in red below). You can remove the black vinyl supplied
as that edge is tucked under the side curtain box lip.
Linear
Required Fasteners
7
Lift-the-Dot snaps
2
Veltex hidden snap rings and button snap studs (optional install)
4
Lift-the-Dot woodscrew style studs
3
Lift-the-Dot machine screw style studs, nuts and lock washers (if not
on the car already)
3
#10 round headed slotted woodscrews, 5/8" painted black
1
Quart tub of carpet adhesive
Installation Instructions
The following are detailed instructions on installing the carpet to
original specifications. The numbers correspond to the carpet item number
on the picture above.
The original carpeting was held in place with tacks, screws through the
footrest and in some places Lift-the-Dot snaps. It was not intended to be
removed easily but one could unsnap the carpet just in front of the seats
and vacuum or sweep out debris. In order to remove the carpets in front of
the seats you would have to remove the pedals on the drivers side and the
footrest screws into the floorboard on the passenger side. As an option I
have tailored the installation for the carpeting in the passenger seat
securing it in the front with hidden snaps, making it possible to remove
the carpet for cleaning, or drying if it gets wet. Unfortunately you will
still need to remove at least the outboard pedal to remove the drivers
carpet even though it was originally held down only with snaps.
The carpet padding is used on the tunnel and the carpet in front of the
seats. It fills the void in any area that does not have two layers of
carpeting on the floorboards. The carpet is glued to the padding so you
can remove the padding with the carpet. To accomplish this, you will lay
the pieces of padding in place and after all the carpet is in place you
can apply carpet adhesive to the padding and then press the carpet down on
top of the pads.
Step by Step Instructions
The following are step by step instructions for installing the carpet as
original. There are a few options as the factory changed the installation
around the seat runners during the production of the cars. You will have a
choice on how to install the footrest during this process, either as
original or in a slightly modified way.
Begin by removing all of the seats, seat runners, old carpets and the
passenger footrest. You will need to remove the pedals and gear shift
knob too. Now is the time to inspect and replace if needed the leather
scuttle around the steering column and the rubber draft excluder
around the pedals. The rubber pedal excluder is fastened directly to
the floorboards by the medal pedal excluder trim and wood screws.
(Note there is one floorboard machine screw into the pedal box). A
replacement heat shield is shown in this picture. See next
instruction.
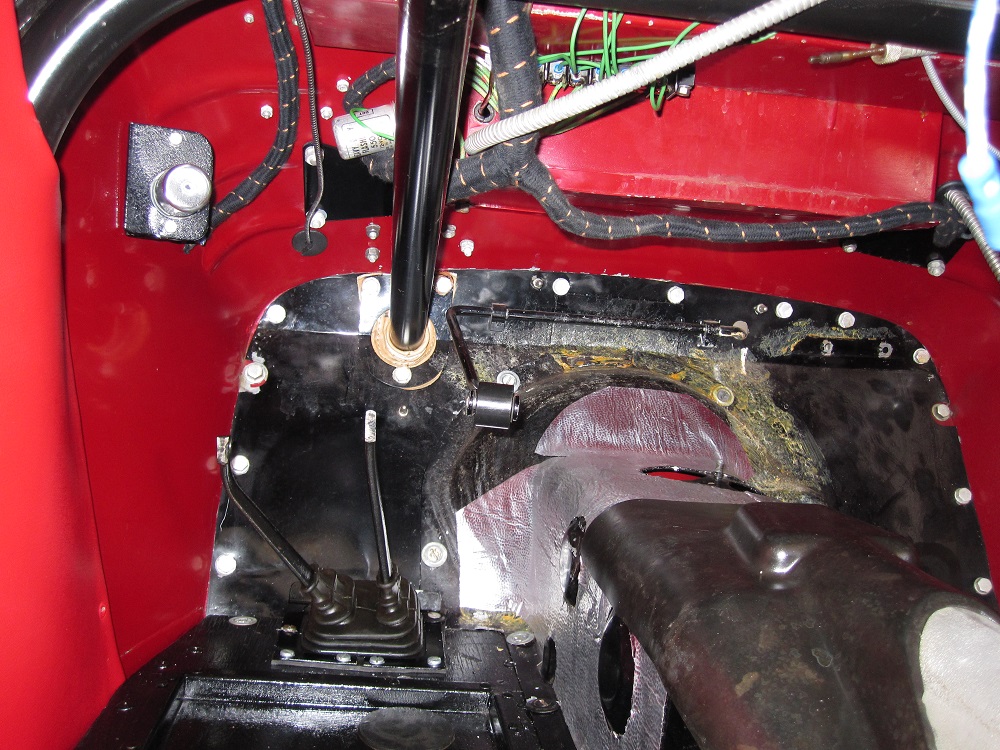
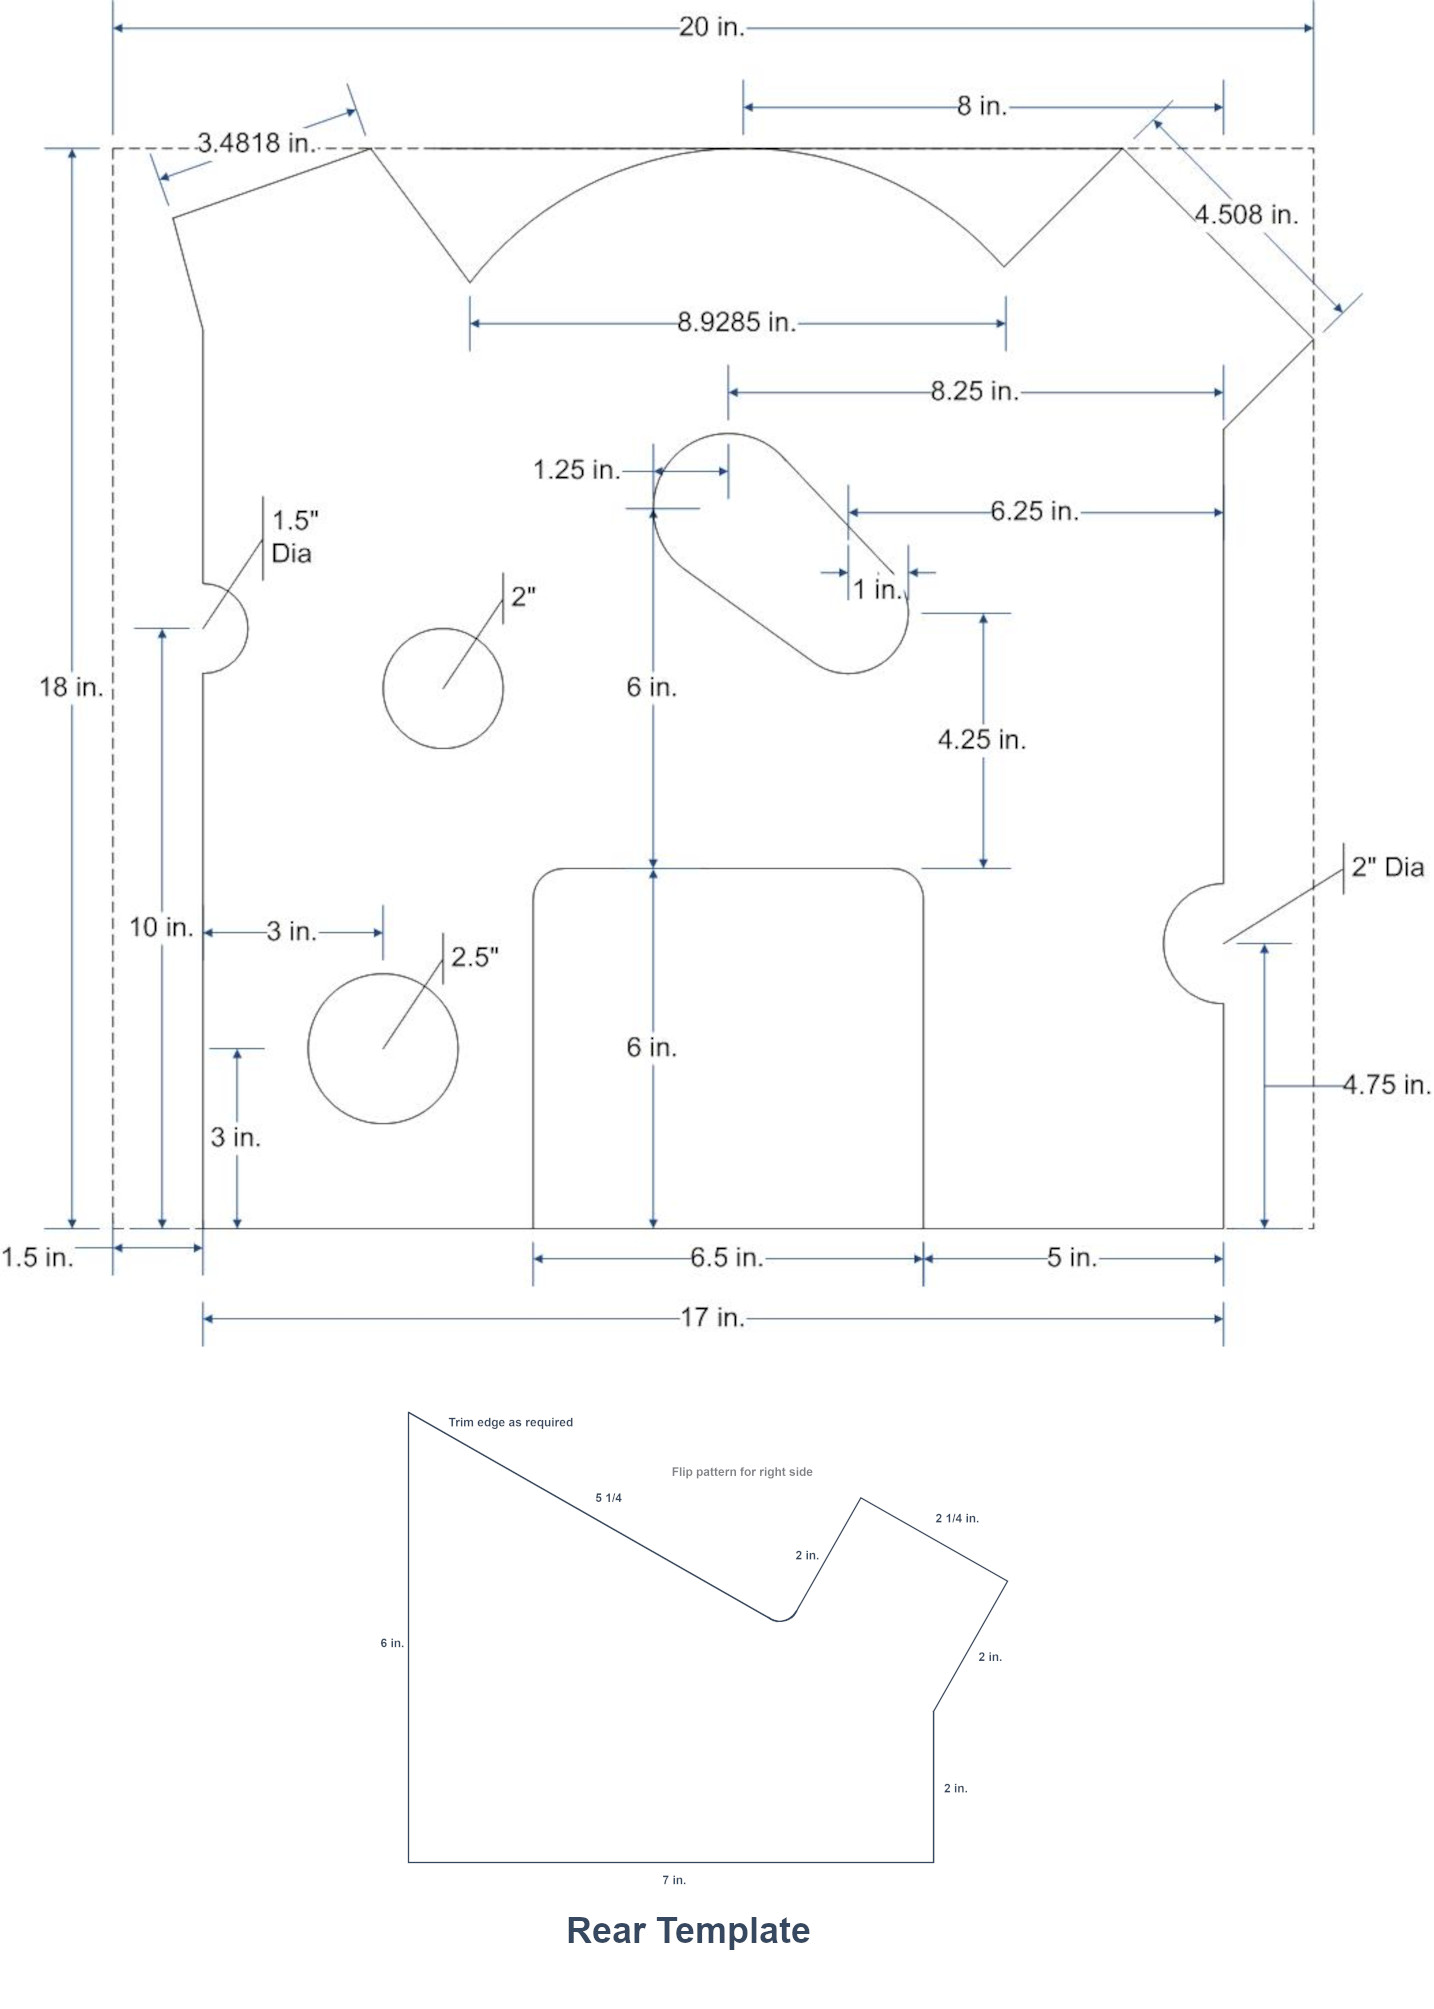
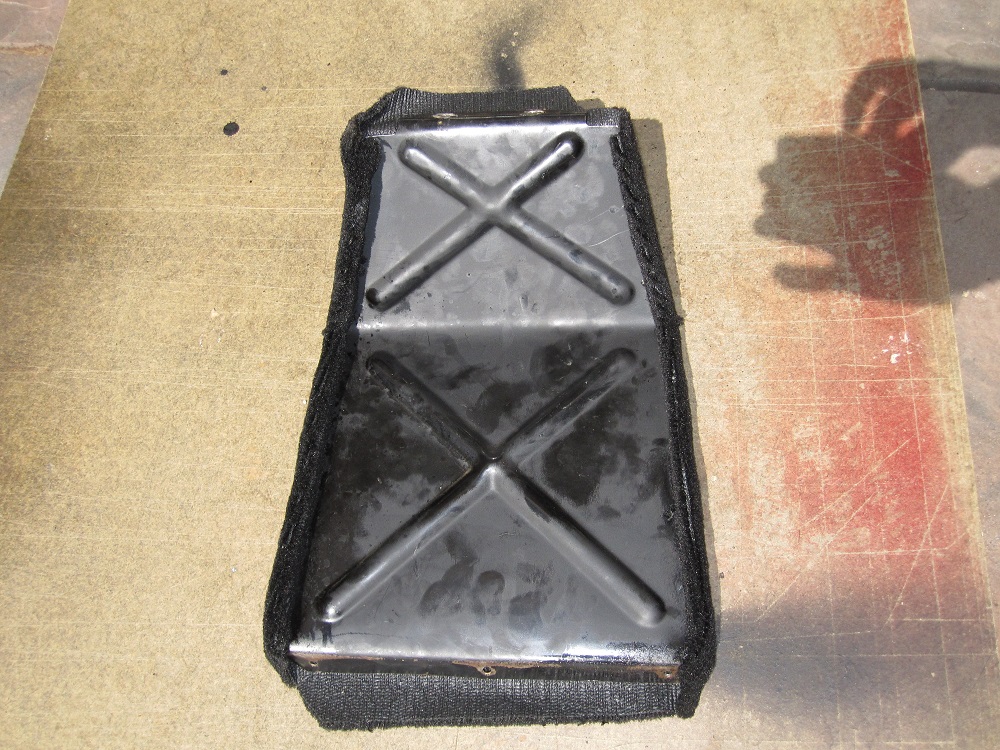
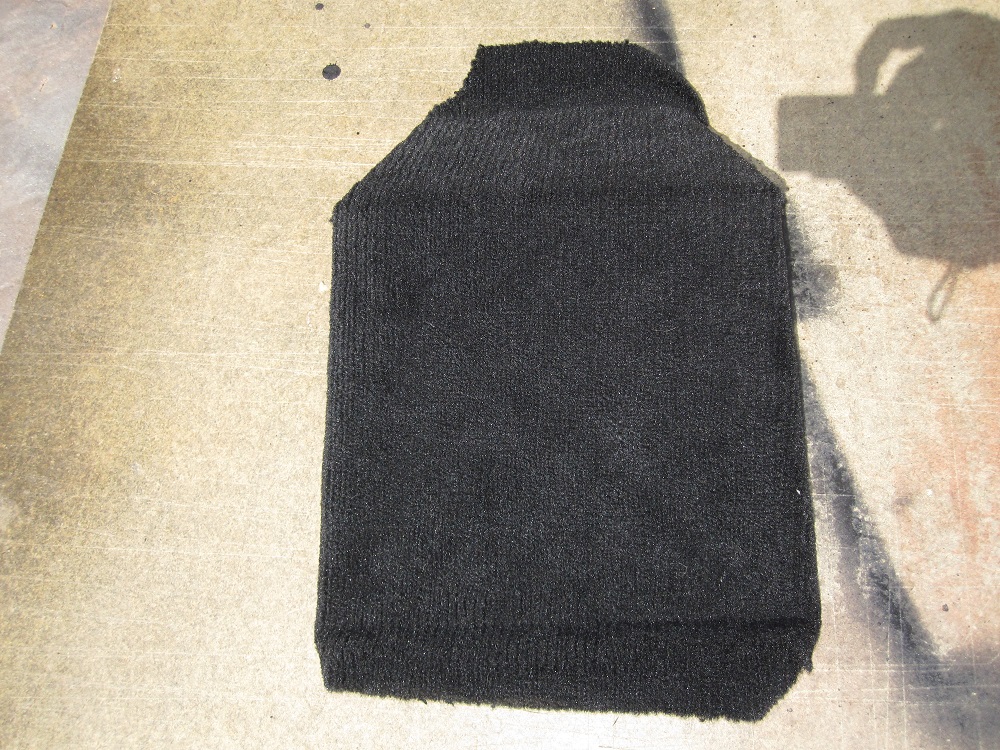
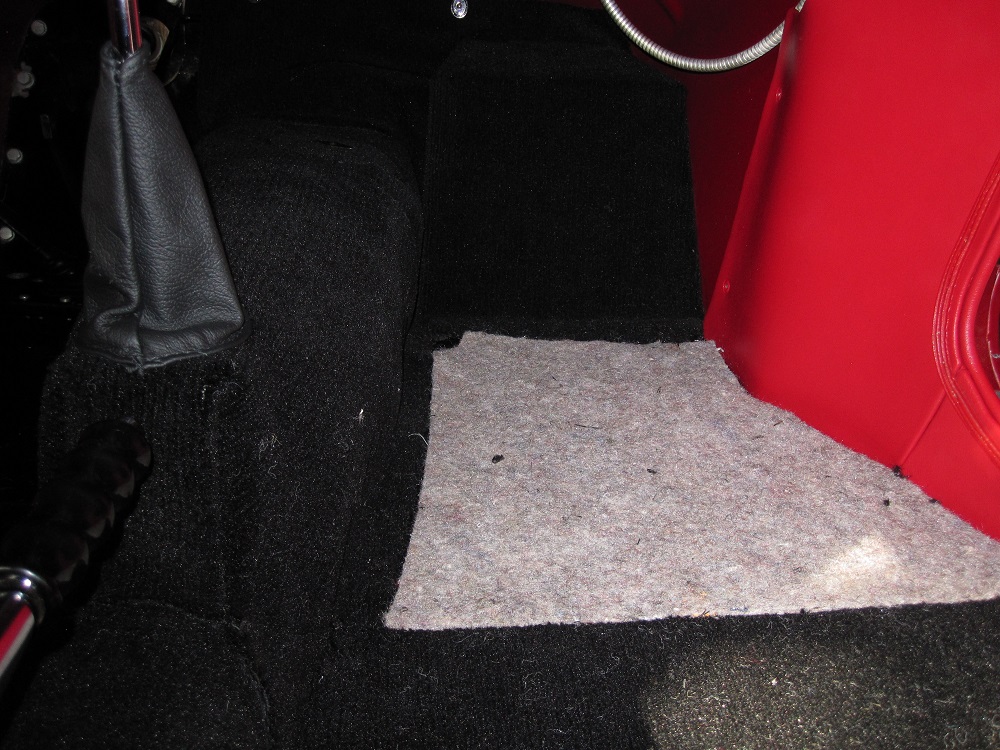
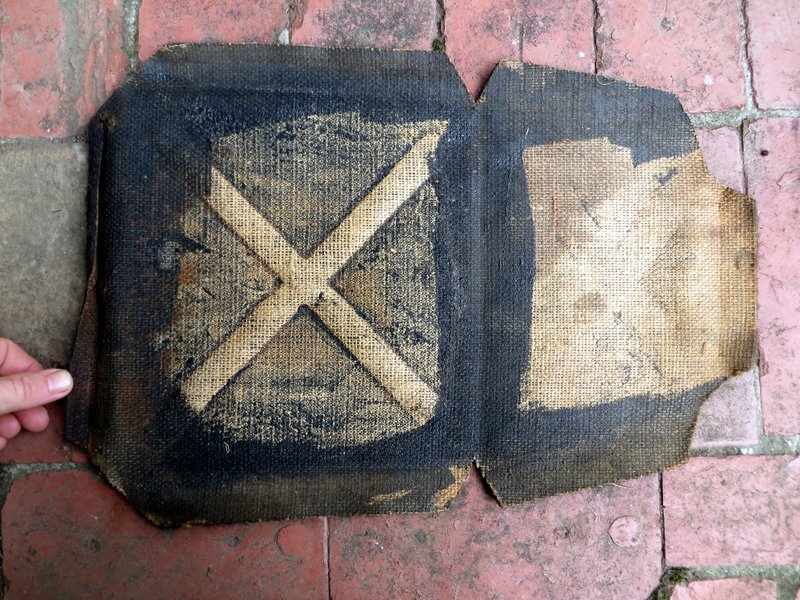
Optionally you can replace the existing or missing fiber heat shield
with a rubber foil backed self adhesive one as pictured. Follow the
template to the left. The original material is sort of a dense tar
paper-fiber called Irish Flax.
Note the original fiber shield may contain asbestos so its best not
to disturb it unless you are wearing a mask and rubber gloves.
Dispose of it properly.
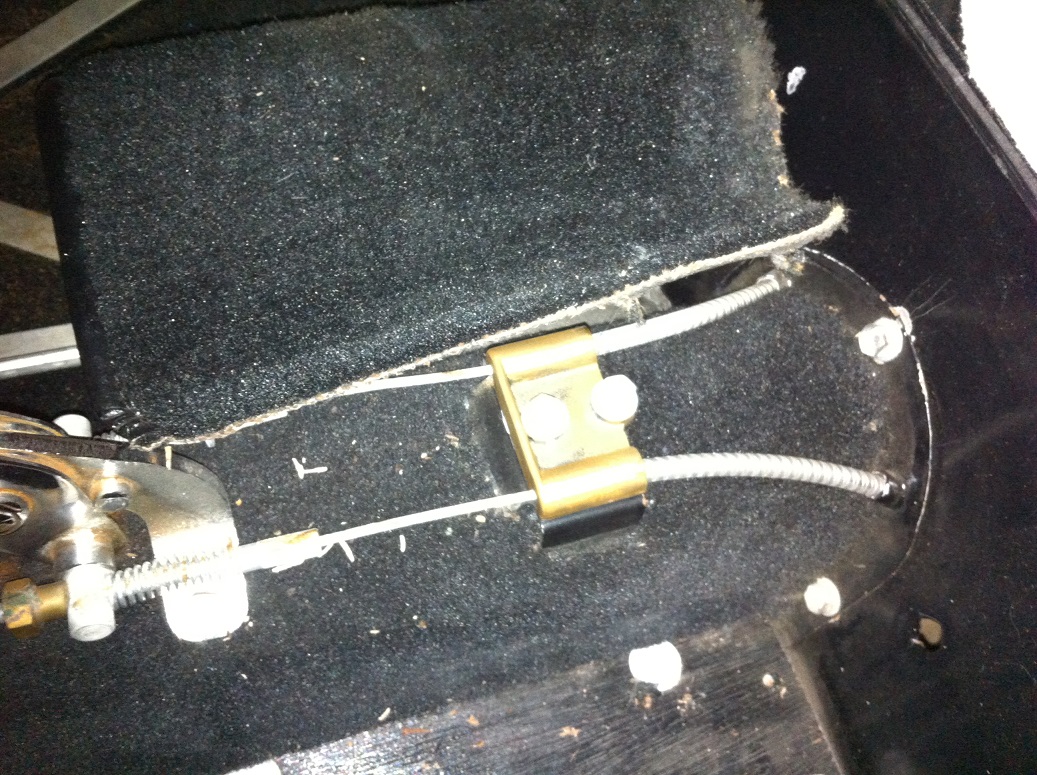
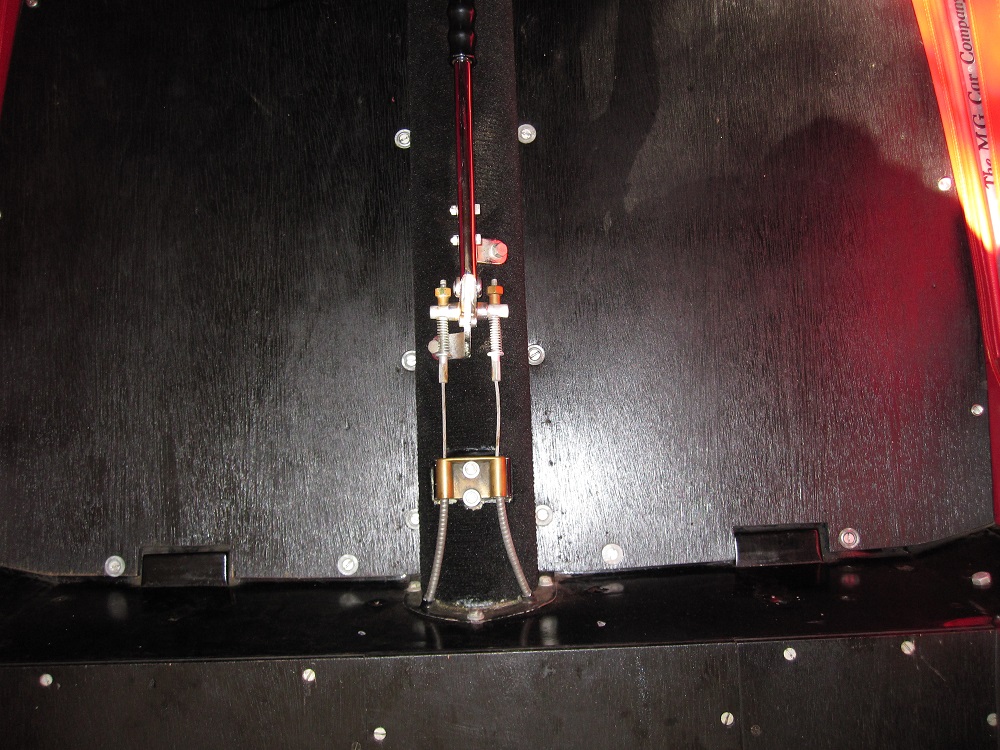
You will need to remove the fasteners holding down the handbrake cable
cover and remove the handbrake and the handbrake cable retainer.
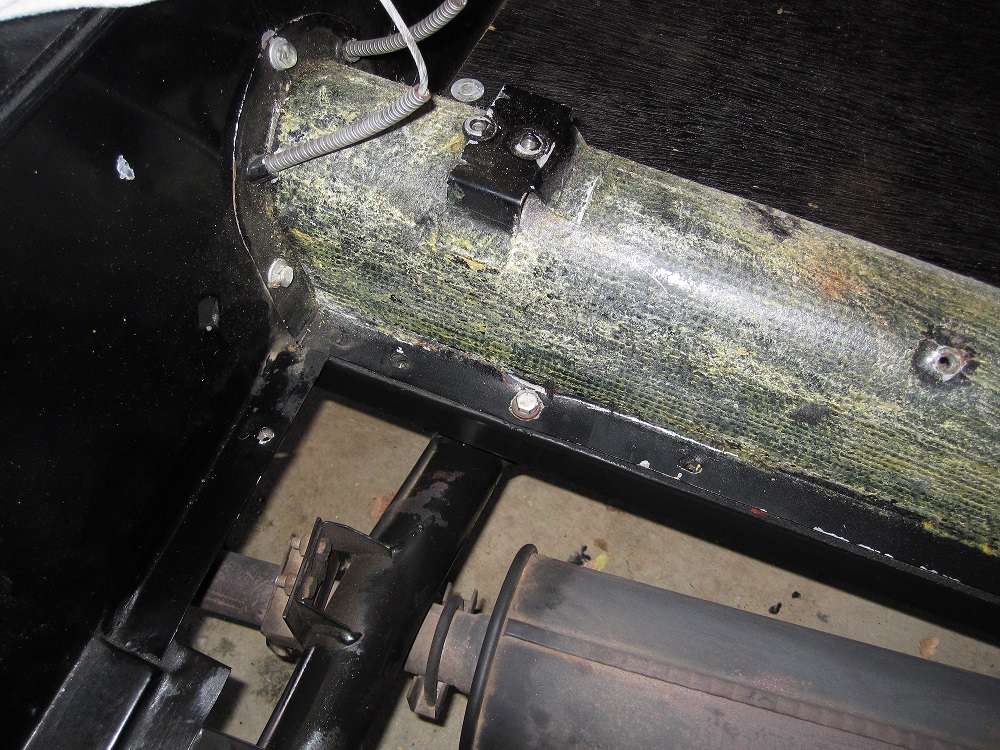
Scrape the old carpet off of the propeller shaft tunnel. Note this
picture shows a floorboard removed which is not necessary.
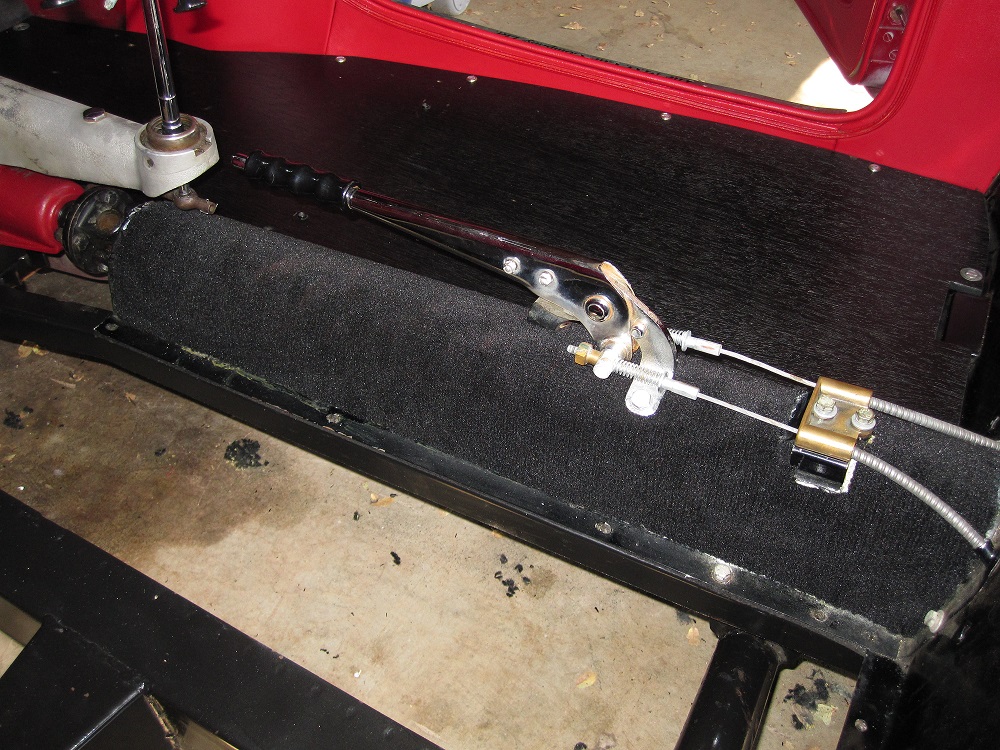
Dry fit the propeller shaft carpet (8) onto the tunnel. It should
start at the front just rearward of the bulge at the front end and
go to the platform for the handbrake cable bracket. Pay attention
that the grain is even. Trim the carpet so it does not rest on the
floorboards but is flush with them.
Note: The picture shows a carpet that extends beyond the handbrake
cable bracket but that is not necessary.
Apply a thin layer of carpet adhesive to the tunnel where the carpet
will go. Then press the carpet onto the tunnel and smooth out any
wrinkles. When dry you can replace the handbrake and the handbrake
cable bracket.
Begin by test fitting the transmission cover carpet (4). First lay
the padding in place. It should not extend onto the floorboards.
Trim if necessary.
Next place the transmission tunnel carpet over the tunnel and smooth
out the carpet to your satisfaction. The stitched area to the front
should lay nicely in the valley of the tunnel. The carpet behind the
gearshift should but up tightly to the gear shift but should not
fowl or protrude when moving the shift lever.
Once the tunnel and pad are in place to your satisfaction you will
tack it down onto the floorboard at the edges with #6 carpet tacks.
Make sure the carpet is sitting correctly in the valley. Also pay
attention that the carpet under the gear shift is equal on both
sides and taught. Place a tack every 2 - 3 inches just outside of
the lip of the tunnel on the floorboard. Pull and use tacks to get
everything smooth but don't pull so much you ruin the shape of the
carpet. It should be smooth without creases or indentations.
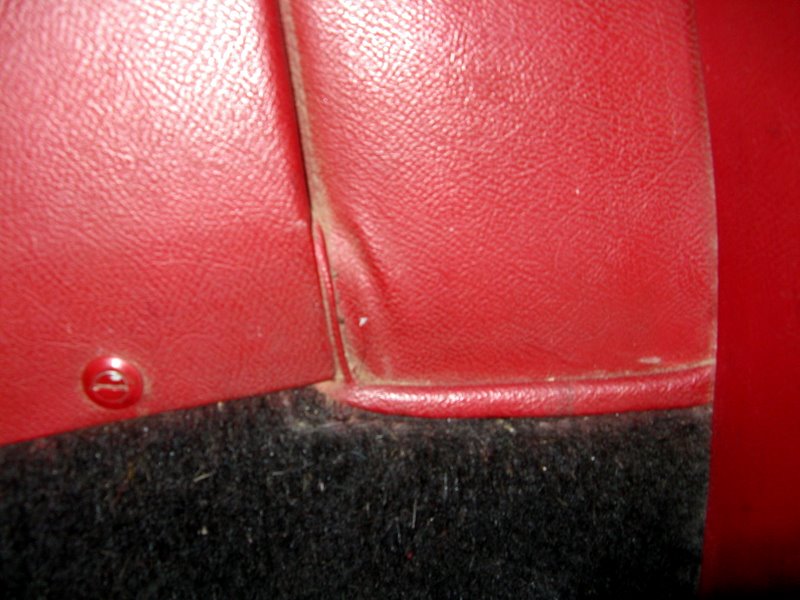
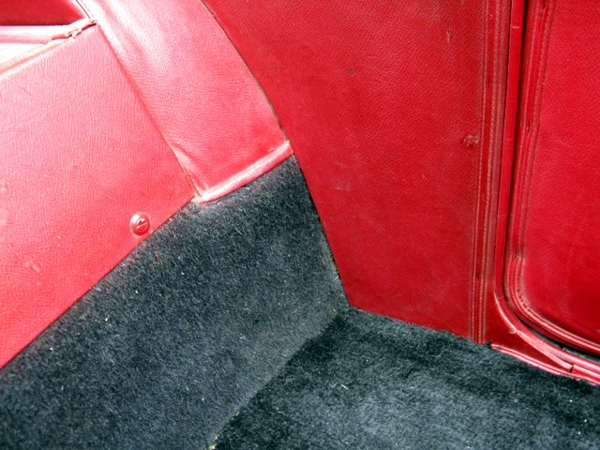
Unlike the TD, the TF has an extra piece of carpet (11) covering the
7" gap between the floor and the sidescreen compartment on the
heelboard. This piece has a vertical grain and is glued down with
the top edge secured under the edge of the sidescreen compartment.
The sides go under the upholstery side panels and there is a piece
of upholstery coloured rexine edging sewn to the carpet to cover the
exposed upper edge between the side panels and the sidescreen
compartment. This edging is glued to the wheel well covers so that
no raw edge of the heelboard carpet can be seen.
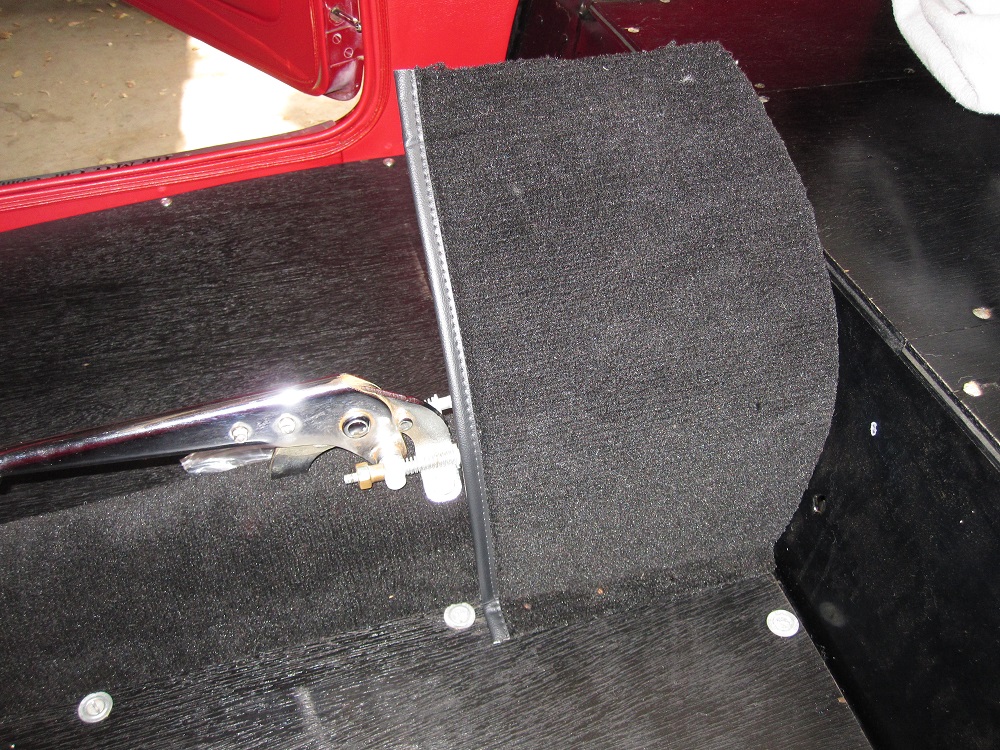
If installing for the MGTD the bound vinyl edge will be at the top.
Install the handbrake cable cover. Press the bottom of cover against
the tunnel side while at the same time pushing the cover firmly
against the back panel. Tack or screw the cover along one edge every
few inches. Once secure repeat on the other side.
Lay the underseat carpet pieces (7 and 10) down. They should be
trimmed so they are tight against all sides. You will need to notch
the carpets slightly around the emergency brake cable cover.
Tack the edges about 3 inches in, every 4 to 5 inches and put a few
tacks in the center. You may need additional tacks at the emergency
brake cover to keep it pressed tightly against the tunnel and the
carpet flat in that area.
Reinstall the seat runners on top of the carpets. You can use a
razor knife to cut the carpet around the captive nut in the
floorboard.
The carpet on the footrest and transmission dipstick access cover
are glued on. Remove the old carpet from the footrest and scrap off
any remnants of carpet using a heavy putty knife. Do the same with
the dipstick cover.
Now spread an even coat of carpet adhesive on the outside edges and
valley of the front of the footrest (see image 30). Do not put
adhesive on the top lip where the holes are. Do not put adhesive on
the sides yet.
Now place the carpet (5) onto the adhesive. Line up the notch in the
carpet with the notch and bend in the footrest. Smooth the carpet
out paying attention that there is equal carpet on both sides and
that the grain is parallel to the footrest.
After it has dried then coat both sides of the edges and bottom lip
(original method). Pay attention you don't get adhesive on the
carpet. Do not glue the top lip. Now press the carpet into the
adhesive and fold it over sandwiching the footrest edges between the
carpeting.
Repeat the process for the transmission dipstick cover.
Note the transmission dipstick cover carpet was originally cut flush
with the metal although most installers like to fold the carpet
under to avoid having a rough edge of carpet showing.
While the footrest is drying you can install the small trim carpet
(3) just over the transmission tunnel. It will be held in place with
Lift-the-Dot snaps. The carpet should be flush with the top of the
toeboard (scuttle). On the left side it should extend to where the
accelerator shaft descends down, covering all of the accelerator
shaft that is on the toeboard. The Lift-the-Dot snaps should be
installed upside down on the scuttle area because you will pull the
carpet down, not lift it up, to remove.
When the dipstick cover and footrest are dry, install them. Do not
install the screws at the bottom of the footrest yet.
Installing the Carpets in Front of the Seats
This section will describe how to install the carpet in front of the
seats. Regardless if you have chosen an original footrest installation or
the modified version, the process is the same with one small deviation
regarding the attachment of the front of the passenger carpet. That will
be called out within the instructions below.
Note: The pictures in this section will depict the optional footrest
procedure.
Place the passenger carpet padding (6a) into the recess between the
footrest, the transmission tunnel carpet, and the underseat carpet. It
should fill the void between the carpet pieces so everything is at the
same level. Trim if required.
Now lay the passenger carpet (6) down onto the padding. Adjust the
carpet so the grain runs parallel to the car and there are no gaps
between the edge of the carpet and the sides of the trim panels. The
front of the carpet should stop just at the base of the footrest but
covering the bottom tab. Carefully trim the two sides so they are
flush with the panels and the transmission tunnel. The carpet should
not climb the sides. Do not trim the side closest to the seats at
this time.
Once the carpet has been trimmed you may decide which method you
want to use to secure the footrest, original or modified. With the
original installation the footrest bottom is screwed down on top of
the passenger carpet. Three black round headed screws will slightly
show at the base of the footrest. You will fold the bottom of the
carpet under the footrest and then drive the screws into the
floorboard securing the footrest and front of the passenger carpet.
The shown edge will be nicely rolled over but you will notice the
black screws if you look closely.
The optional technique that will allow for the passenger carpet to
be removed with snaps is to secure the footrest to the floor first.
Do not fold the footrest carpet over the bottom lip but rather let
it lay onto the floorboard. Then lay the front edge of the passenger
carpet over the footrest lip hiding the screws and secure it just
behind the footrest with two hidden Veltex snaps.
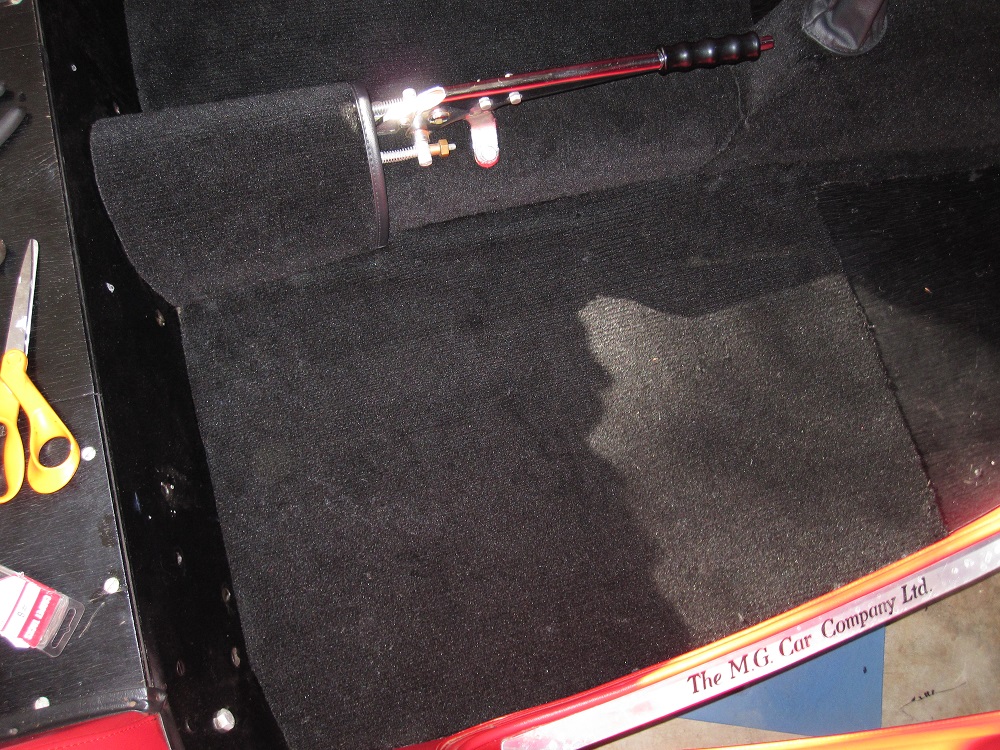
Repeat this process for the drivers side carpet (1). First lay the
carpet padding down (1a). Again it fills the void between the the
existing carpets. You may need to trim it a bit around the footwell
(1c). It should be even with the sunken edge.
Next lay down the carpeting. Its position will be determined by the
hole (1e) for the pedals. Pull the rubber pedal boot around the
carpet and push the carpet down as far as it will go.
Position the carpet so it is smooth and grain is parallel with the
car. Make sure there are no gaps.
Trim the carpet against the transmission tunnel and panels. Do not
trim the area in front of the seat. It should lay flat and not climb
the sides. Push the carpet around the steering column (1d) and under
the accelerator shaft.
To install the Lift-the-Dot below the steering column you will push
the carpet over the stud until it pokes through. Then remove the
carpet, install the snap upside down and replace the carpet in the
car.
To finish the carpet installation we will need to secure both the
driver and passenger carpet to the floorboards with Lift-the-Dot
studs and snaps. Two on each carpet just adjacent and behind the
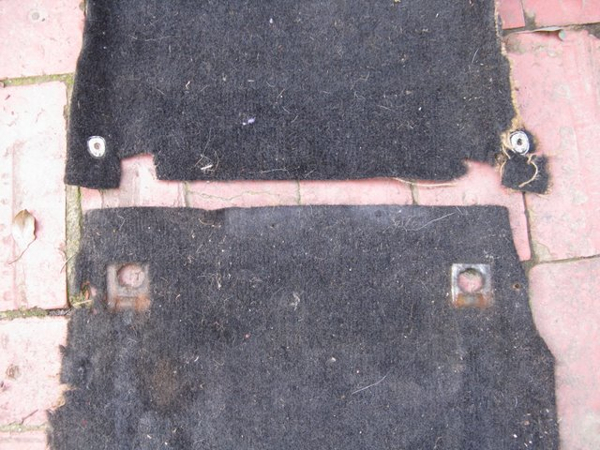
seat runner hinges. The rear edge of the carpets will be cut out
around the seat runners.
Cut the carpet around your seat runners just behind the hinges and
extending back along the runner. You should be able to lift the seat
runners up to install the seats without fowling the carpet when
installed correctly.
Note: Most MGTFs had their carpets extend only
about 1" behind the hinges while MGTDs could up to 2" or
more of carpet behind the hinge.
Trim the carpets to the length you desire, if necessary. Its best to
remove them from the car and use a straight edge and razor knife in
order to have a straight cut.
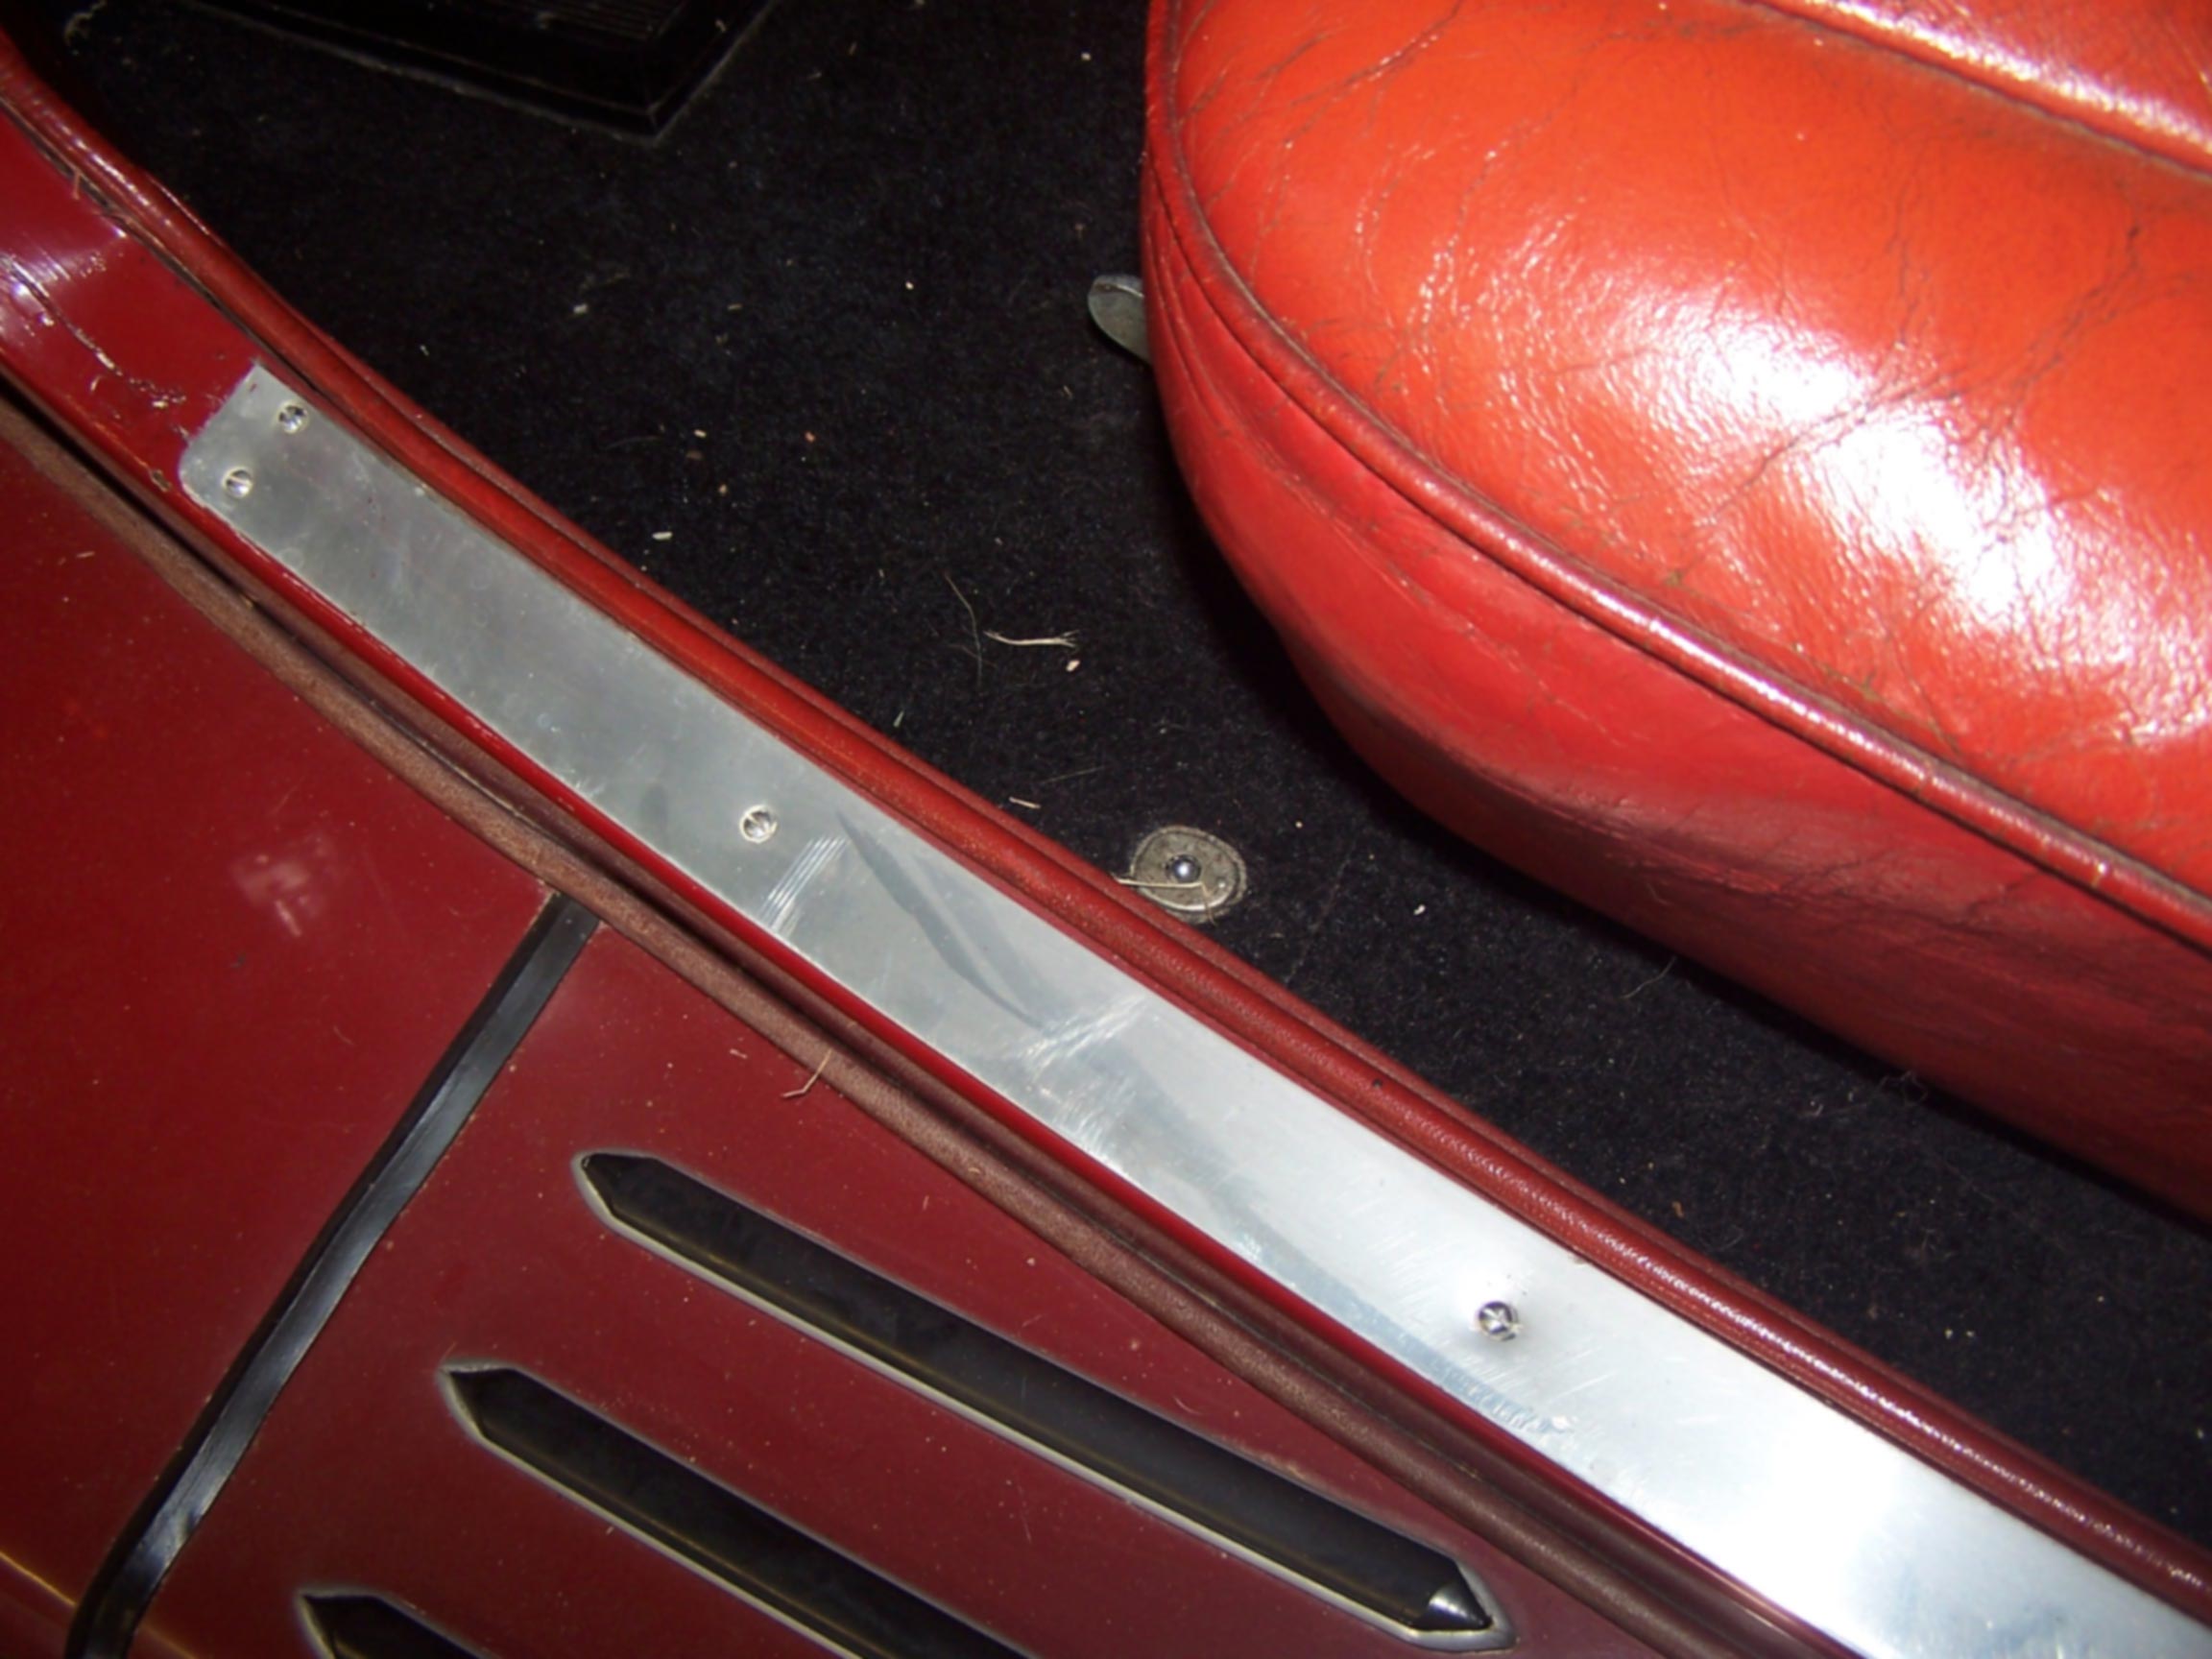
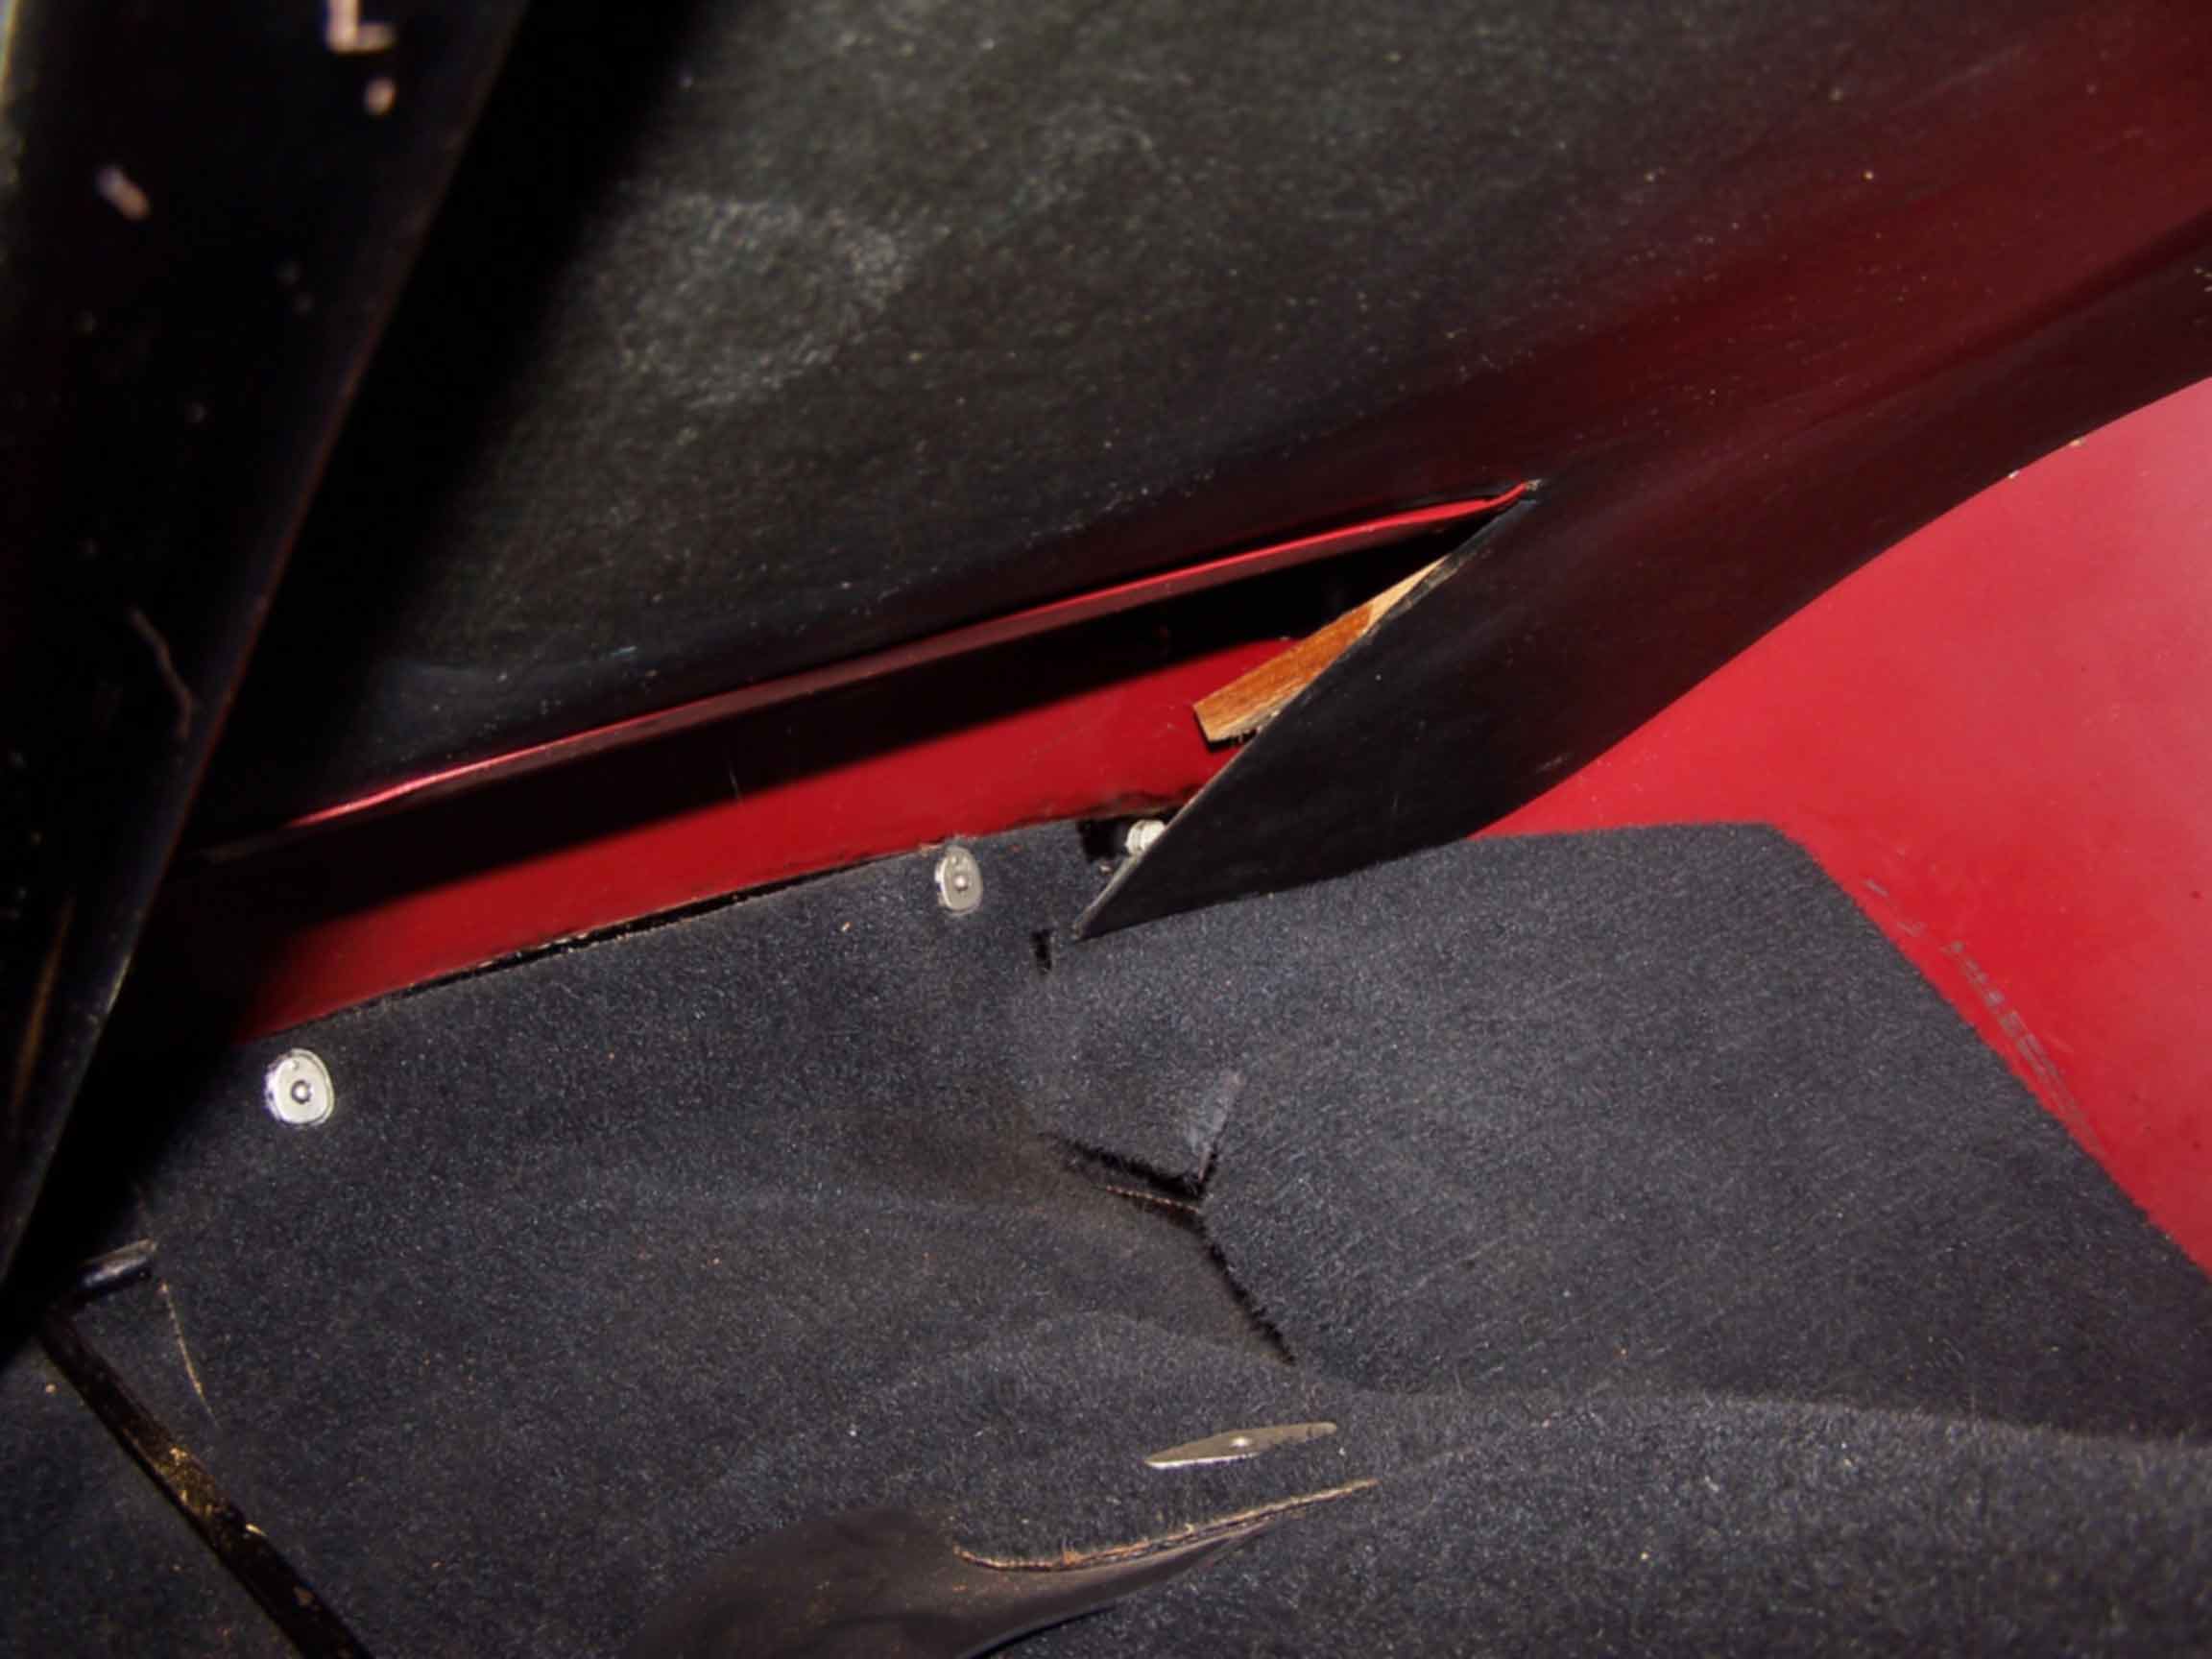
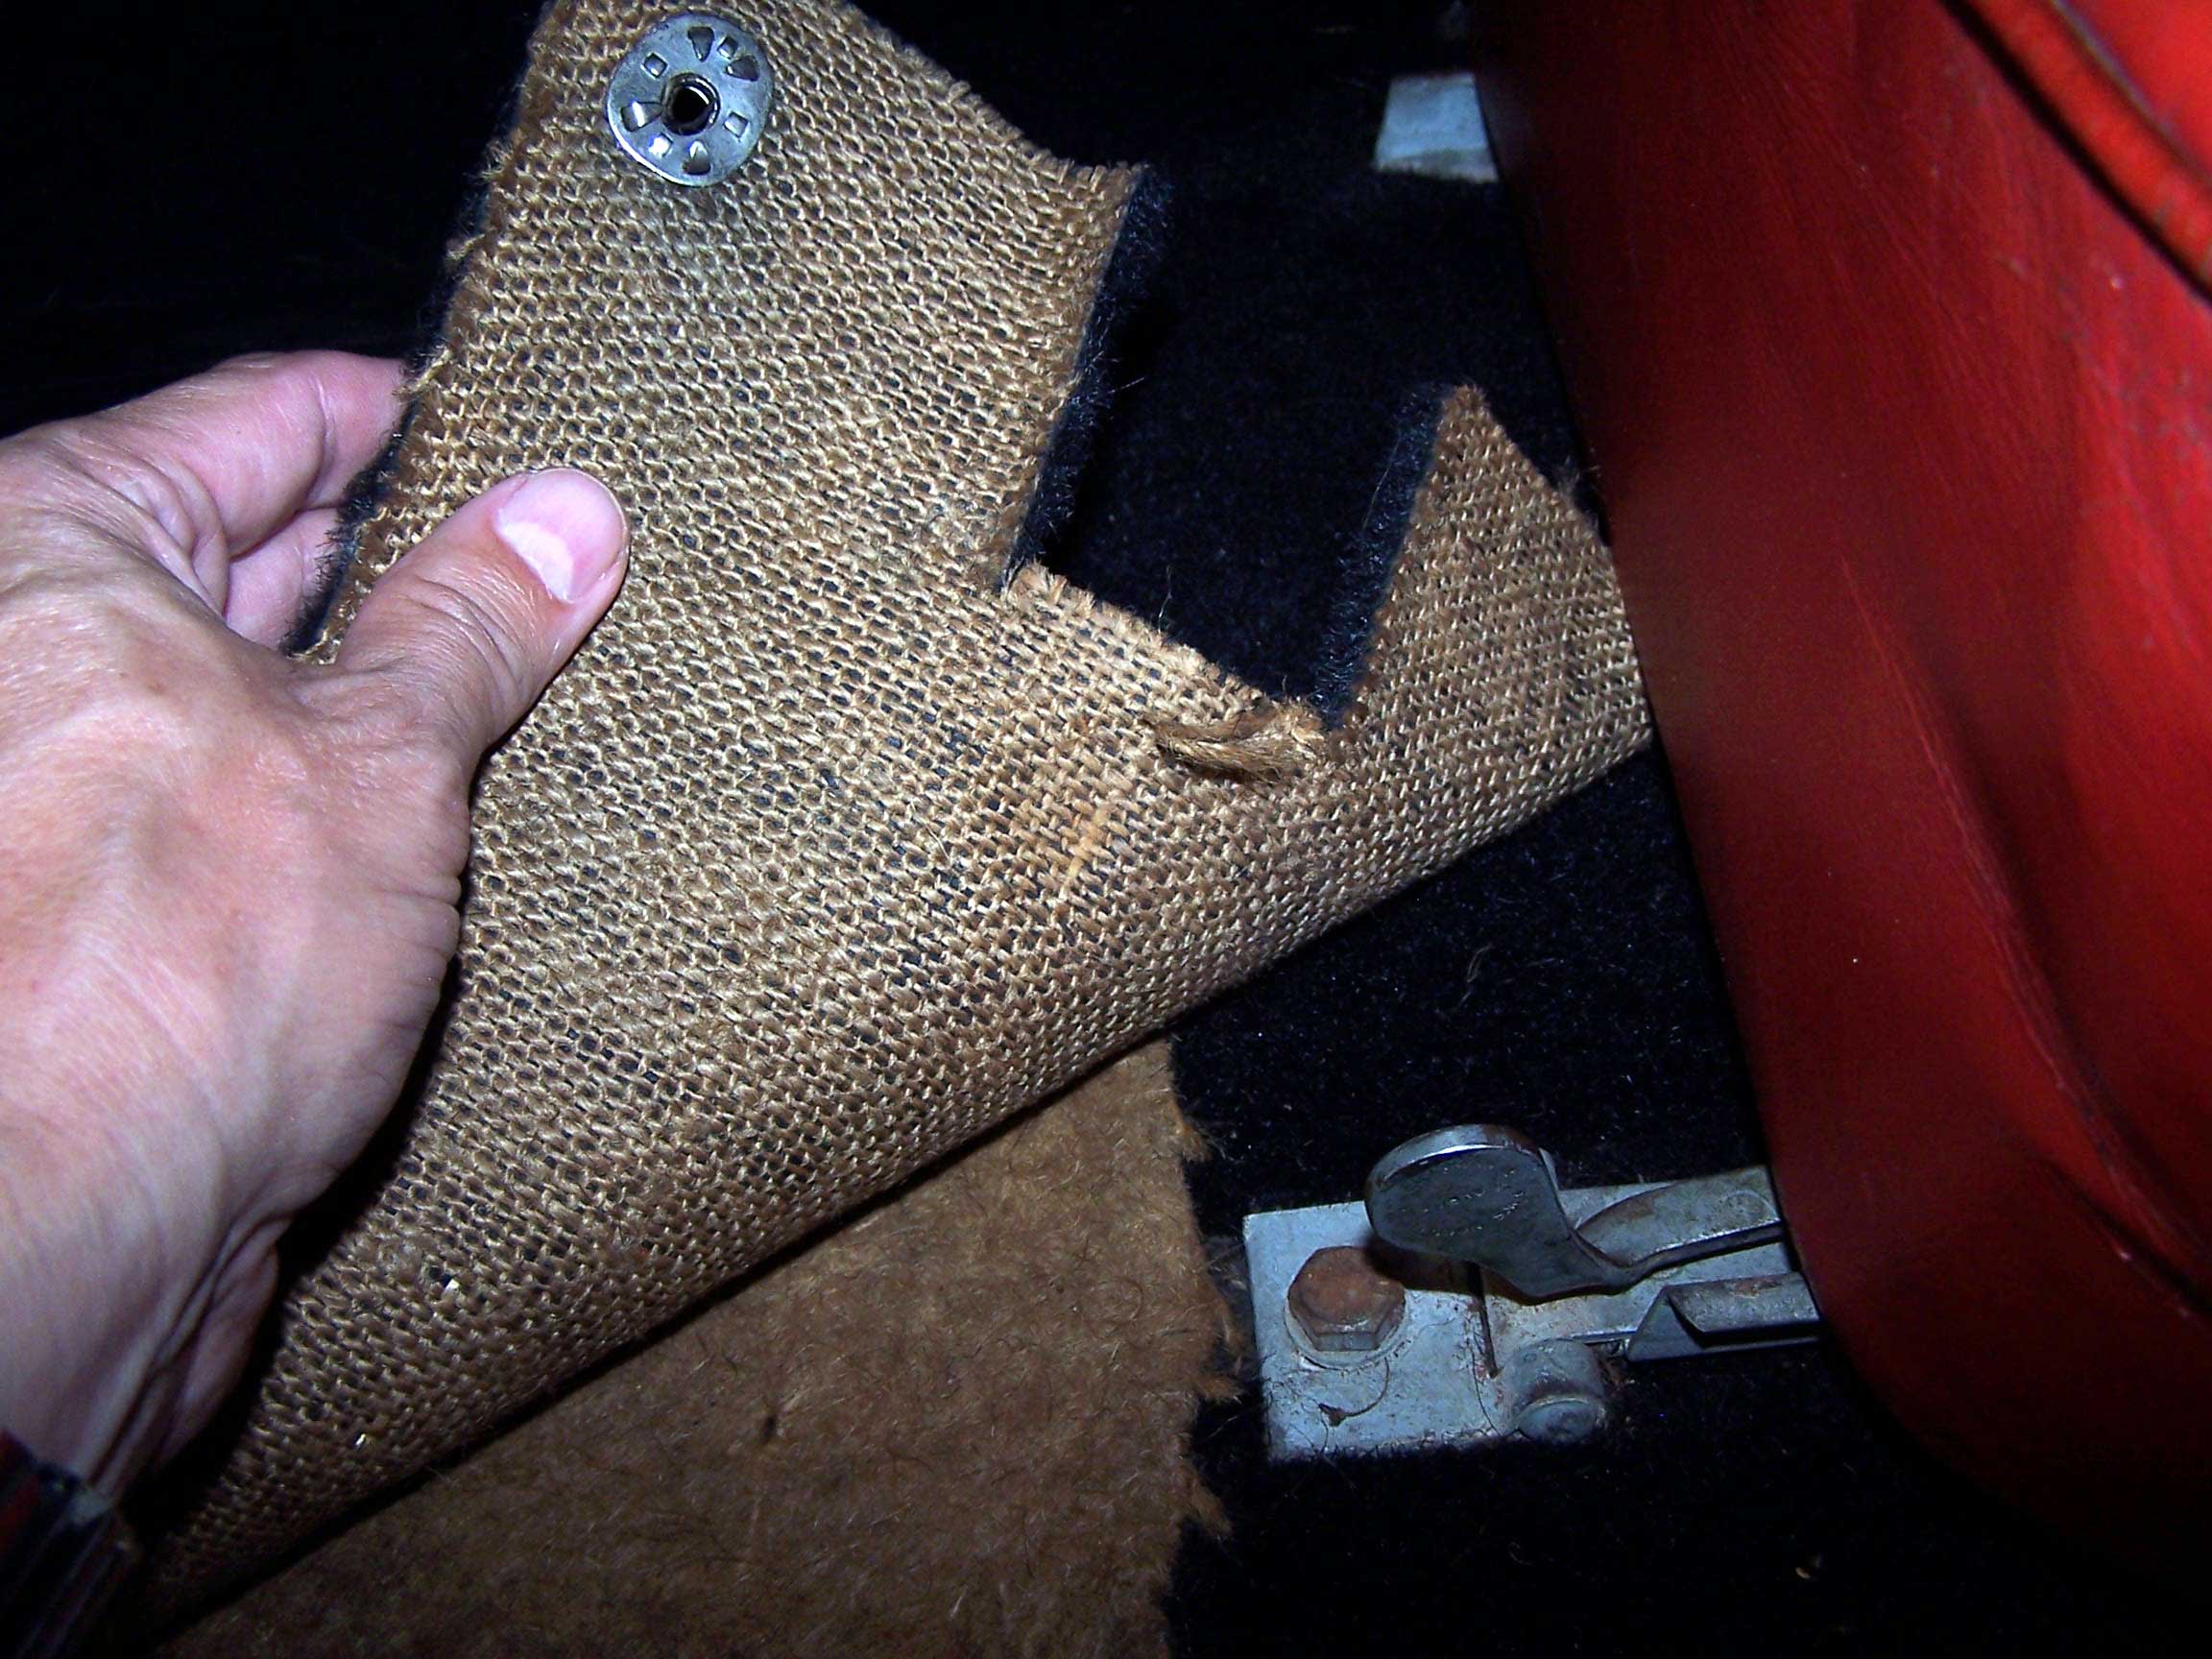
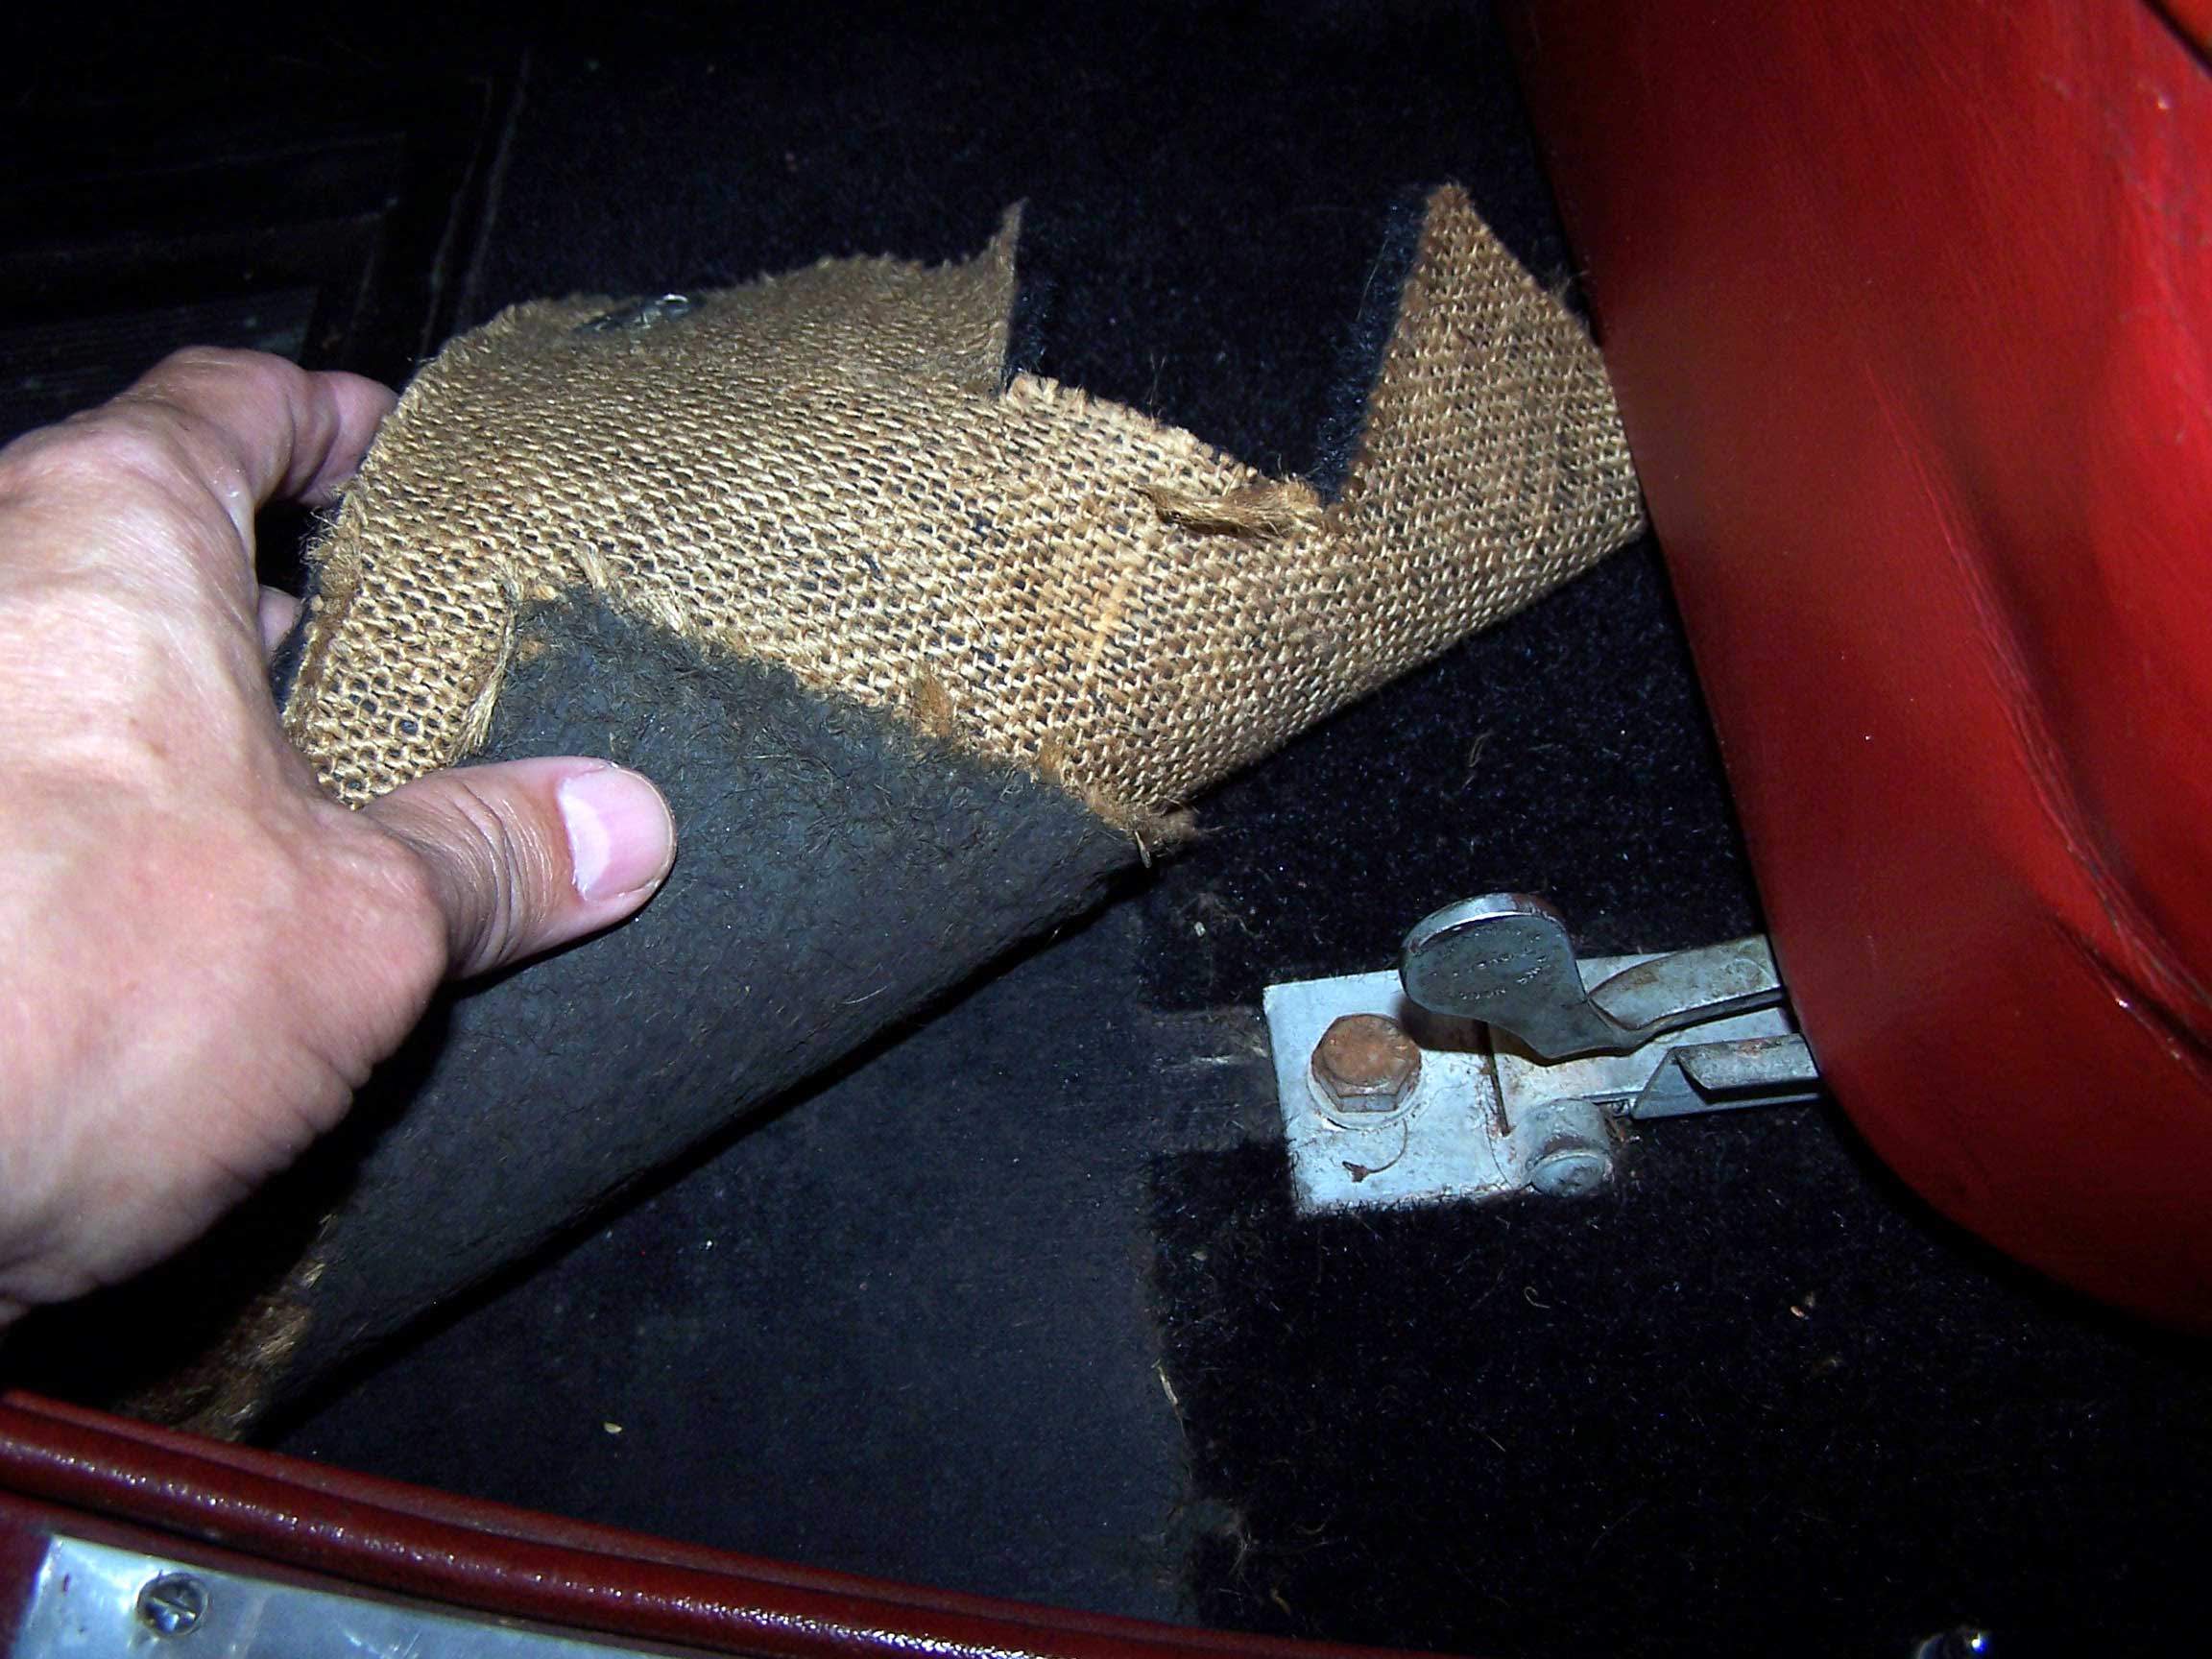
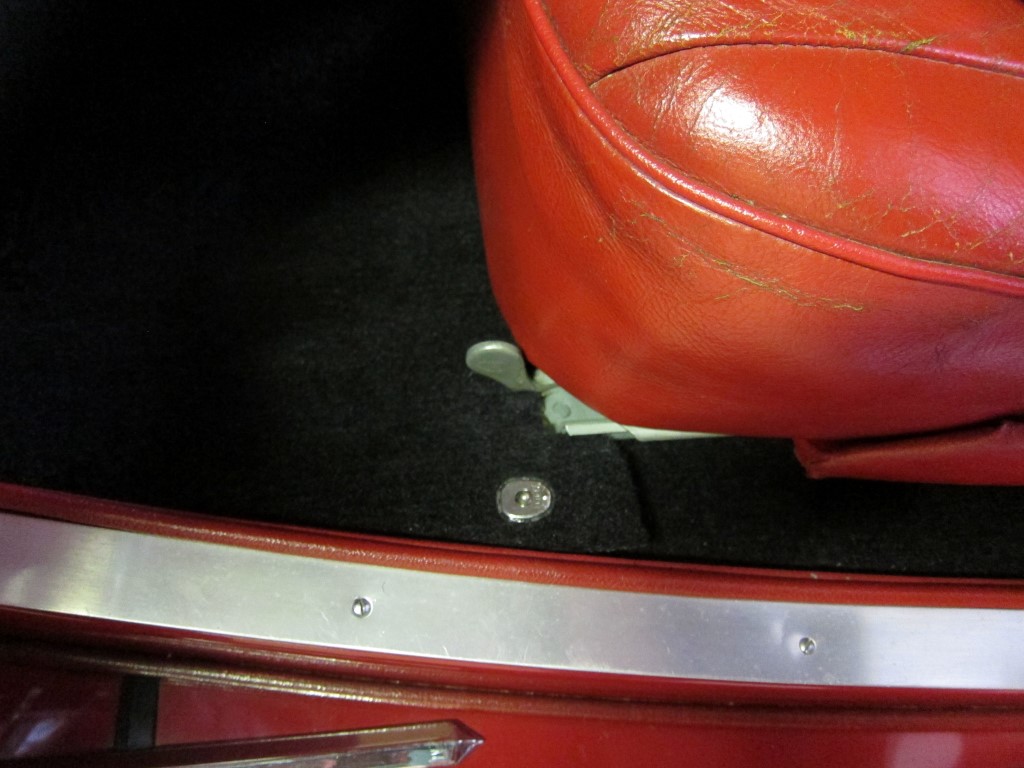
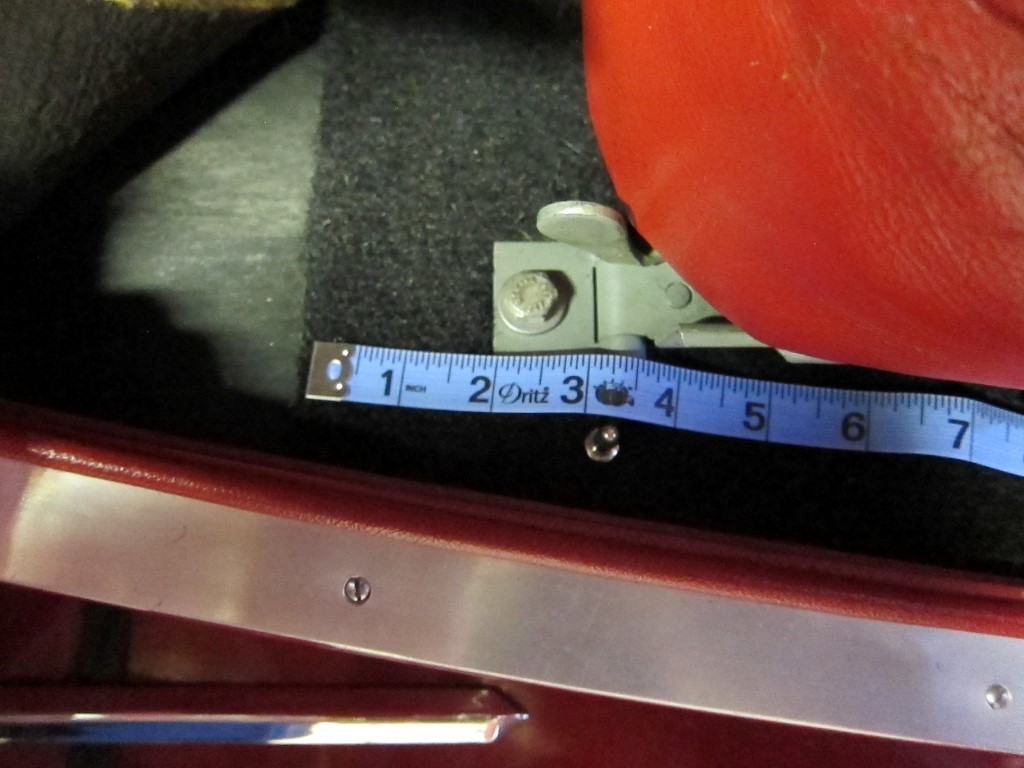
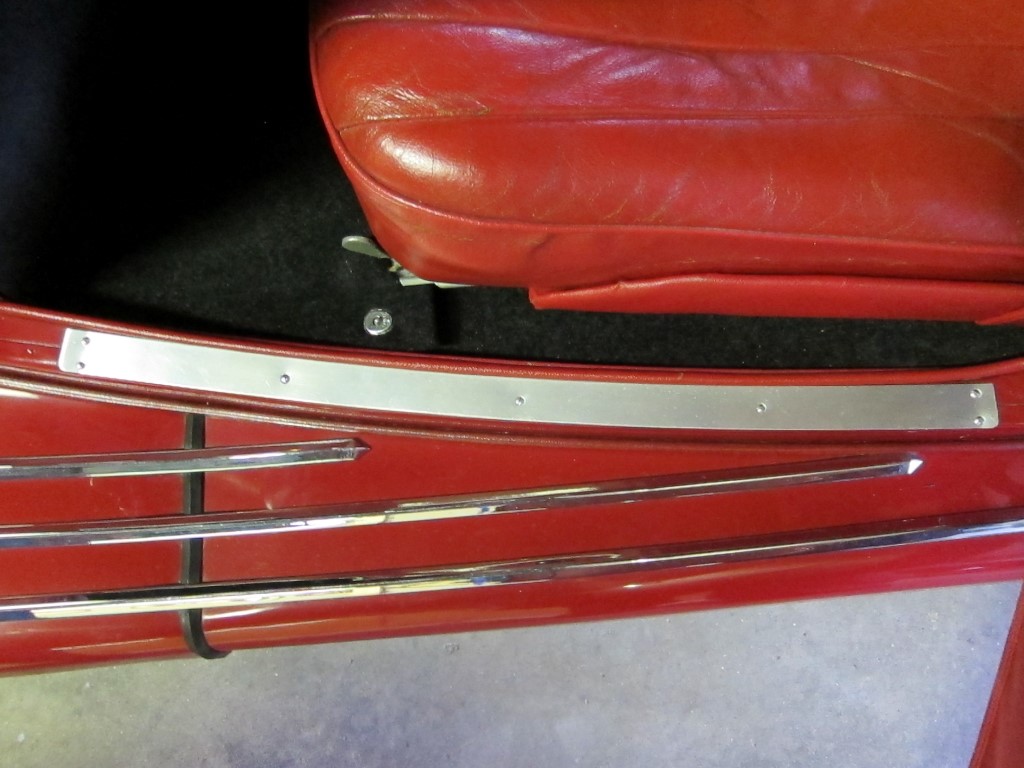
You will have your choice on where to place the two snaps based on
how deep you made the cutouts. See the gallery below for original
pictures.
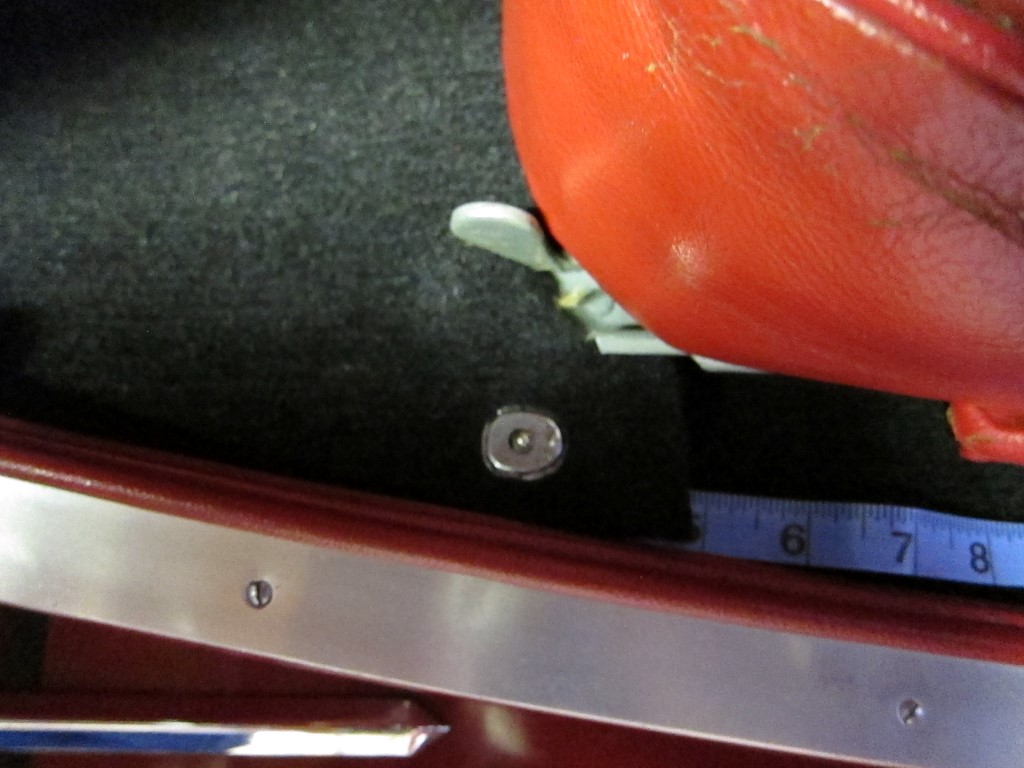
Basically you will want the Lift-the-Dot snaps to be about 1"
from the bottom edge of the carpet. You can place the snaps about
1" to 1 1/2" from the sides of the carpet. Install the
woodscrew type of Lift-the-Dot studs accordingly to match the snap
positions. Insure the carpets lay flat and do not have any folds.
Optionally you can glue the padding to the passenger and driver
carpeting. A simple way to do that is to pull the bottom edge of the
carpeting back revealing the padding. Don't worry about uncovering
the entire carpet padding. Just enough so you can hold it in
position when removing it.
Cover the padding with carpet adhesive and then smooth the carpet
back down. When dry, remove the carpet and finish gluing down any
areas that could not be glued when the carpet was in place.
Install the rubber footwell if required when done. Reinstall the
pedals and seats.
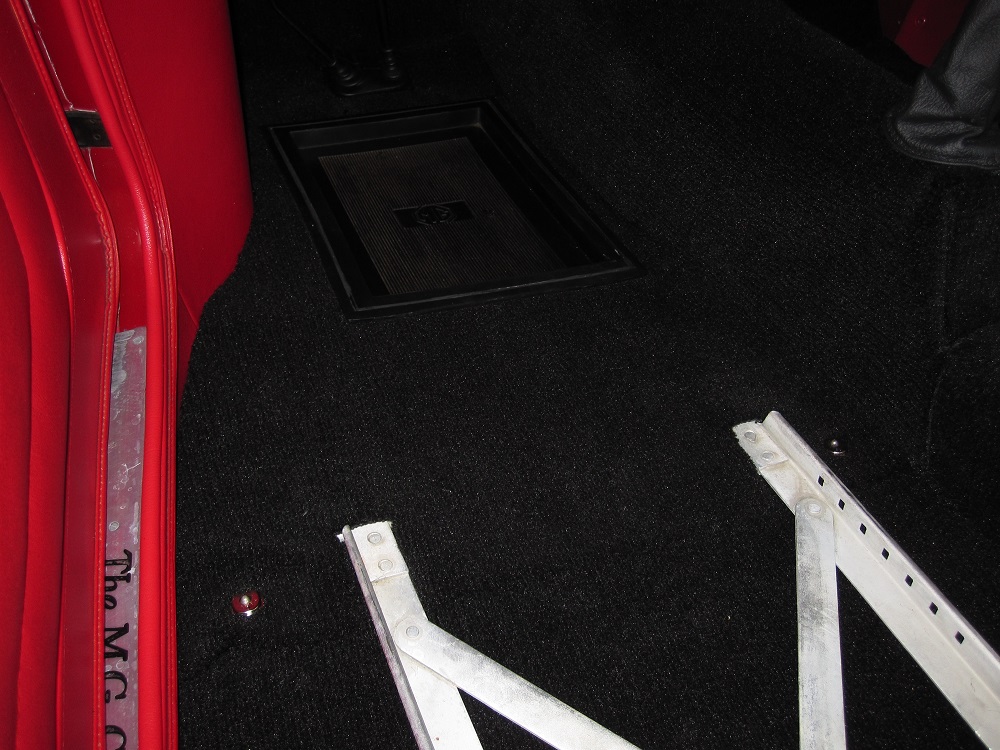
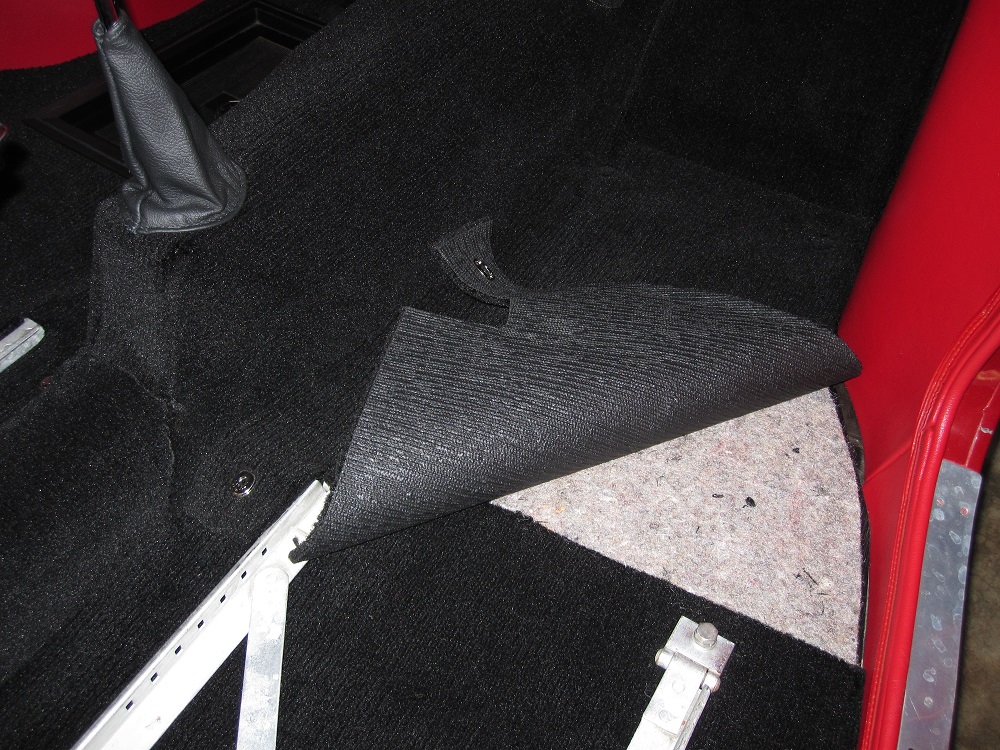
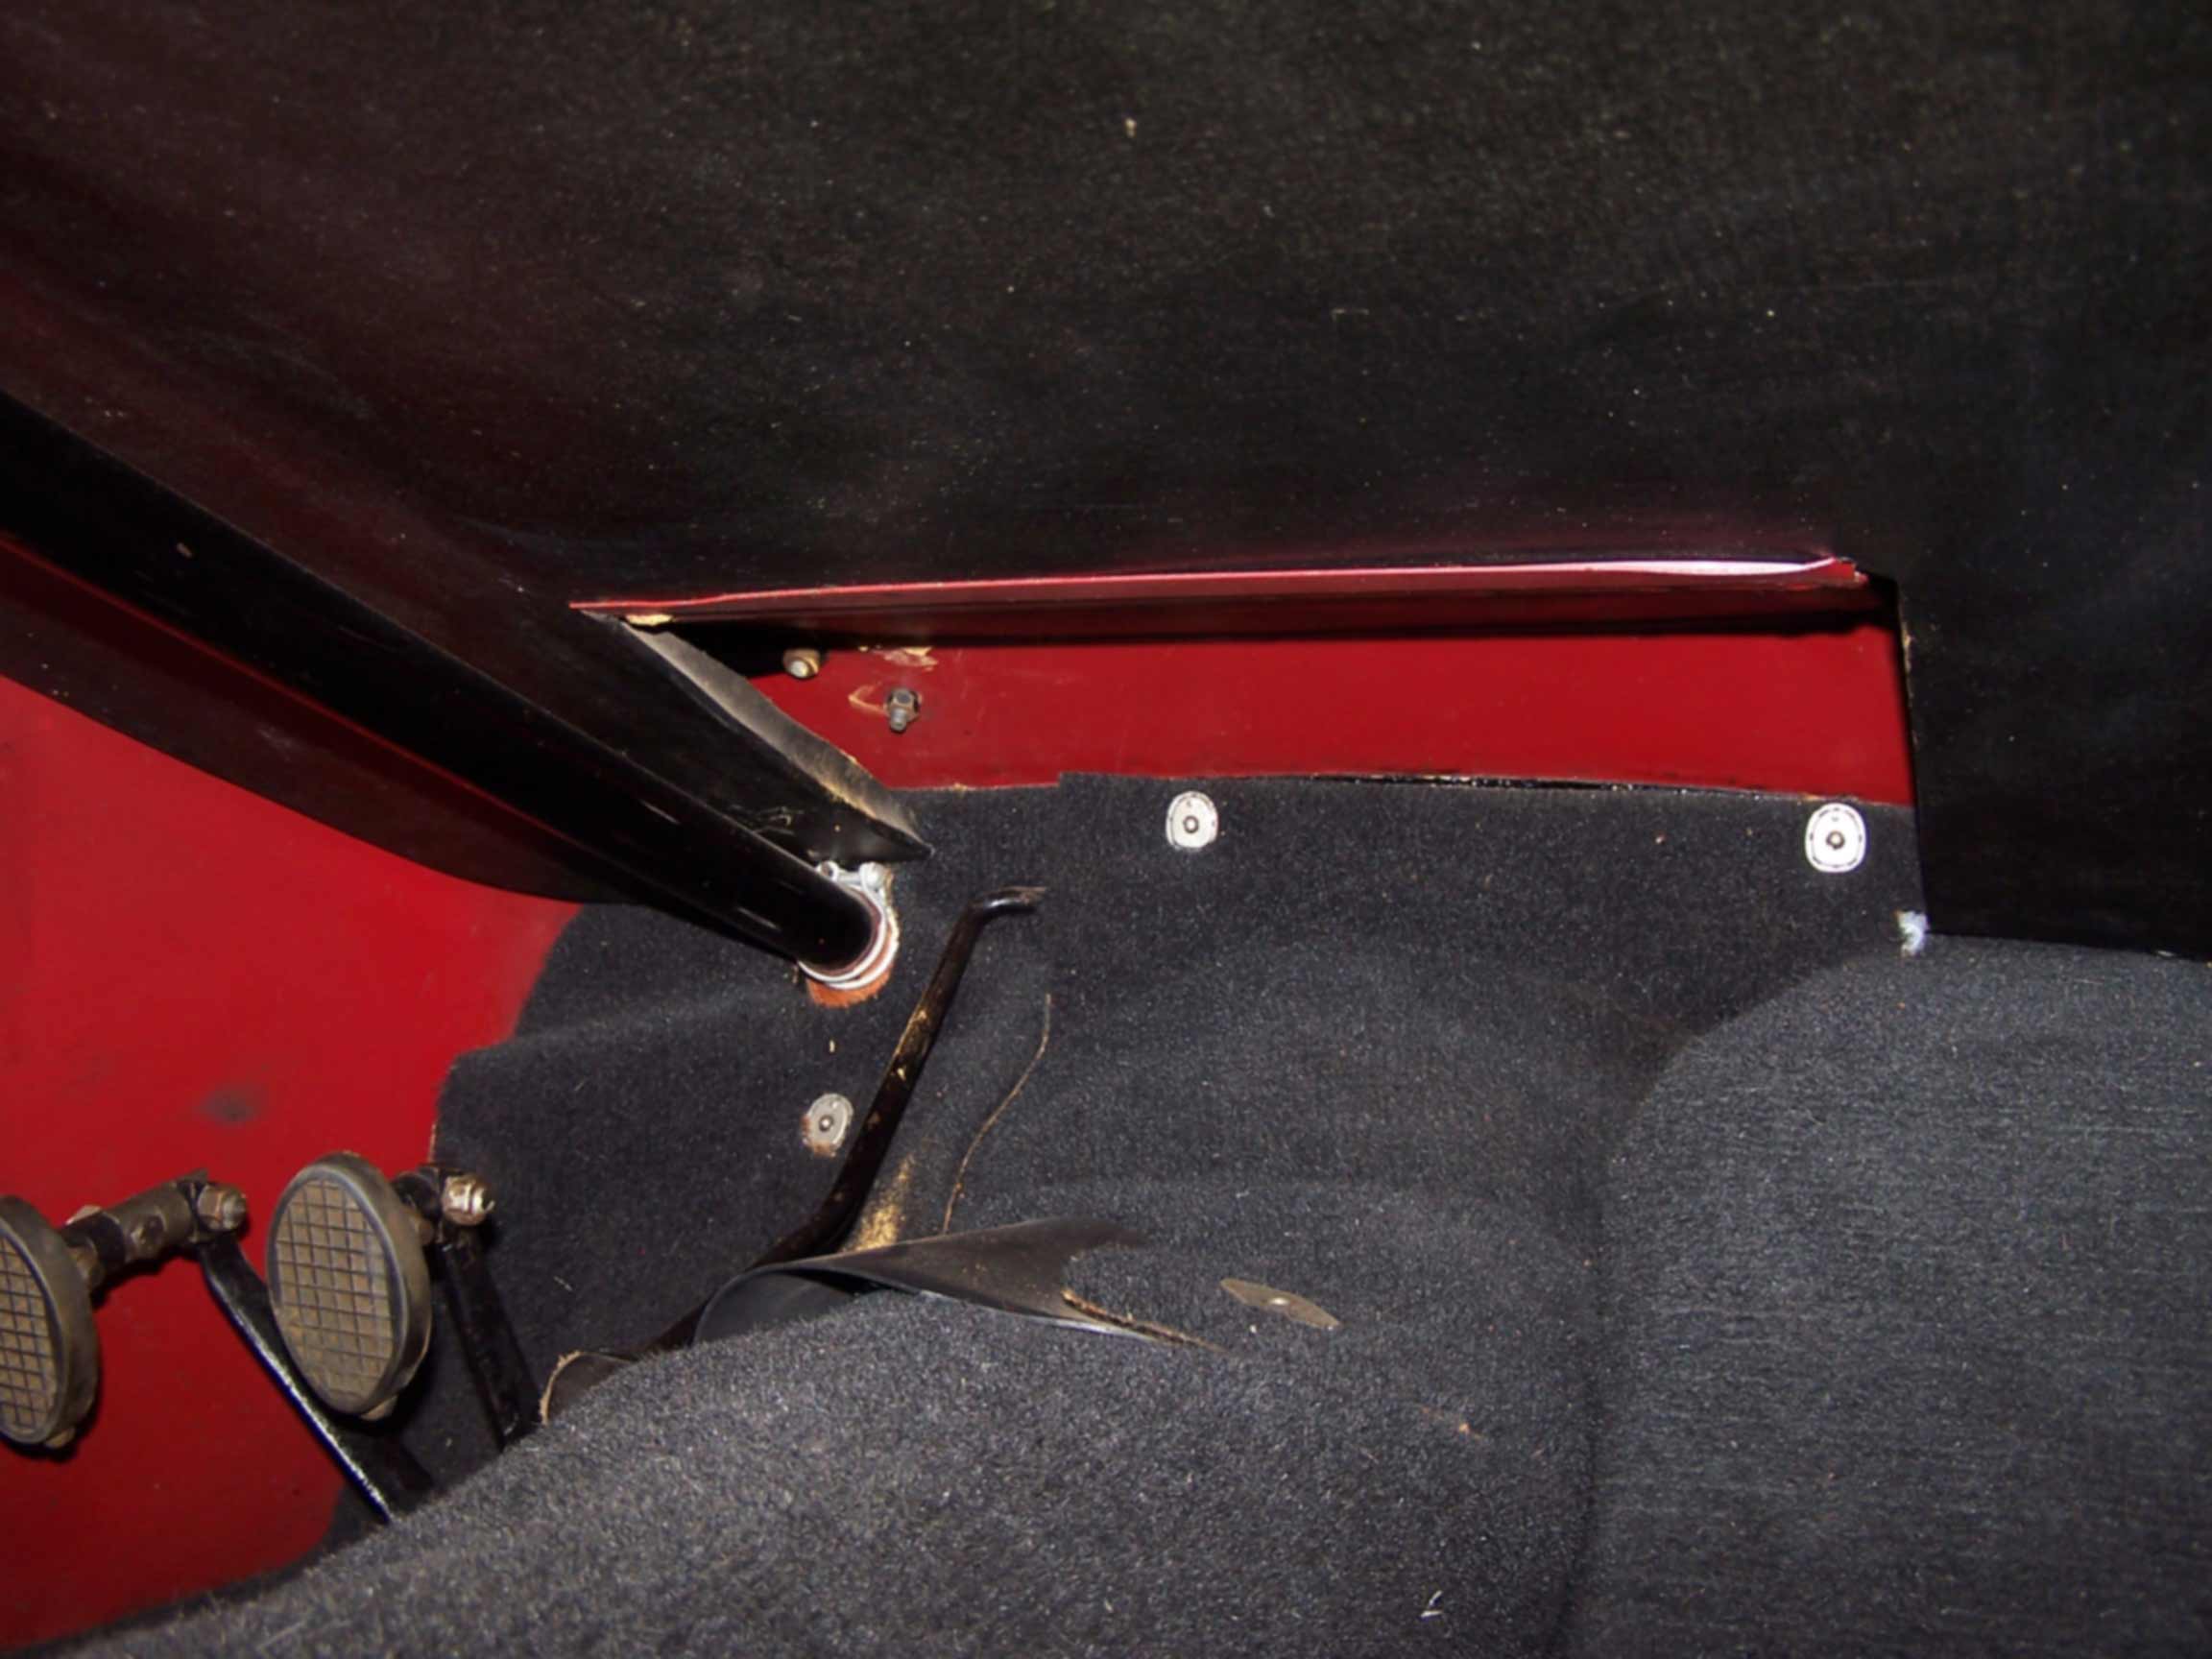
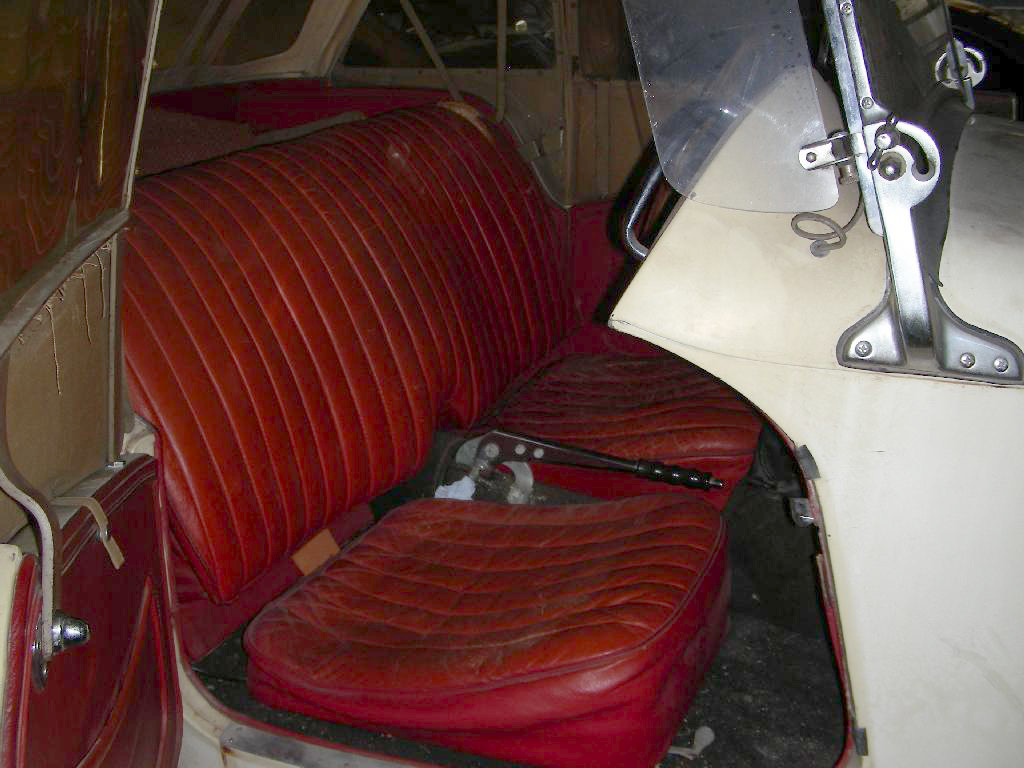
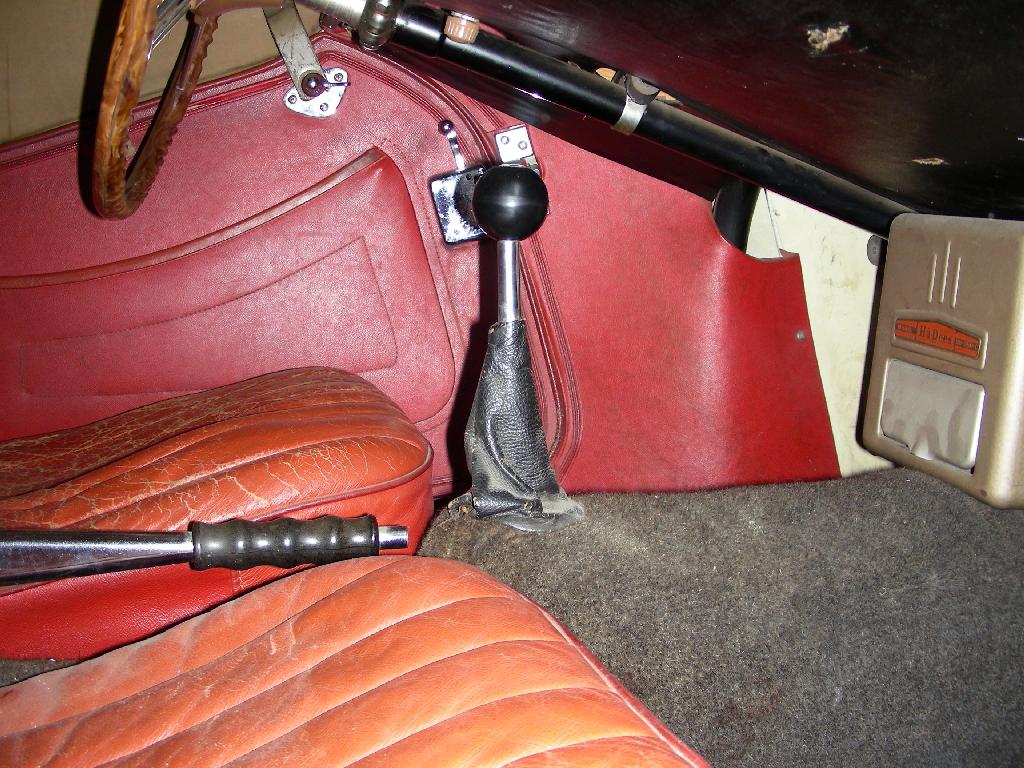
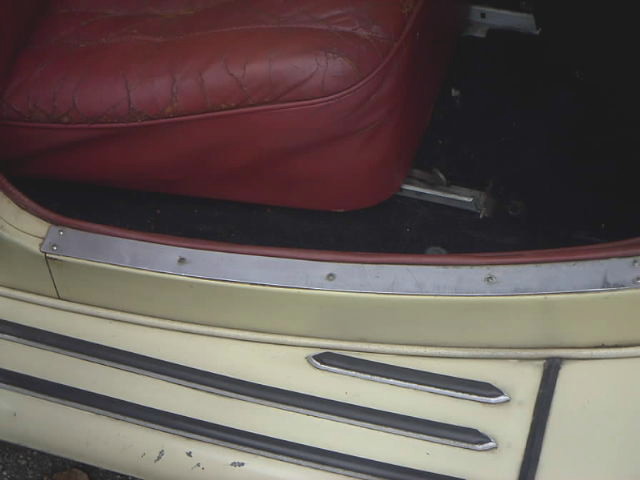
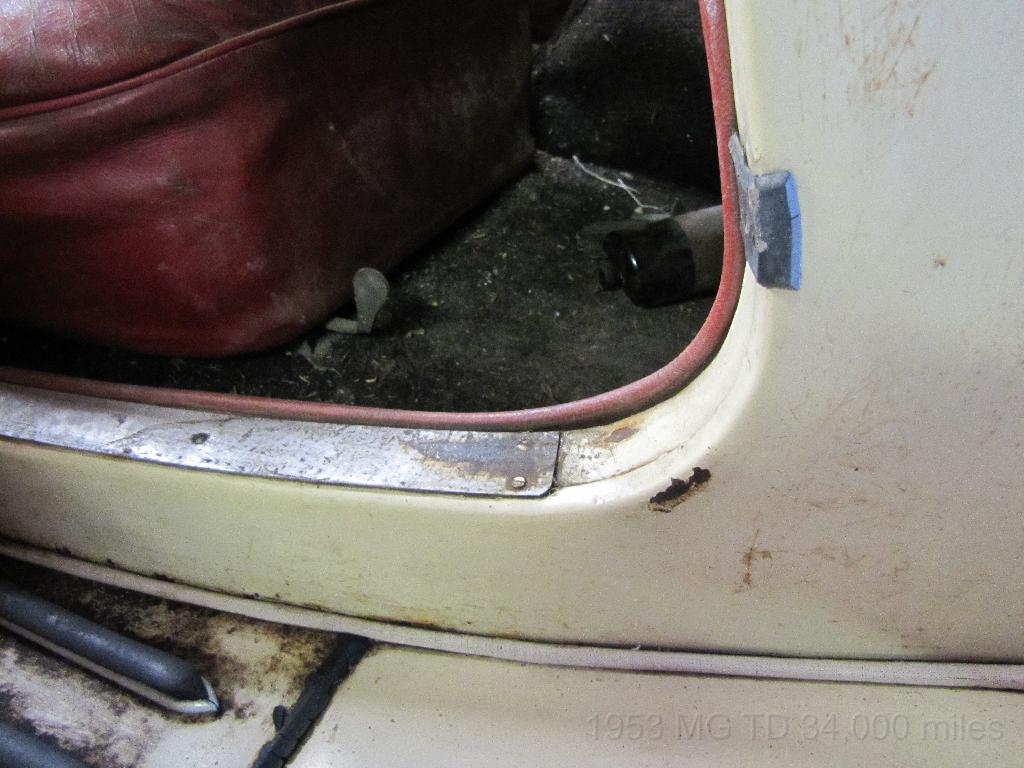
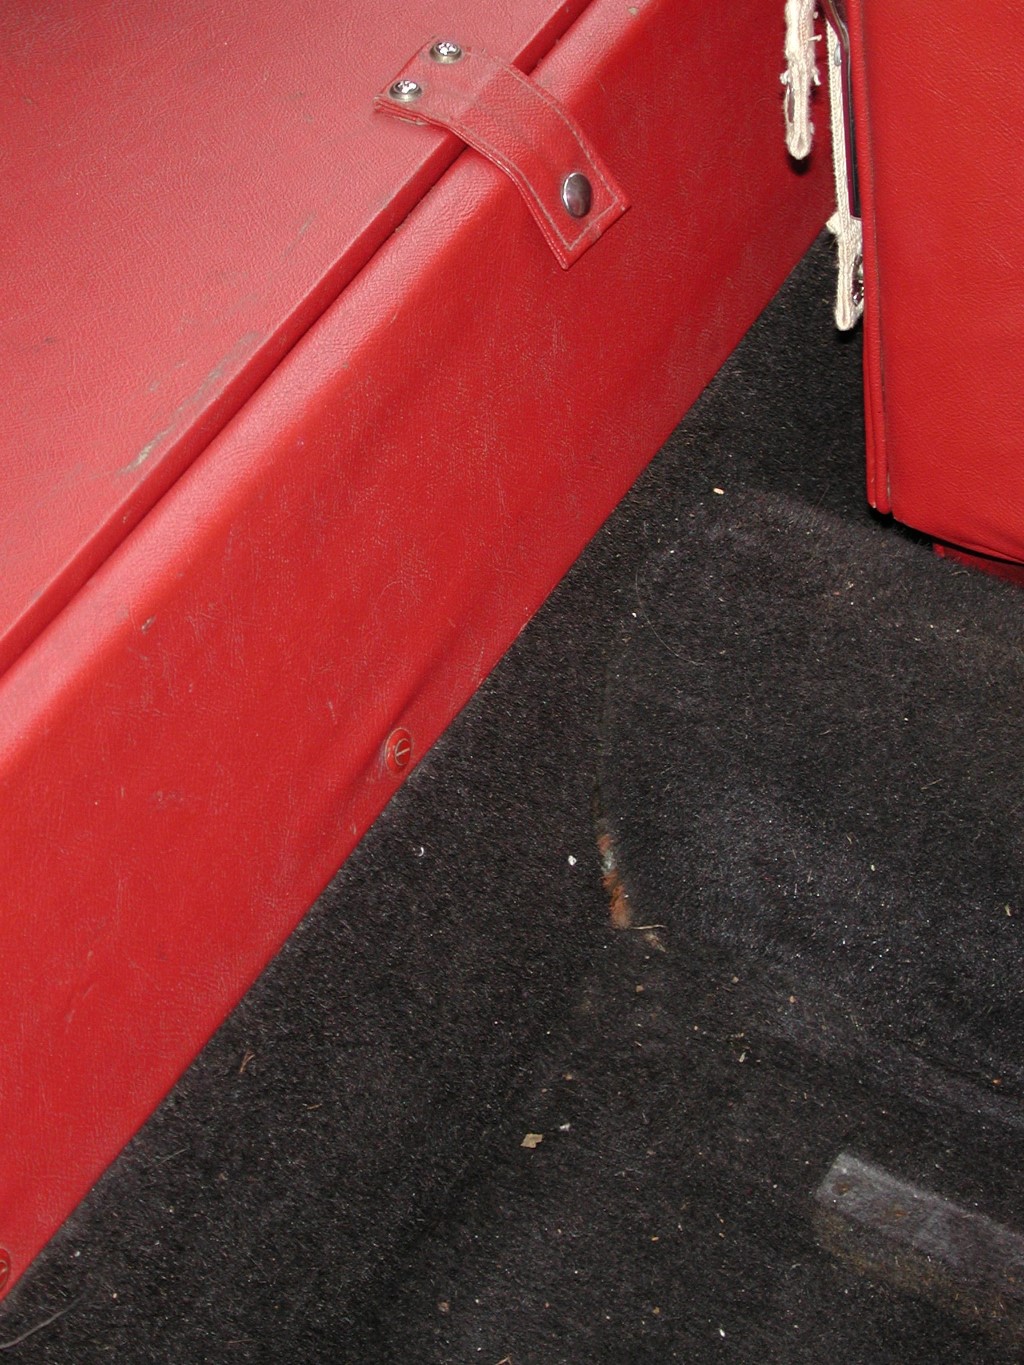
Gallery of Original Carpet Pictures
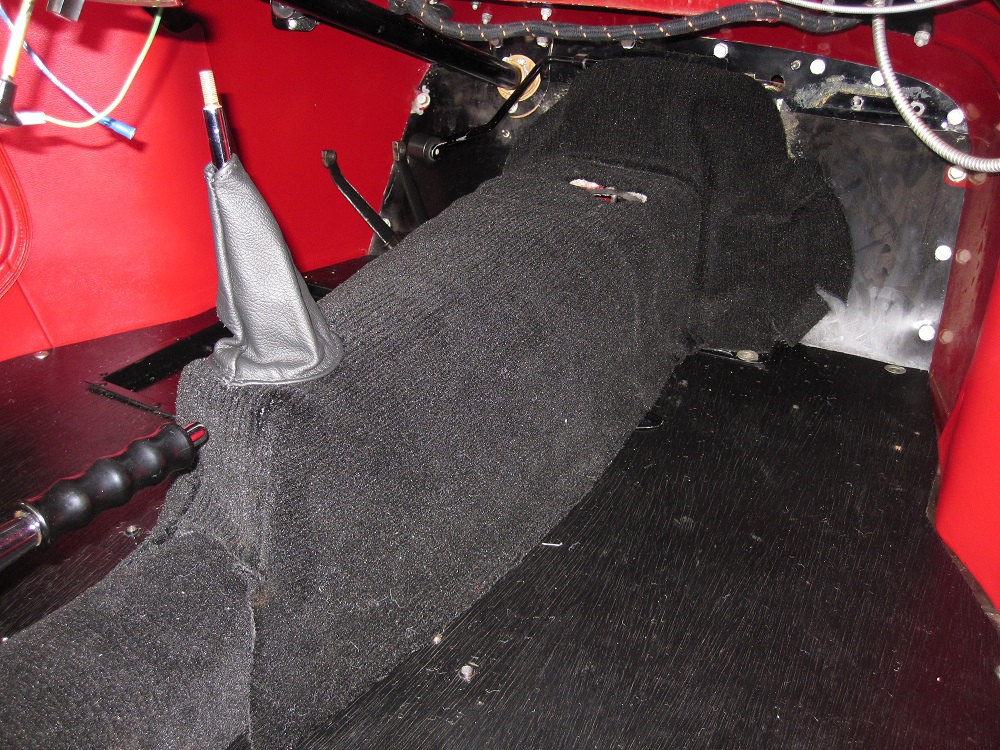
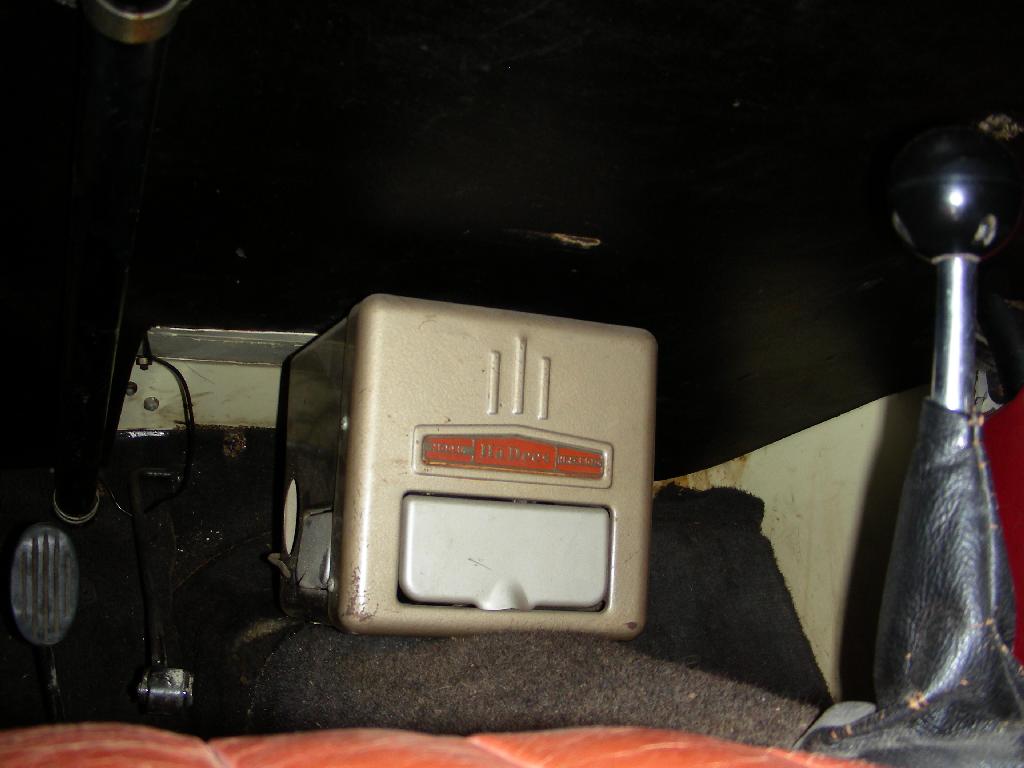
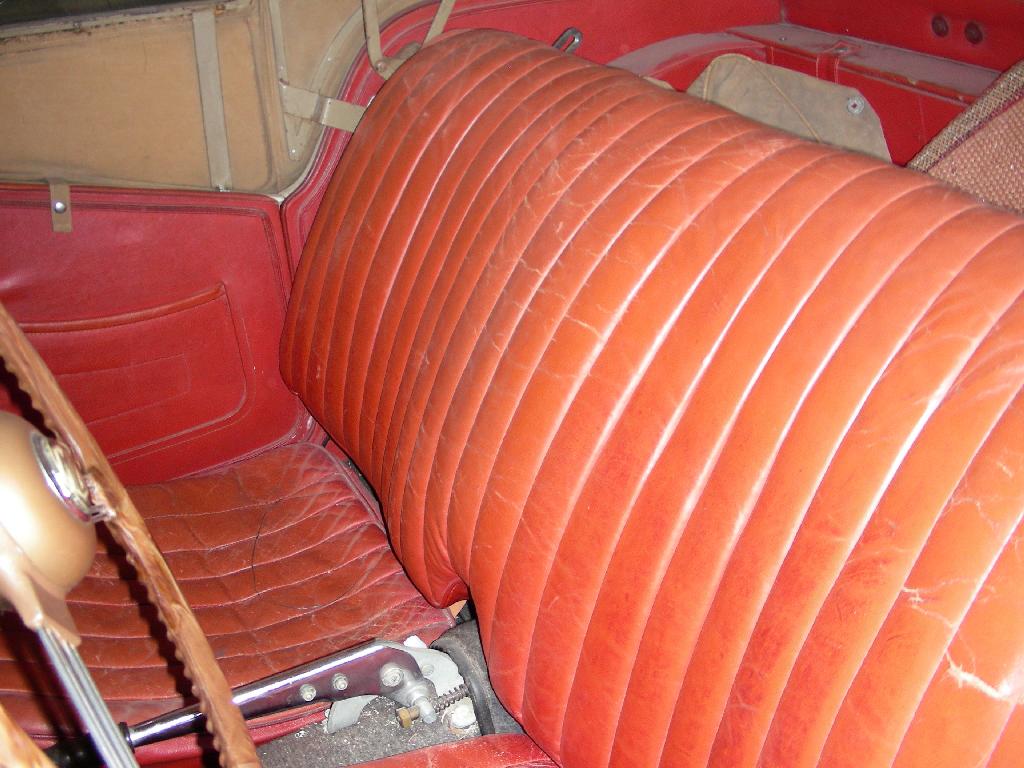
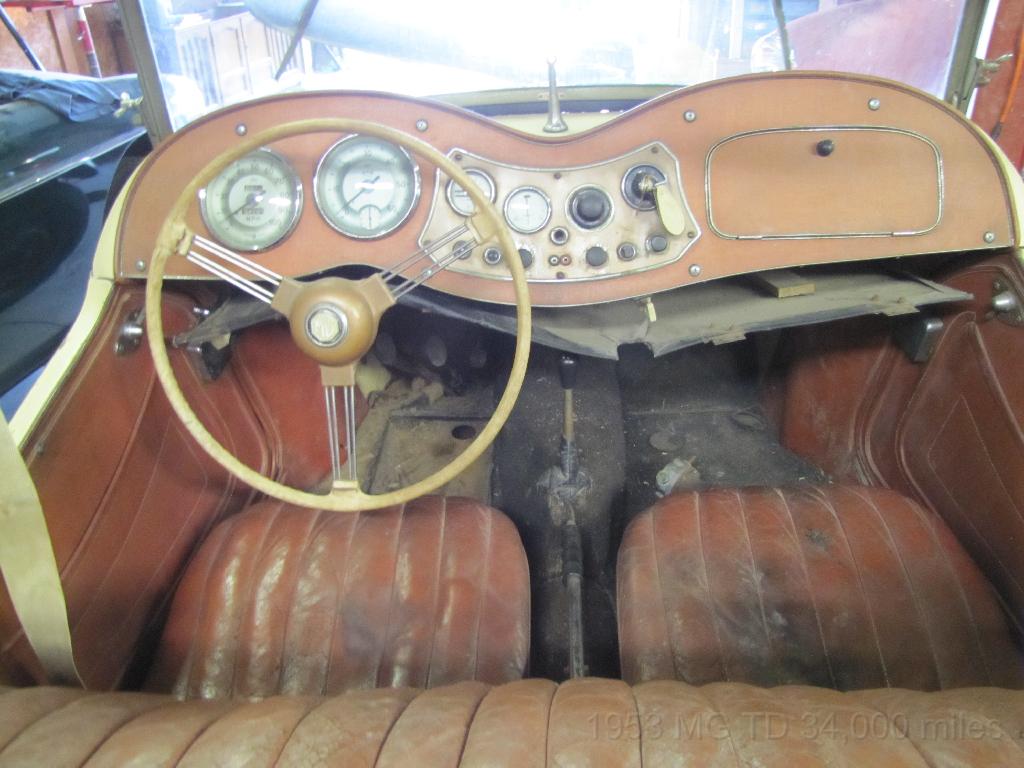
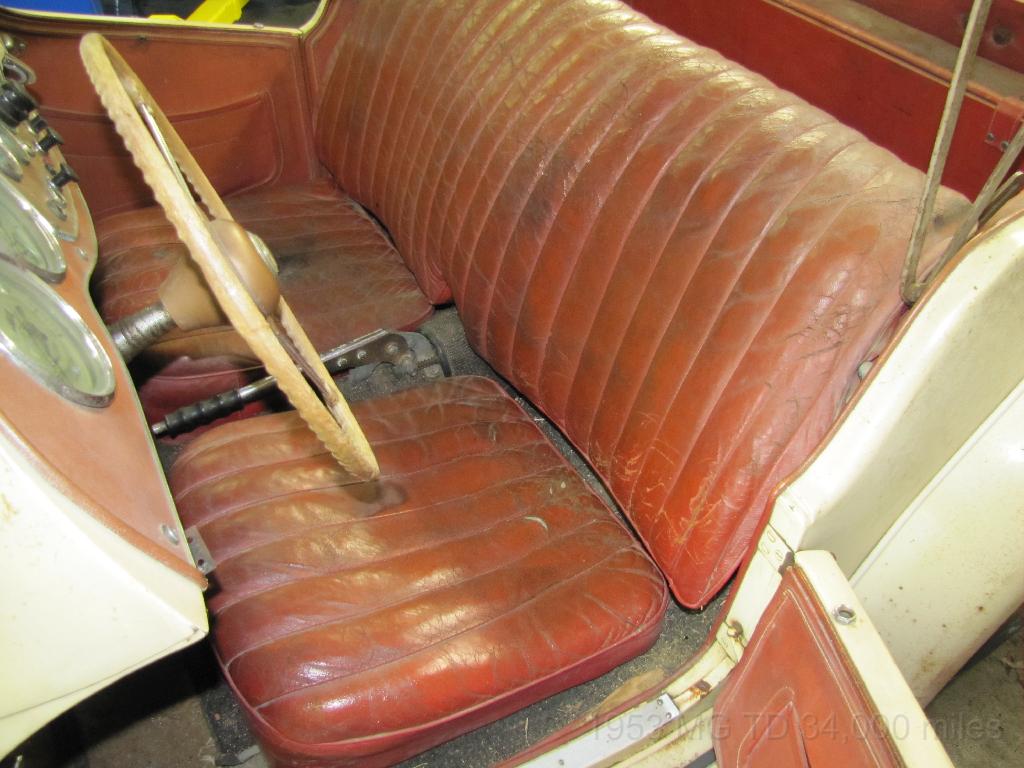
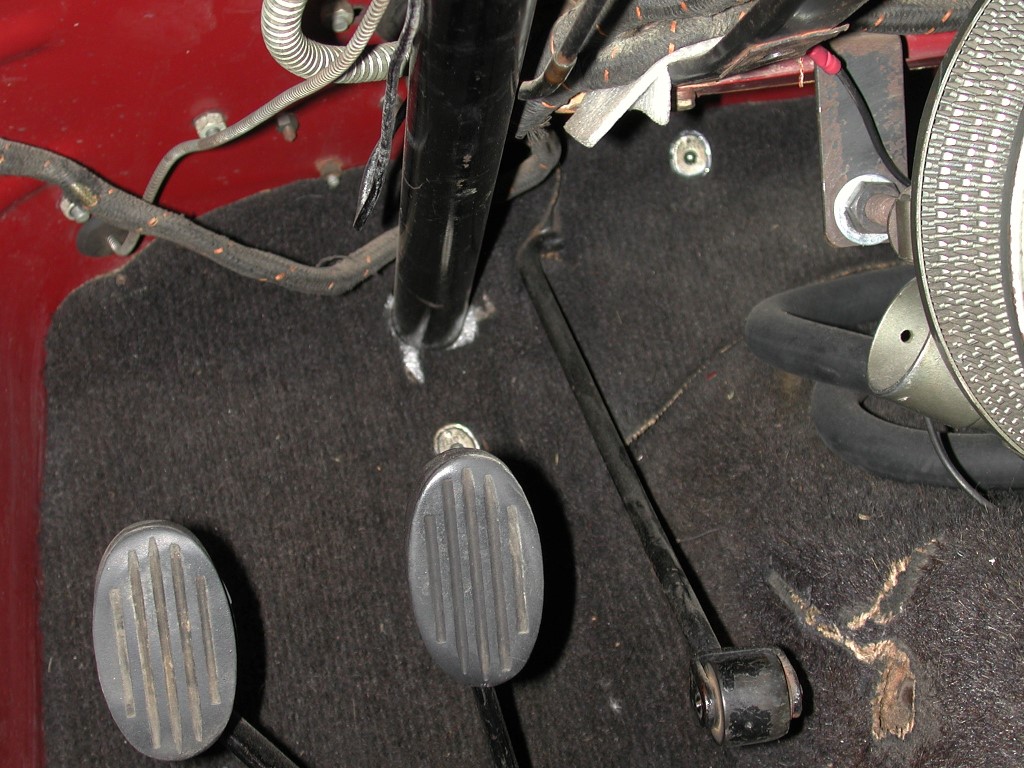
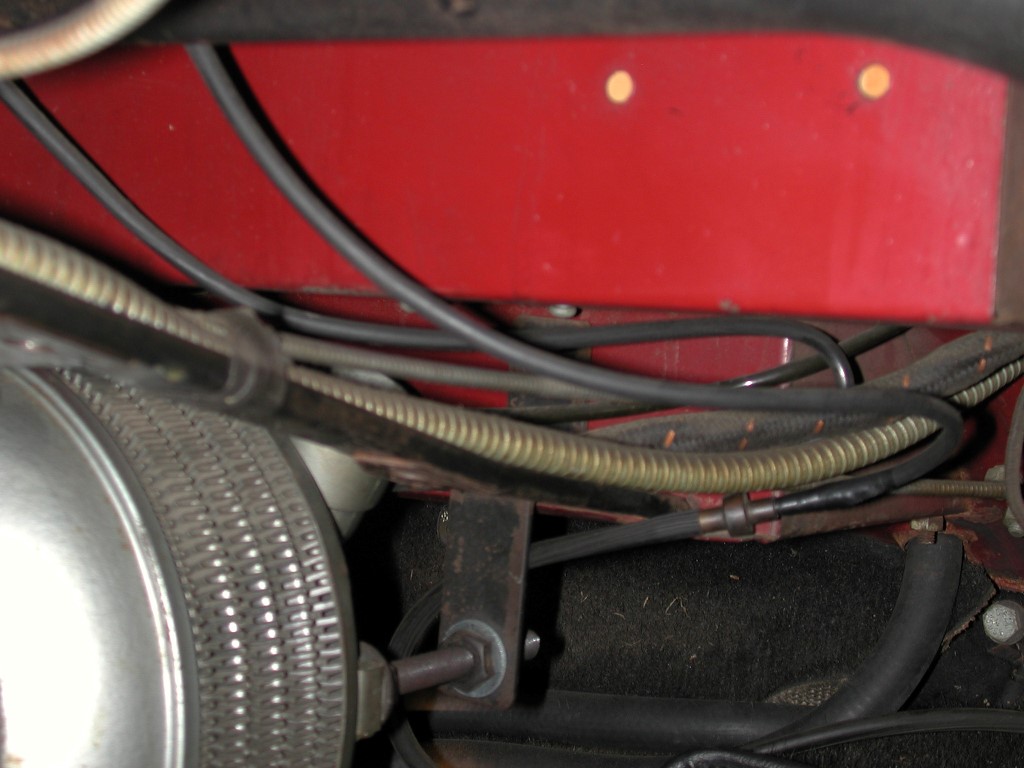
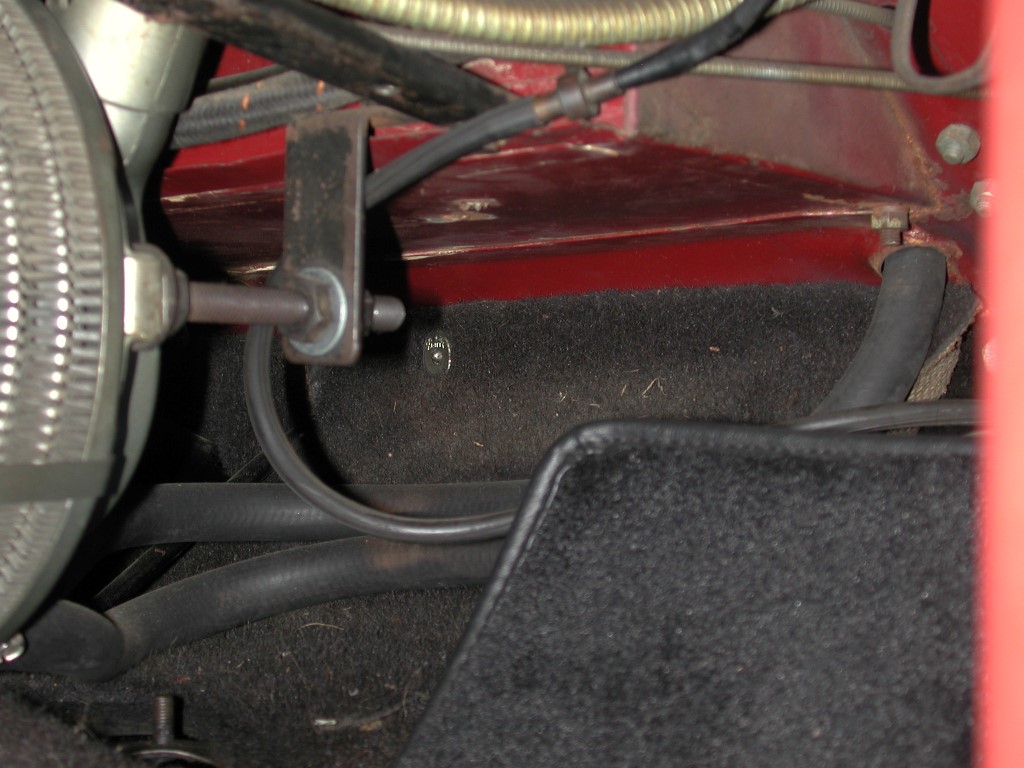
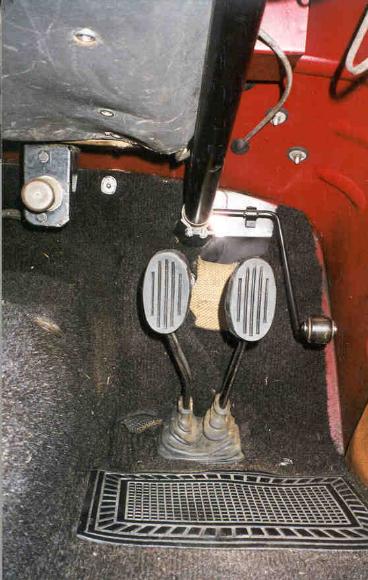
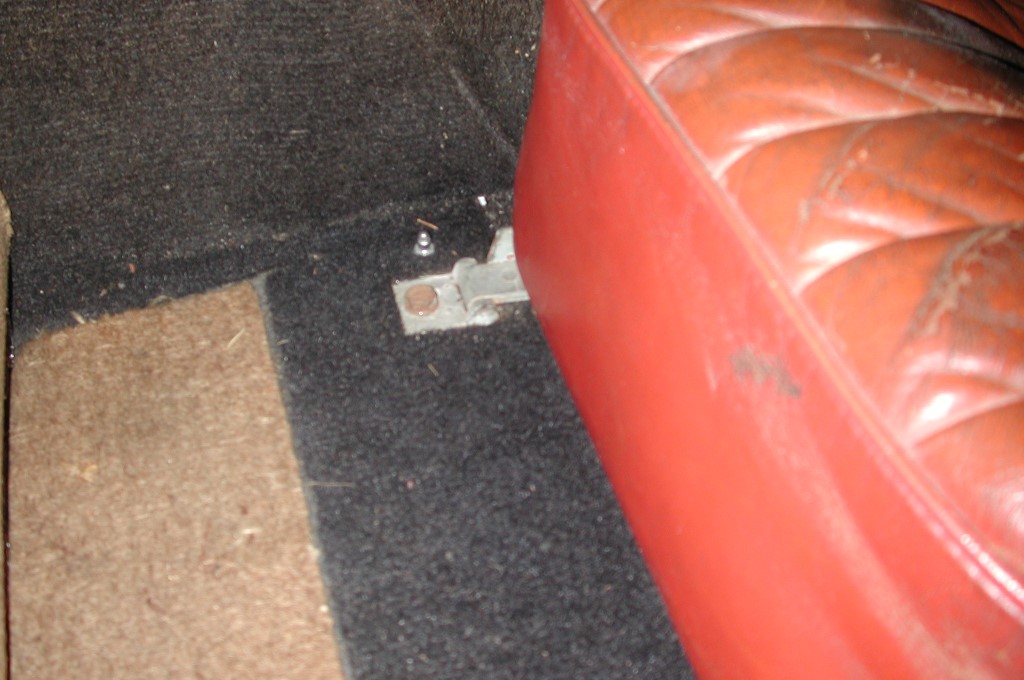
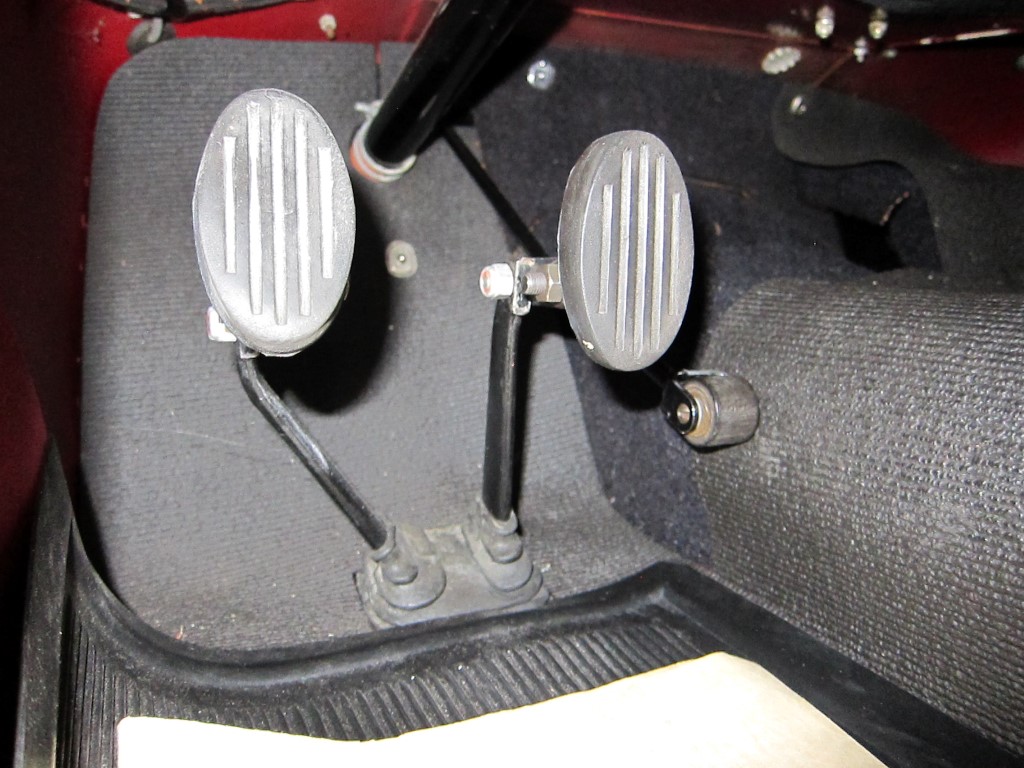
The following pictures are taken of carpeting on unrestored MGTDs and
MGTFs that still displayed original carpets.

 The original carpet used in the T-Series was black Karvel, which is
characterized by the distinctive grain which is a feature of the
material. It has been described as being ribbed, or as having corn rows.
This is especially apparent when you fold a piece of carpet in half. The
carpet was almost entirely unbound, which made it less expensive to
produce. Originally the exposed front edge of the carpet on the cover of
the handbrake cables was trimmed. The gearshift had a leather boot sewn
into the tunnel carpet. Underfelt was used only on the floors and
transmission tunnel, and not on the toe board or the footrest on the
passenger's side. Originally the TD's did not have carpeting behind the
seats. You may want to consider a loose piece of carpet on the rear deck
of TD's to protect the wood that can easily be pulled out for car shows
and exhibitions.
The original carpet used in the T-Series was black Karvel, which is
characterized by the distinctive grain which is a feature of the
material. It has been described as being ribbed, or as having corn rows.
This is especially apparent when you fold a piece of carpet in half. The
carpet was almost entirely unbound, which made it less expensive to
produce. Originally the exposed front edge of the carpet on the cover of
the handbrake cables was trimmed. The gearshift had a leather boot sewn
into the tunnel carpet. Underfelt was used only on the floors and
transmission tunnel, and not on the toe board or the footrest on the
passenger's side. Originally the TD's did not have carpeting behind the
seats. You may want to consider a loose piece of carpet on the rear deck
of TD's to protect the wood that can easily be pulled out for car shows
and exhibitions.