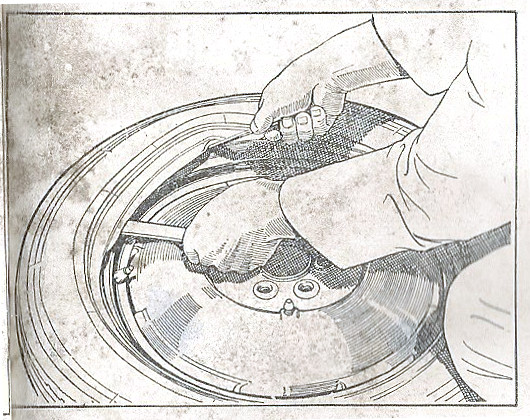
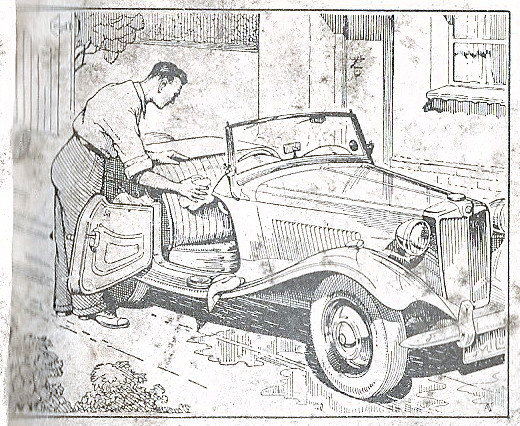
Home | History | Details | Technical | Literature | Entertainment | Gallery | Links | Map |
This section describes the wheels and tyres of the car and simple maintenance the can be performed to keep them in running order. Also included is a page on the upholstery and using the jack.
Prev Topic Contents Next TopicThe upholstery should be cleaned at regular intervals by wiping it
with a damp cloth and polishing it with a clean soft cloth when it is dry.
The use of polish is quite unnecessary.
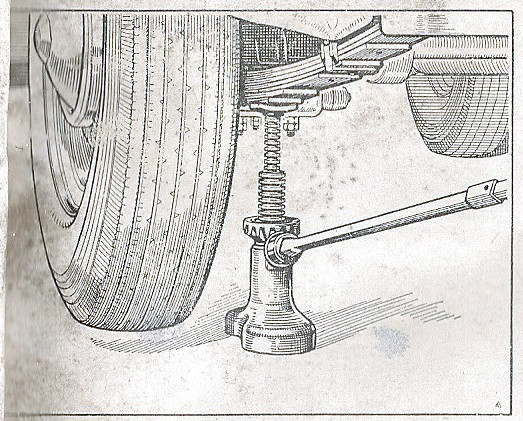
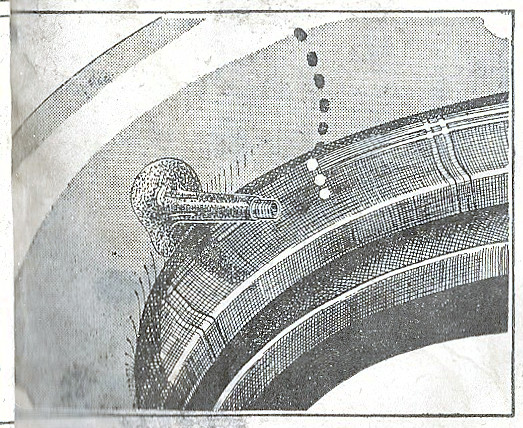
The screw-type jack should be placed under the rear spring, close to the axle, when lifting the rear of the car.
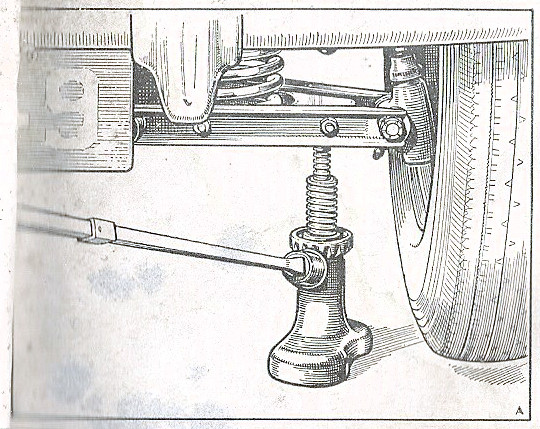
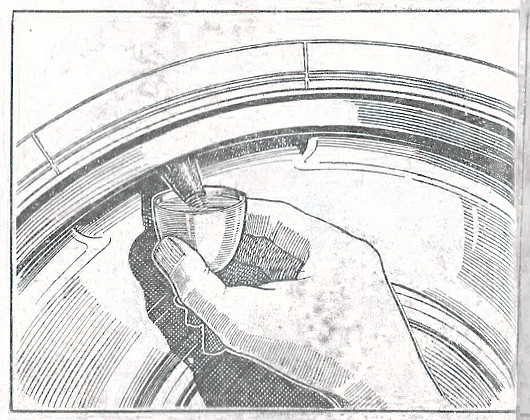
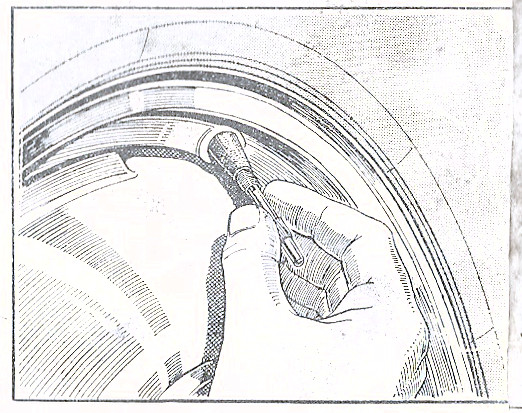
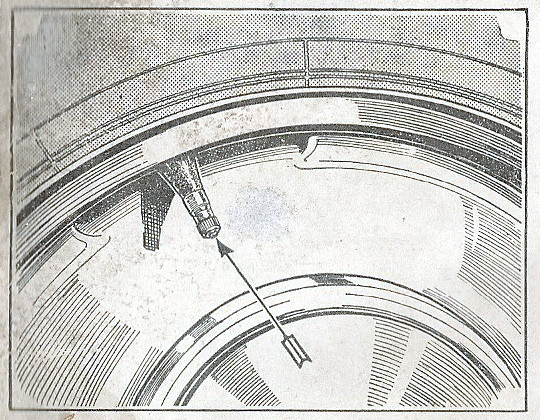
The screw-type jack should be placed under the lower wishbones, with its pad engaging the depression between the spring seating and the lower link.
29
Remove the wheel disc by inserting the flattened end of the wheel nut spanner in the recess
provided in the road wheel and levering off the hub cover, using a sideways motion of the spanner
and not a radial one.
A radial movement of the spanner will open out the rim of the disc. To refit the hub disc, the rim should
be placed over two of the buttons on the wheel centre and the outer face given a sharp blow with the fist
over the third button.
Slacken the five nuts securing the road wheels to the hub. The wheel nuts have
right-hand threads, i.e. turn clockwise to tighten and anti-clockwise to loosen. Raise the car
to lift the wheel clear of the ground and remove the nuts. Withdraw the road wheel from the hub.
Reverse this procedure when replacing the road wheel and ensure that the securing nuts are tight.
Inextensible wires are incorporated in the edges of tyres. Do not attempt to stretch the edges of the tyre cover over the rim. Force is entirely unnecessary and dangerous, as it merely tends to damage the cover edges. Fitting or removing will be quite easy if the wire edges are carefully adjusted into the rim base. If the cover edge fits tightly on the rim seating it should be freed by using the tyre levers as indicated.
30
Remove all valve parts to completely deflate the tyre and push both cover edges
into base of the
rim at the point diametrically opposite to the valve, then the cover edge near the valve over the
rim edge (see illustration).
This permits the tyre valve to be pushed through the hole in the rim
and the inner tube to be withdrawn for attention when required.
A similar technique has to be employed when replacing the tyre, first fitting the tyre into the rim at a point opposite to the valve, and finishing the fitting in the region of the valve, keeping the beaded edge in the well base of the rim.
Have punctures injuries vulcanized. Ordinary patches should only be used for emergencies. Vulcanising is absolutely essential in the case of tubes manufactured from synthetic rubber.
The light sides of the covers are marked with three white spots and the
heavy sides of the tubes with black spots. Tyres and tubes should be fitted with these spots coinciding
to ensure the best balance.
Improved balance can be achieved by the use of Dunlop rim weights (Part Nos. W.B.W. 1 to 7) ½ oz. to ¾ oz.)
as required.
The wheels should be balanced as accurately as possible, using only one weight in preference.
31
The airtightness of the valve depends upon the proper functioning of its interior. It may be tested for airtightness by rotating the wheel until the valve is at the top and inserting its end in an eggcup full of water. If bubbles appear the seating is faulty and should be removed. It should be replaced by a new one.
It is advisable always to have spare interiors handy, and these are procurable suitably packed
in small metal containers. A small extracting and fitting tool is supplied in the tool kit.
Always make sure that valve interiors are screwed well home on replacement.
The valve caps should be kept firmly tightened to prevent dust and water entering and damaging the
valve seats. The caps also act as an additional air seal.
When they are removed for tyre inflation
or removal they should always be placed in a clean place. Never place them on a dusty road surface.
32
Home | History | Details | Technical | Literature | Entertainment | Gallery | Links | Map
© 1999 - by Christopher C. Couper | Page last modified: 2025/06/26 |